Articles
How To Fix Water Damaged Swollen Wood Floor
Modified: January 8, 2024
Learn effective ways to fix water damaged swollen wood floors with these informative articles. Save time and money by following expert advice and step-by-step instructions.
(Many of the links in this article redirect to a specific reviewed product. Your purchase of these products through affiliate links helps to generate commission for Storables.com, at no extra cost. Learn more)
Introduction
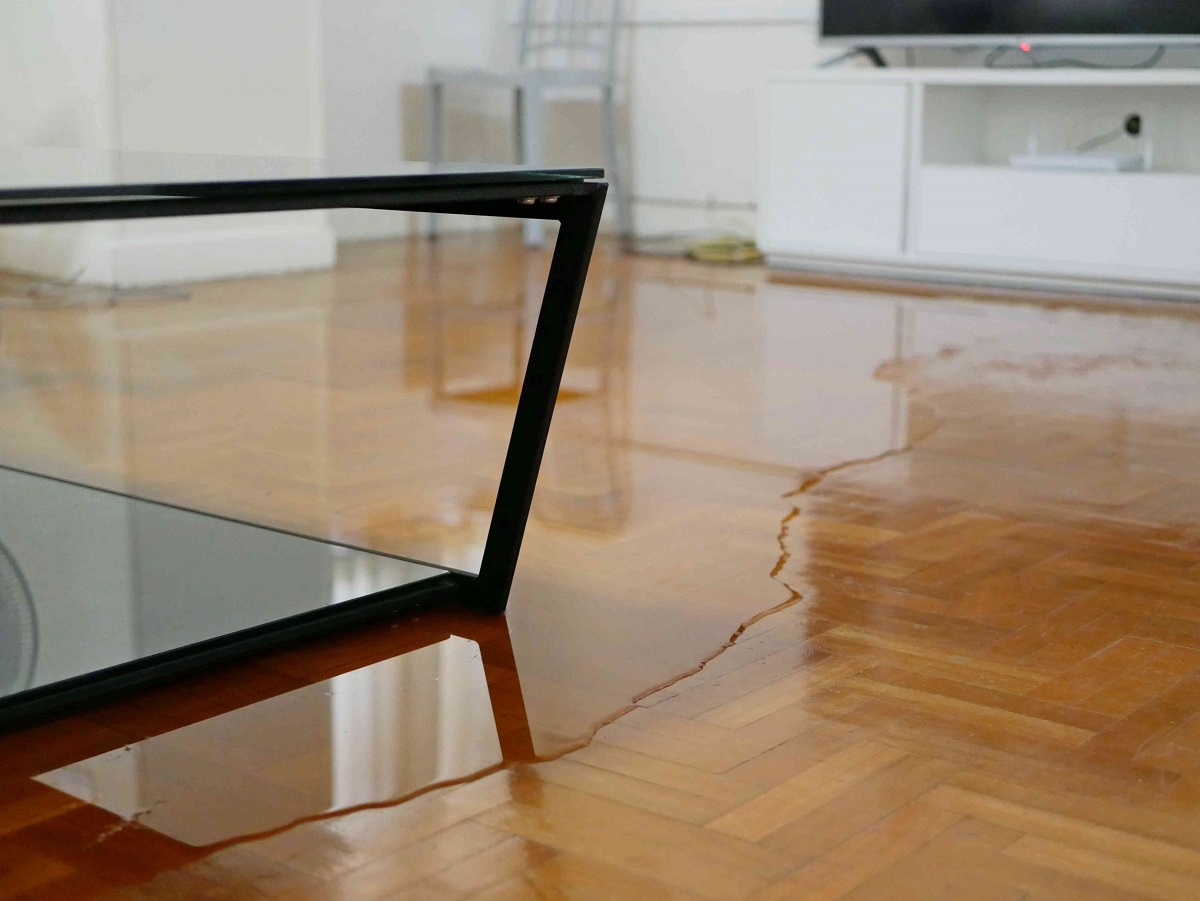
Water damage is a common problem that can wreak havoc on our homes. One of the areas that often suffers the most damage is our wood floors. When water seeps into wood flooring, it can cause the boards to swell and warp, leading to an unsightly and potentially dangerous situation. However, with the right knowledge and techniques, you can effectively fix water damaged swollen wood floors and restore them to their former glory.
In this article, we will guide you through the process of repairing water damaged swollen wood floors. We will explain the steps you need to take to assess the damage, prepare for repair, remove water from the floor, dry the wood, and finally repair and refinish the floor. Additionally, we will provide tips on how to prevent future water damage to keep your wood floors looking beautiful for years to come.
Before we dive into the specific repair steps, it’s important to note that the severity of the water damage and the type of wood flooring you have will determine the extent of the repairs needed. If the damage is extensive or you are unsure about tackling the repair yourself, it may be best to consult with a professional contractor or flooring specialist.
Now, let’s get started and learn how to fix water damaged swollen wood floors!
Key Takeaways:
- Understanding the nature of water damage to wood floors and taking immediate action to assess, prepare, and repair the damage is crucial for restoring the floor’s integrity and preventing future issues.
- Implementing preventive measures, such as regular maintenance, humidity control, and protective strategies, can significantly reduce the risk of water damage, ensuring the long-lasting beauty and functionality of wood floors.
Read more: How To Fix Water Damaged Wood Floor
Understanding Water Damaged Swollen Wood Floors
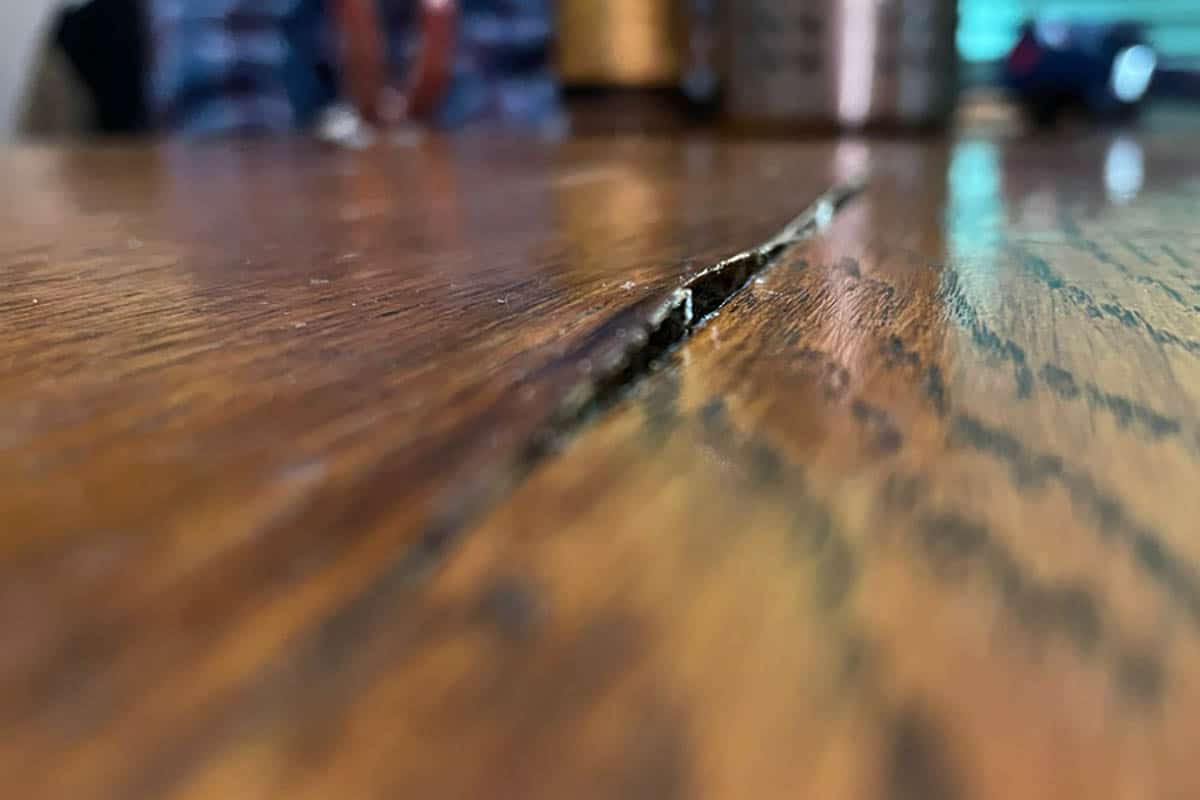
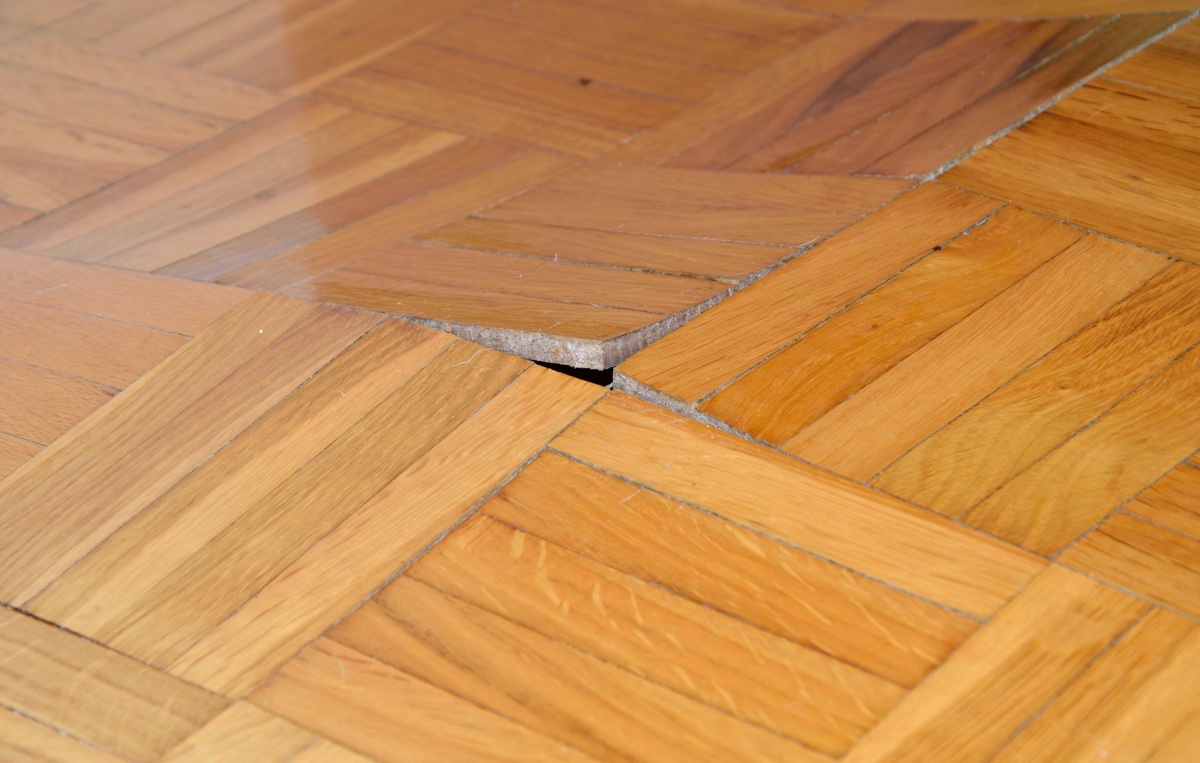
Before you can effectively repair water damaged swollen wood floors, it’s important to understand how water affects the wood and causes it to swell. When wood absorbs water, it expands, causing the boards to warp, cup, or buckle. This not only affects the appearance of the floor but can also pose safety risks and compromise the structural integrity of the wood.
The severity of the damage largely depends on the amount of water absorbed and the duration it has been in contact with the wood. Immediate action is crucial to minimize the damage and prevent further complications.
There are several common causes of water damage to wood floors. These include flooding due to burst pipes, leaks from appliances or plumbing issues, excessive moisture in the air, and even spills that are not promptly cleaned up. Understanding the source of the water damage is essential to prevent future incidents and address any underlying issues.
It’s also important to note that different types of wood flooring may react differently to water damage. For instance, solid hardwood floors tend to be more susceptible to swelling and warping compared to engineered wood or laminate flooring. Understanding the specific characteristics of your wood flooring will help you assess the damage and choose the appropriate repair methods.
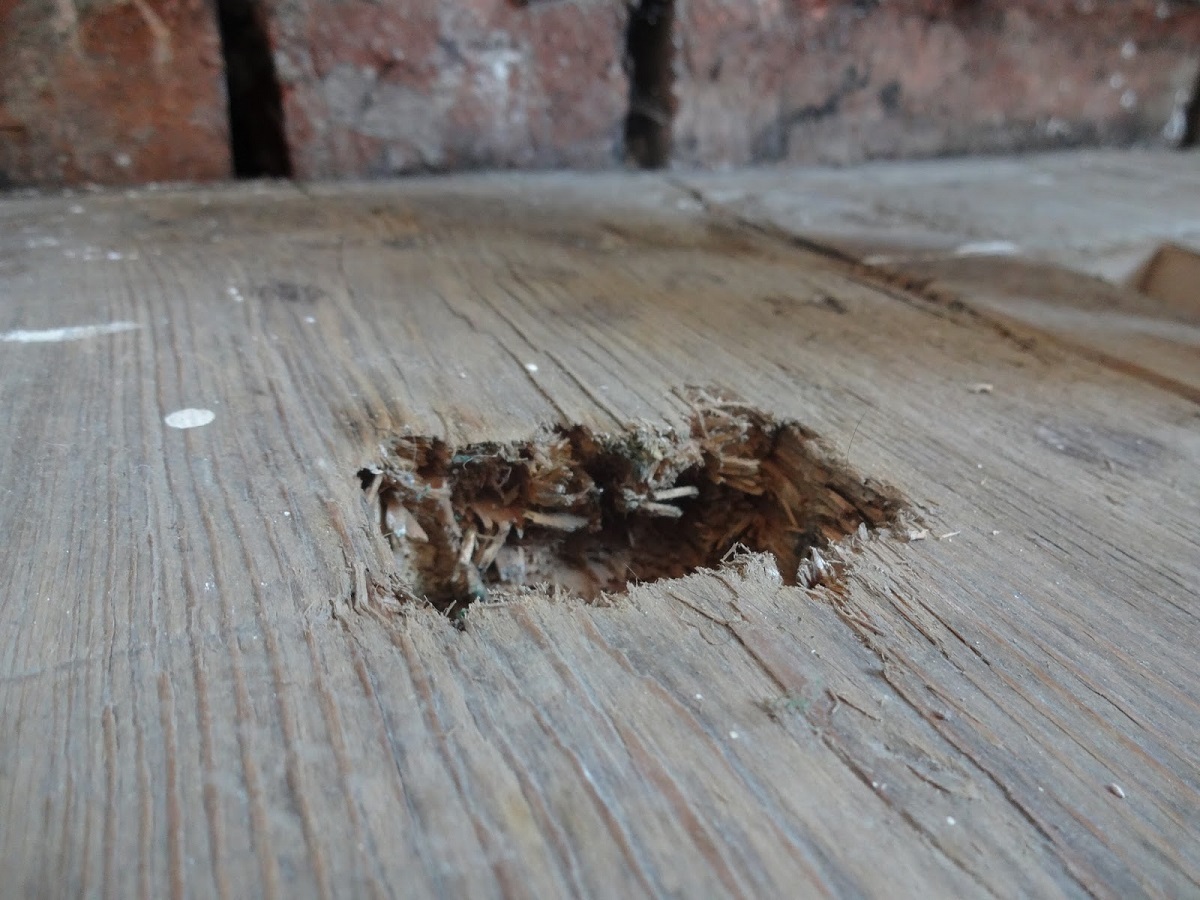
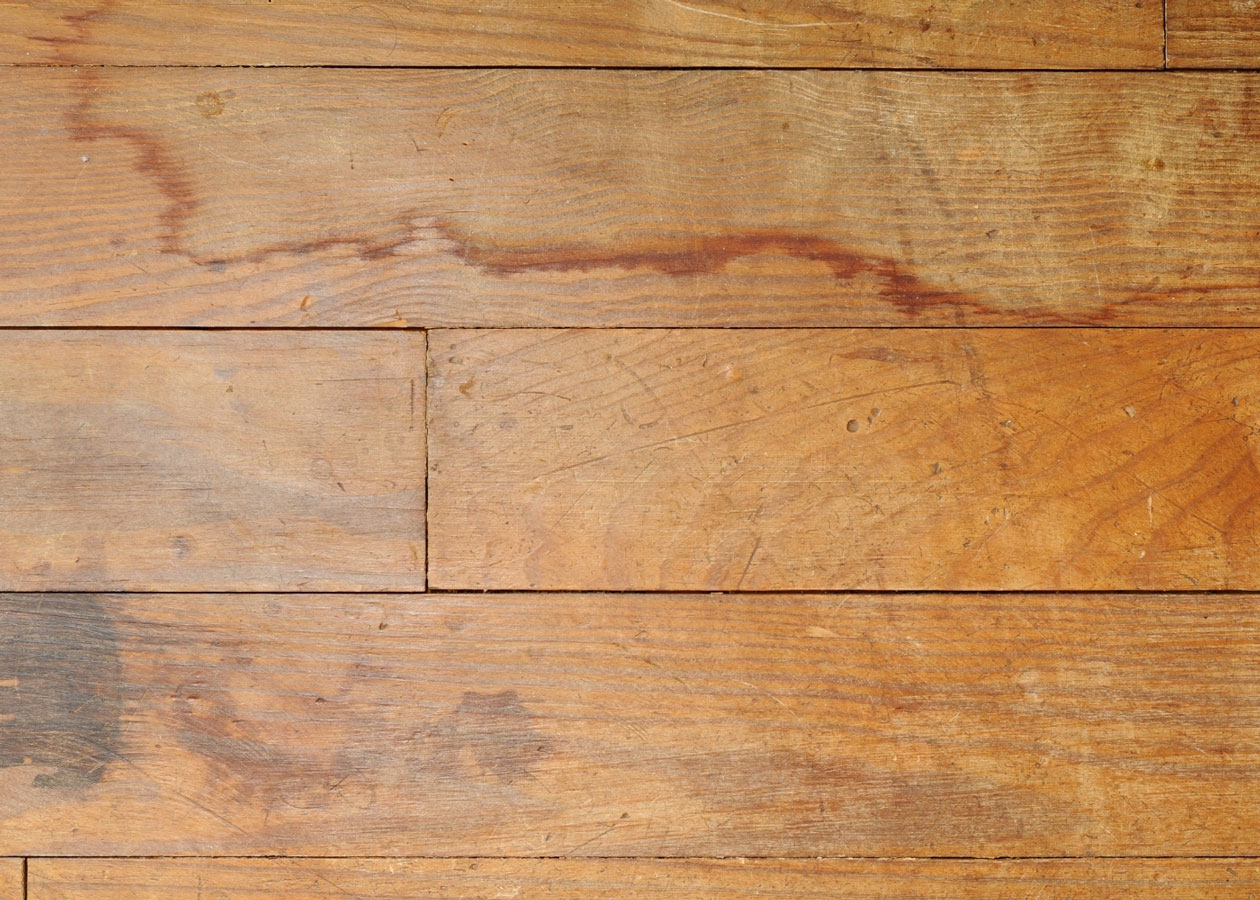
When inspecting the water damage, look for signs of cupping, buckling, or any areas where the floor feels soft or spongy. Pay attention to any discoloration or mold growth, as these are indicators of prolonged moisture exposure. Taking note of these details will help you determine the extent of the damage and plan the necessary repairs.
Now that you have a better understanding of water damage on wood floors, it’s time to assess the damage and prepare for the repair process. Let’s move on to the next section!
Assessing the Damage
Assessing the extent of the damage is a crucial step in repairing water damaged swollen wood floors. This process will help you determine the best approach and the level of repair needed.
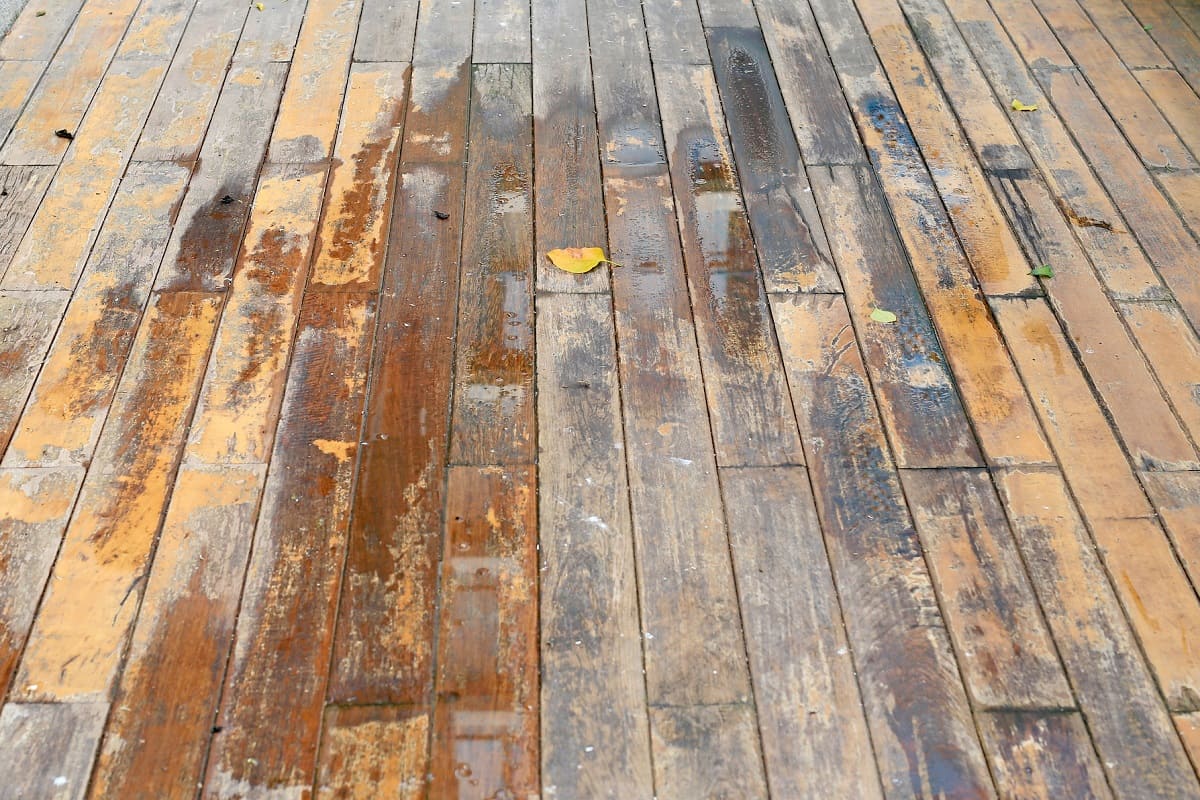
Start by carefully examining the affected area. Look for signs of swelling, warping, or discoloration. Check if the floor feels soft or spongy when walked upon. Pay attention to any abnormal smells, as these may indicate mold or mildew growth.
It’s important to assess both the visible damage and the underlying structural integrity of the wood floor. If the damage is limited to a small area or only affects the surface layer of the flooring, you may be able to fix it with minor repairs. However, if the swelling and damage are more widespread, it may require more extensive restoration.
If you’re unsure about the severity of the damage or the best course of action, it’s recommended to consult with a professional or a flooring specialist. They can provide expert guidance and help you determine the most appropriate repair techniques.
Documenting the damage is also important, especially if you plan to file an insurance claim. Take photographs or video footage of the affected areas, noting any visible signs of damage or potential issues. This documentation will serve as evidence of the damage and can be helpful during the claims process.
By thoroughly assessing the damage, you will have a better understanding of the scope of the repair work and the necessary steps to restore your water damaged swollen wood floor. Once you have assessed the damage, you can move on to preparing for the repair process.
Preparing for Repair
Before you begin repairing water damaged swollen wood floors, it’s important to properly prepare the area to ensure a successful restoration process. Here are some steps to take:
- Ensure Safety: Before starting any repair work, make sure to turn off the electricity supply to the affected area. Water and electricity can be a dangerous combination, so it’s crucial to prioritize safety.
- Remove Furniture and Belongings: Clear the room of any furniture, rugs, or other belongings to provide ample space for the repair process. This will also prevent them from being damaged during the repair work.
- Dry the Area: If there is any standing water on the floor, use a wet/dry vacuum or towels to remove as much water as possible. This will help prevent further damage and promote faster drying.
- Improve Air Circulation: Open windows and doors to increase ventilation and allow for better airflow. You can also use fans or dehumidifiers to aid in the drying process. Proper air circulation is essential to prevent mold and mildew growth.
- Consult with Professionals: If the water damage is severe or you’re unsure about the repair process, it’s advisable to consult with professionals or flooring specialists. They can assess the damage and provide expert advice on the best course of action.
Preparing the area before repair will help create a suitable environment for the restoration process. It’s important to take these steps to ensure a smooth and effective repair of your water damaged swollen wood floor.
Removing Water from the Wood Floor
Once you have properly assessed the damage and prepared the area, the next step in repairing water damaged swollen wood floors is to remove any remaining water from the floor. Here are some methods you can use to effectively remove water:
- Wet/Dry Vacuum: If there is still standing water on the floor, use a wet/dry vacuum to extract as much water as possible. Start from the center of the affected area and work your way outwards. Be sure to empty the vacuum regularly to maintain its effectiveness.
- Towels or Mops: Absorbent towels or mops can also be used to soak up excess water. Gently press the towels or mop onto the floor, absorbing the water without rubbing or scrubbing, as this can cause further damage to the wood.
- Dehumidifiers: Using dehumidifiers in the room can help extract moisture from the air, aiding in the drying process. Place them strategically around the affected area and set them to the appropriate settings for the best results.
- Humidity Control: Controlling the humidity in the room is crucial to prevent further water damage and promote drying. Use air conditioners, fans, or open windows to improve air circulation and reduce humidity levels.
- Moisture Detection Tools: You can use moisture detection tools such as moisture meters to determine the moisture content of the wood. This will help you monitor the progress of the drying process and ensure that the wood is drying properly.
Remember to be patient during this step, as thorough water removal is critical to prevent further damage and ensure a successful repair. Continue the water removal process until the wood floor is as dry as possible.
Once you have removed the water, it’s time to move on to the next step: drying the wood floor.
Use a dehumidifier to remove excess moisture from the wood floor. Once dry, sand down the swollen areas and refinish the floor to restore its original appearance.
Read more: How To Fix Water-Damaged Wood Dresser
Drying the Wood Floor
After successfully removing the excess water from your water damaged swollen wood floor, the next step is to focus on drying the wood. Proper and thorough drying is essential to prevent further damage and ensure a successful repair. Here are some steps you can take to effectively dry the wood floor:
- Air Circulation: Ensure proper air circulation in the room by opening windows, using fans, and turning on air conditioning. This will help facilitate the drying process by promoting airflow and reducing humidity levels.
- Dehumidifiers: Utilize dehumidifiers to remove excess moisture from the air. Place them strategically around the room to target the affected area and set them to the recommended humidity level for optimum drying.
- Remove Baseboards: If the swelling and water damage extend to the baseboards, consider removing them temporarily to allow air to reach the backside of the wood floor. This will aid in drying both the surface and subfloor layers.
- Heat Source: Use gentle heat sources like space heaters or radiant heaters to aid in the drying process. However, exercise caution to avoid excessive heat, as it can cause further damage to the wood floor.
- Moisture Testing: Regularly monitor the moisture levels in the wood floor using a moisture meter. This will help you track the progress of drying and ensure that the moisture content is decreasing to an acceptable level.
It’s essential to be patient during this step, as thorough drying may take several days or even weeks, depending on the extent of the water damage. Rushing the drying process can lead to further problems such as mold or warping.
Continue monitoring the moisture levels and assessing the wood floor’s condition throughout the drying process. Once the wood is completely dry, you can proceed to the next step: repairing the swollen wood floor.
Repairing the Swollen Wood Floor
Now that the water damaged swollen wood floor is thoroughly dry, it’s time to proceed with repairing the damage. The specific repair method will depend on the severity of the swelling and the type of wood flooring you have. Here are some steps to consider:
- Assess the Swelling: Evaluate the extent of the swelling on the wood floor. If the swelling is minimal, you may be able to address it by gently sanding down the affected area. If the swelling is more severe or widespread, additional steps may be required.
- Sanding: Use a floor sander or sandpaper to cautiously sand down the swollen areas. Begin with a coarse grit sandpaper and gradually move to finer grits until the surface is smooth and level. Remember to sand in the direction of the wood grain to avoid further damage.
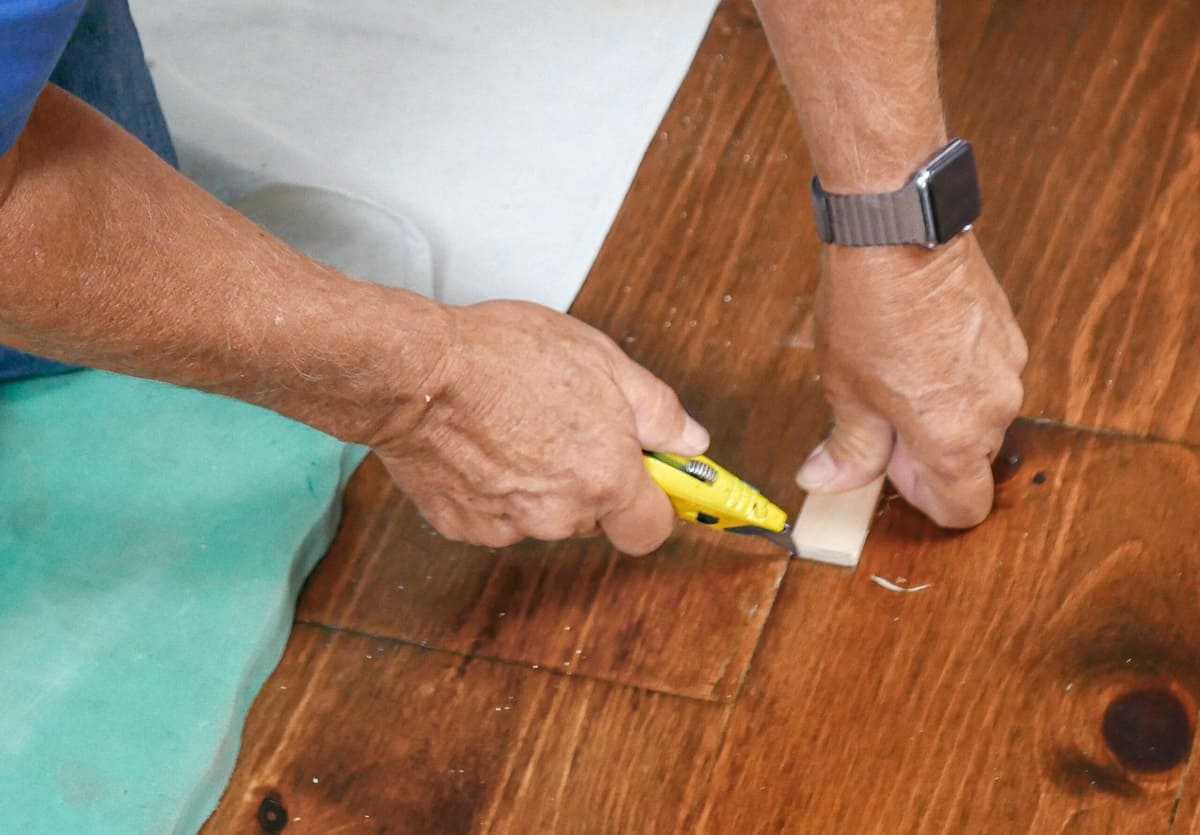
- Fill in Gaps: If there are gaps left by the swelling, fill them in with a wood filler or epoxy. Choose a filler that matches the color of the wood floor for a seamless finish. Follow the manufacturer’s instructions for application and drying time.
- Allow for Expansion: If your wood floor is prone to expansion due to changes in humidity, consider leaving small gaps or expansion joints around the perimeter of the room. This will allow the wood to naturally adjust to changes in moisture levels and minimize the risk of future swelling.
- Stain and Finish: If necessary, apply a matching stain to the repaired areas to blend them with the rest of the floor. Once the stain is dry, apply a protective finish such as polyurethane or varnish to seal and protect the wood. Follow the manufacturer’s instructions for application and drying time.
It’s important to take your time and be meticulous during the repair process to ensure a high-quality outcome. If you’re uncertain about your DIY skills or the extent of the repair work required, consider consulting with a professional flooring specialist for guidance and assistance.
Once the repair is complete, the next step is to sand and refinish the wood floor to restore its natural beauty.
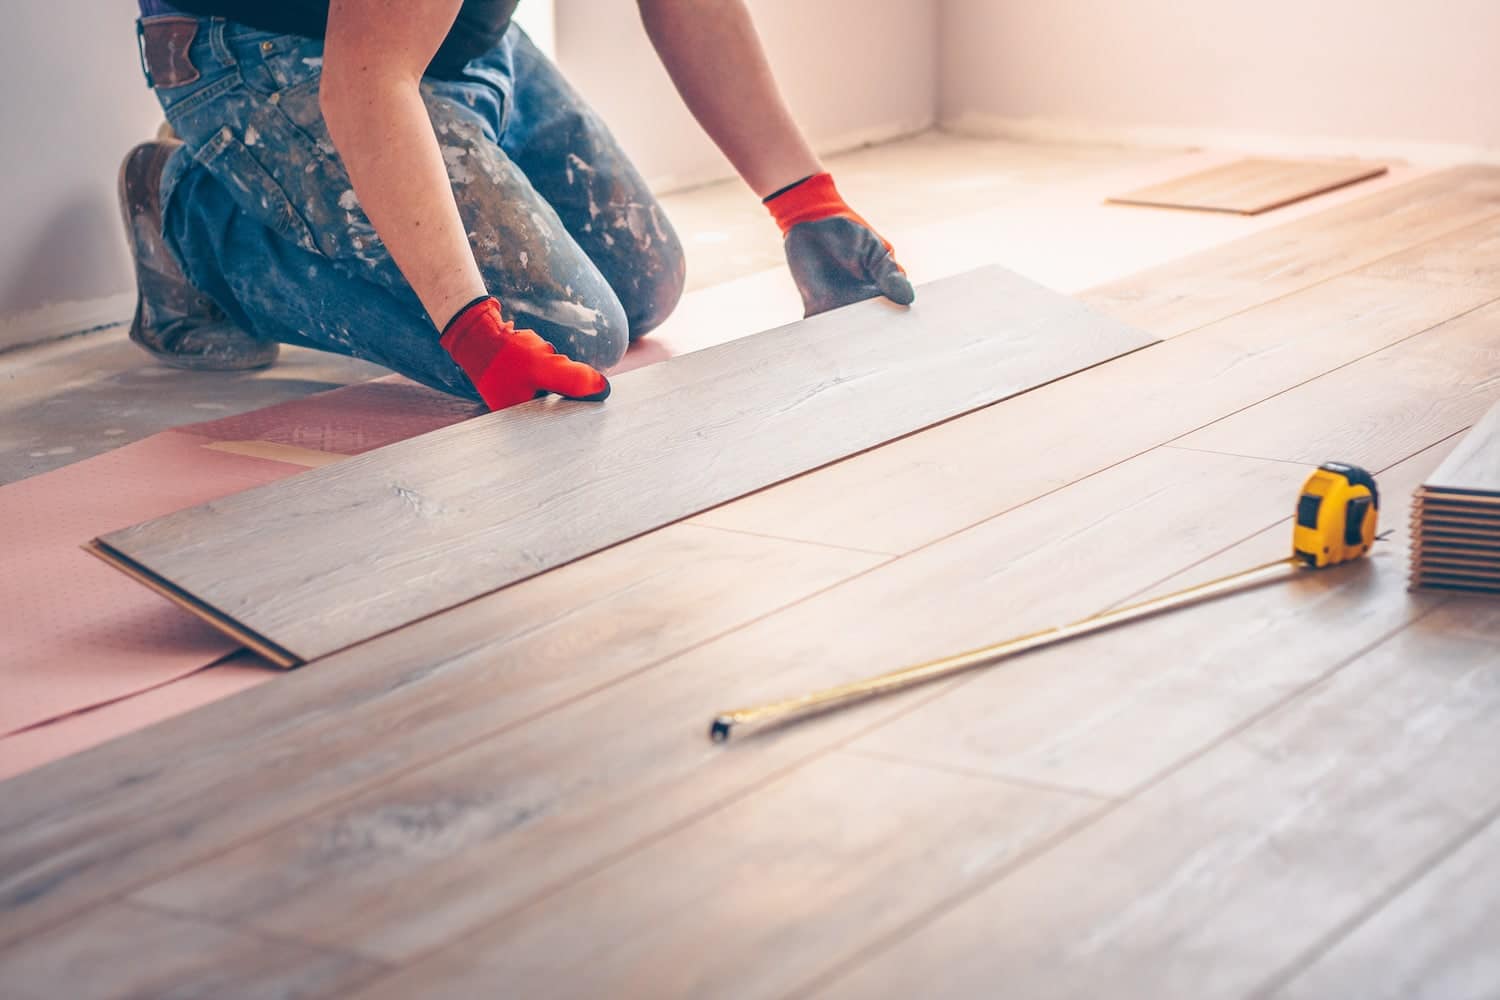
Sanding and Refinishing the Wood Floor
After repairing the water damaged swollen wood floor, the next step is to sand and refinish the surface to restore its original beauty. Sanding and refinishing will not only remove any imperfections from the repair work but also provide a protective layer for the wood. Here’s how you can proceed with this step:
- Sand the Floor: Start by sanding the entire wood floor using a floor sander or handheld sanders. Begin with a coarse grit sandpaper to remove any remaining imperfections, and gradually progress to finer grits to achieve a smooth and even surface. Be sure to follow the wood grain and sand in the same direction to obtain the best results.
- Fill in Gaps and Cracks: If there are any remaining gaps or cracks, fill them in with wood filler or epoxy. Use a putty knife to apply the filler and make it level with the surrounding wood surface. Allow the filler to dry according to the manufacturer’s instructions and sand it down to achieve a uniform surface.
- Clean the Floor: Thoroughly clean the sanded floor to remove any dust or debris. Use a vacuum cleaner or broom to remove loose particles, and then wipe the surface with a damp cloth or mop to ensure a clean working area.
- Apply Stain (optional): If you wish to change or enhance the color of your wood floor, you can apply a wood stain. Choose a stain that complements your desired aesthetic and follow the instructions provided. Apply the stain evenly using a brush, cloth, or roller, and wipe away any excess to achieve the desired color. Allow the stain to dry completely before proceeding.
- Apply Finish: Once the stain (if applied) is dry, it’s time to apply the protective finish to the wood floor. Use a high-quality polyurethane or varnish, applying it with a clean brush or roller in thin, even coats. Allow each coat to dry completely before applying the next, and follow the manufacturer’s instructions for the recommended number of coats.
- Allow for Drying: After applying the final coat of finish, allow the floor to dry completely. This typically takes several hours or even a few days, depending on the type of finish and environmental conditions. Avoid placing any furniture or heavy objects on the floor until it is fully dry.
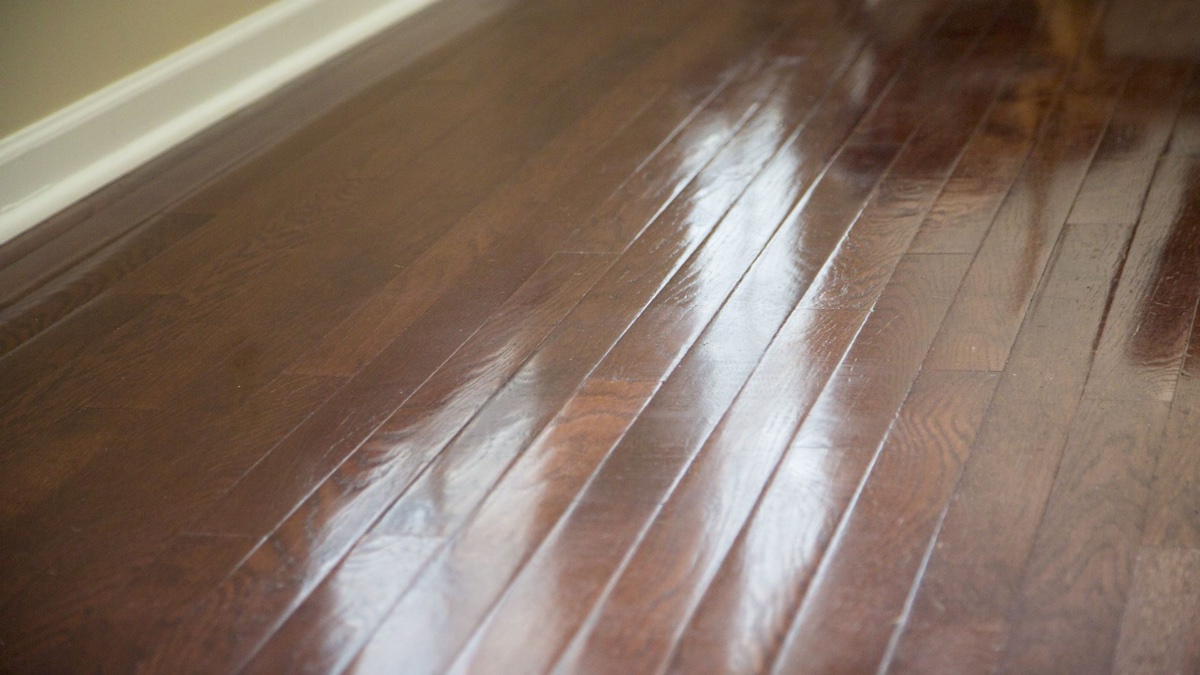
Once the finish is completely dry, you can confidently walk on and enjoy your newly restored wood floor. Regular maintenance and proper care of your wood floor will help extend its lifespan and keep it looking beautiful for years to come.
Now that you have successfully sanded and refinished the wood floor, it’s important to take steps to prevent future water damage.
Preventing Future Water Damage
After investing time and effort into repairing and refinishing your water damaged swollen wood floor, it’s important to take preventive measures to avoid future water damage. Here are some strategies you can implement to protect your wood floor:
- Proper Maintenance: Regularly inspect your wood floor for any signs of damage, such as leaks, cracks, or areas with excessive moisture. Address these issues promptly to prevent them from escalating into water damage.
- Protective Measures: Use rugs or mats in high-traffic areas, especially near entryways, sinks, and appliances, to catch water and prevent it from reaching the wood floor. Additionally, use furniture pads to prevent scratches and dents that could expose the wood to moisture.
- Wipe Up Spills Immediately: Accidents happen, but it’s important to clean up any spills or moisture on your wood floor immediately. Use a soft, absorbent cloth or paper towel to blot the liquid and dry the area thoroughly to prevent water from seeping into the wood.
- Monitor Humidity Levels: Maintain a stable humidity level in your home, ideally between 40% and 60%, to minimize the risk of your wood floor absorbing moisture. Use a humidifier in dry conditions and a dehumidifier in humid environments to control the moisture levels.
- Protect from Water Sources: Take precautions to protect your wood floor from potential water sources. Ensure that your plumbing system is well-maintained, fix any leaks promptly, and consider installing leak detectors or shut-off valves to minimize the risk of water damage.
- Use Door Mats: Place door mats or shoe racks near entrances to prevent water and dirt from being tracked onto your wood floor. Encourage family members and guests to remove wet shoes and wipe their feet before entering the house.
- Regular Cleaning: Keep your wood floor clean by sweeping or vacuuming regularly to remove dust, dirt, and debris. Use a damp mop with a specially formulated wood floor cleaner to maintain its natural beauty without damaging the surface. Avoid using excessive water or harsh cleaning chemicals, as they can harm the wood.
- Regular Inspections: Periodically check for signs of water damage or moisture beneath rugs or furniture. Look for changes in color, warping, or a musty odor, as these may indicate water-related issues that need to be addressed immediately.
By implementing these preventive measures, you can significantly reduce the risk of water damage to your wood floor and prolong its lifespan. Remember that prevention is key when it comes to maintaining the integrity and beauty of your wood flooring.
Now that you’re equipped with the knowledge to prevent water damage, you can confidently enjoy your beautifully restored wood floor for years to come!
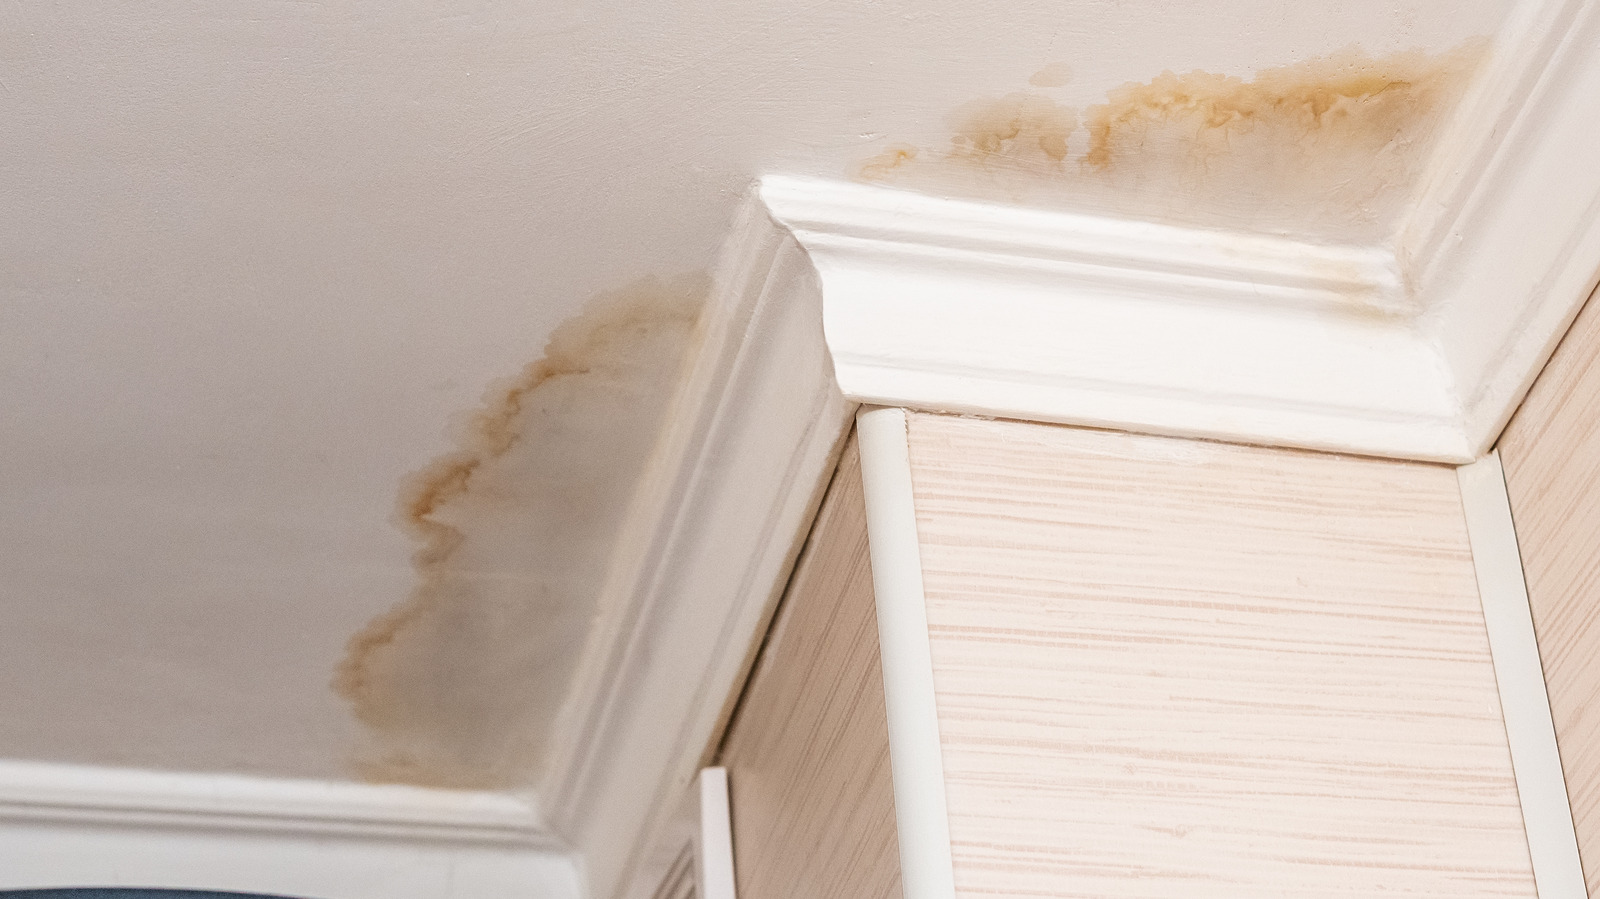
Read more: How To Fix Water Damaged Ceiling
Conclusion
Water damaged swollen wood floors can be a frustrating and unsightly problem, but with the right knowledge and actions, you can effectively repair and restore your flooring to its former glory. By following the steps outlined in this article, from understanding the nature of water damage to prevention techniques, you can successfully address water damage issues and prevent future incidents.
Remember to assess the extent of the damage, prepare the area for repairs, remove excess water, and thoroughly dry the wood floor before proceeding with repair work. Take your time during the repair process, sanding down any swollen areas, filling gaps, and refinishing the surface to achieve a seamless and beautiful result.
Preventing future water damage to your wood floor is equally important. Regular maintenance, protective measures, and vigilance in monitoring water sources and humidity levels will greatly reduce the risk of damage. By promptly addressing spills, maintaining the right humidity level, and implementing preventive measures, you can enjoy a long-lasting and resilient wood floor.
It’s important to remember that severe or extensive water damage may require the expertise of professionals or flooring specialists. If you’re unsure about the repair process or the extent of the damage, don’t hesitate to seek professional assistance.
By taking proactive steps to repair, protect, and prevent water damage, you can preserve the beauty and functionality of your wood floors for many years to come. Regular maintenance, prompt action, and a well-executed repair and prevention plan will ensure that your wood floor remains a centerpiece of your home, providing beauty and comfort for generations to come.
Frequently Asked Questions about How To Fix Water Damaged Swollen Wood Floor
Was this page helpful?
At Storables.com, we guarantee accurate and reliable information. Our content, validated by Expert Board Contributors, is crafted following stringent Editorial Policies. We're committed to providing you with well-researched, expert-backed insights for all your informational needs.


0 thoughts on “How To Fix Water Damaged Swollen Wood Floor”