
Articles
How To Install A Roof Vent
Modified: October 20, 2024
Learn how to install a roof vent with our detailed step-by-step guide. Our articles provide expert tips and instructions to help you successfully complete the installation process.
(Many of the links in this article redirect to a specific reviewed product. Your purchase of these products through affiliate links helps to generate commission for Storables.com, at no extra cost. Learn more)
Introduction
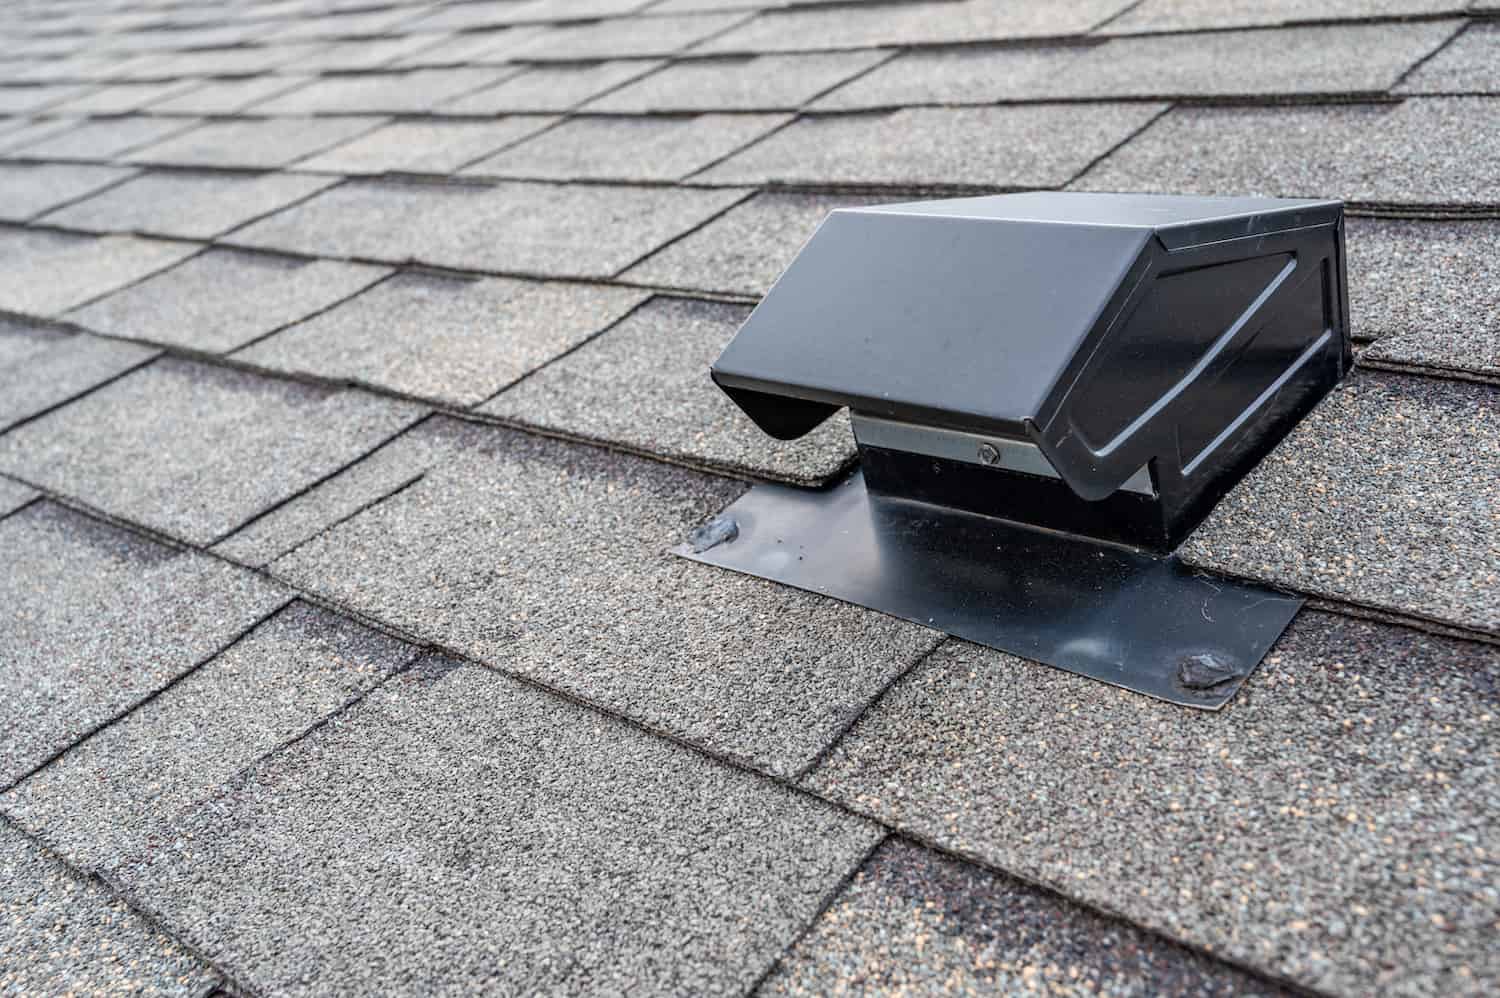
Welcome to our comprehensive guide on how to install a roof vent! If you’re experiencing poor ventilation in your home or looking to upgrade your current ventilation system, installing a roof vent is a great solution. Proper roof ventilation is crucial for maintaining a comfortable living environment, improving energy efficiency, and preventing damage to your roof and attic.
In this article, we’ll walk you through the step-by-step process of installing a roof vent. We’ll cover everything from preparing the roof and determining the ventilation needs to selecting the right vent and sealing the installation. So, let’s get started on improving the airflow and overall health of your home!
Key Takeaways:
- Properly preparing your roof and accurately measuring the ventilation area are crucial steps for a successful roof vent installation. These steps ensure a solid foundation and precise placement, promoting efficient airflow and ventilation in your home.
- Selecting the right roof vent and properly sealing and insulating the installation are essential for maintaining a healthy living environment. These steps ensure effective ventilation, energy efficiency, and protection against potential leaks or air leaks.
Read more: How To Install Roof Vent For Bathroom Fan
Tools and Materials Needed
Before you begin the installation process, gather the necessary tools and materials. Here’s a list of what you’ll need:
- Roof Ventilation Kit
- Tape Measure
- Pencil
- Roofing Nails or Screws
- Roofing Tar
- Sealant
- Drill or Screwdriver
- Roofing Cement
- Roofing Shingles
- Roofing Underlayment
- Roofing Hammer or Nail Gun
- Utility Knife
- Ladder
- Protective Gear (Gloves, Safety Glasses, etc.)
Ensure that you have all the necessary tools and materials before proceeding with the installation. This will save you time and make the process much smoother.
Step 1: Preparing the Roof
The first step in installing a roof vent is to prepare the roof. This involves assessing the condition of your roof and making any necessary repairs or adjustments before proceeding with the installation.
Start by inspecting the roof for any damaged or missing shingles. Replace any damaged shingles and secure any loose ones to ensure a solid foundation for the roof vent.
Next, clear the area where the vent will be installed. Remove any debris, such as leaves or sticks, to ensure a clean and flat surface.
If your roof has multiple layers of shingles, you may need to remove the top layer to create a flat and even surface for the vent. Consult a professional or follow the manufacturer’s guidelines to determine if this step is necessary for your specific roof.
Additionally, it’s important to check the attic for any signs of moisture or damage. Address any issues before installing the roof vent to prevent further damage or the potential for mold growth.
By properly preparing your roof, you’ll create a solid base for the roof vent installation and ensure its effectiveness and longevity.
Step 2: Determine the Ventilation Needs
Before proceeding with the installation of a roof vent, it’s essential to determine your ventilation needs. Proper ventilation helps regulate temperature, remove excess moisture, and prevent the buildup of harmful gases and pollutants in your home.
Consider the size and layout of your home, as well as the type of ventilation system you currently have or plan to install. If you’re unsure about the ventilation requirements, consult a professional or refer to local building codes for guidance.
Take into account the climate in your area. If you live in a region with hot summers or extreme temperature fluctuations, you may require additional ventilation to cool your home and prevent heat-related issues.
It’s also crucial to consider the size and number of roof vents needed. Calculate the appropriate ventilation area based on your home’s square footage and the recommended ventilation rate per square foot. This will help determine the number and size of vents needed for optimal airflow.
Keep in mind that different types of vents, such as ridge vents or soffit vents, may be more suitable for certain roof designs or climates. Research the various options and consult with professionals to determine the best ventilation system for your specific needs.
By thoroughly assessing your ventilation needs, you can ensure that the roof vent you install will effectively improve airflow and maintain a healthy living environment in your home.
Step 3: Selecting the Right Roof Vent
Choosing the right roof vent is crucial for the effectiveness and efficiency of your ventilation system. There are various types of roof vents available, each offering different features and benefits. Consider the following factors when selecting the right roof vent for your installation:
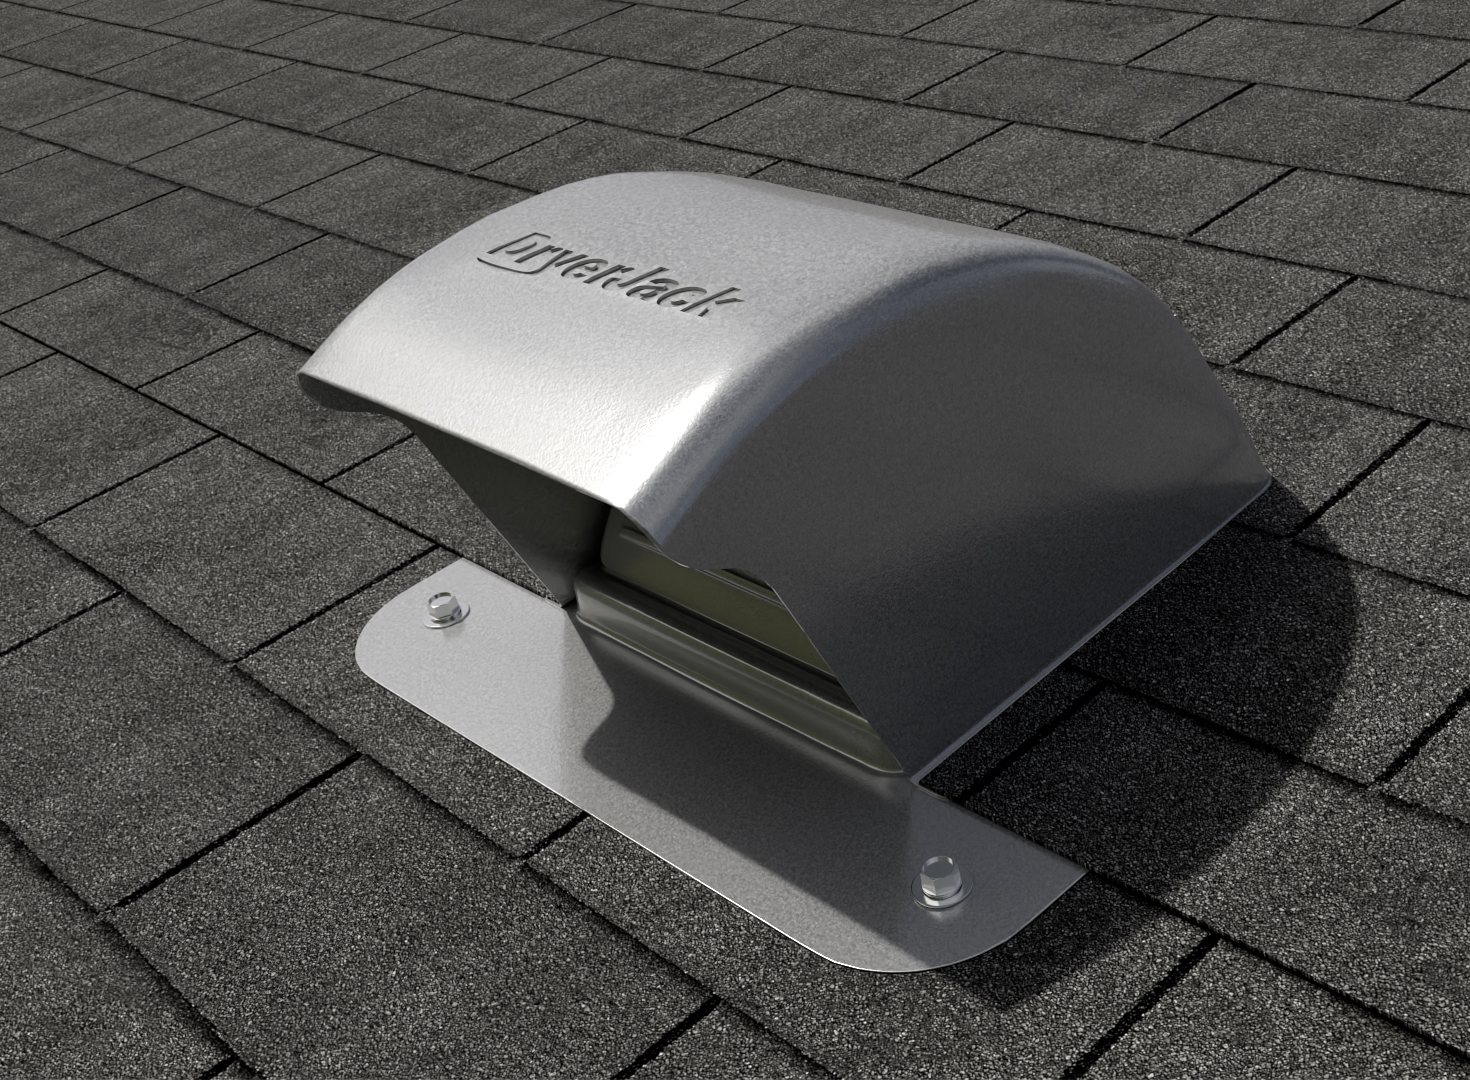
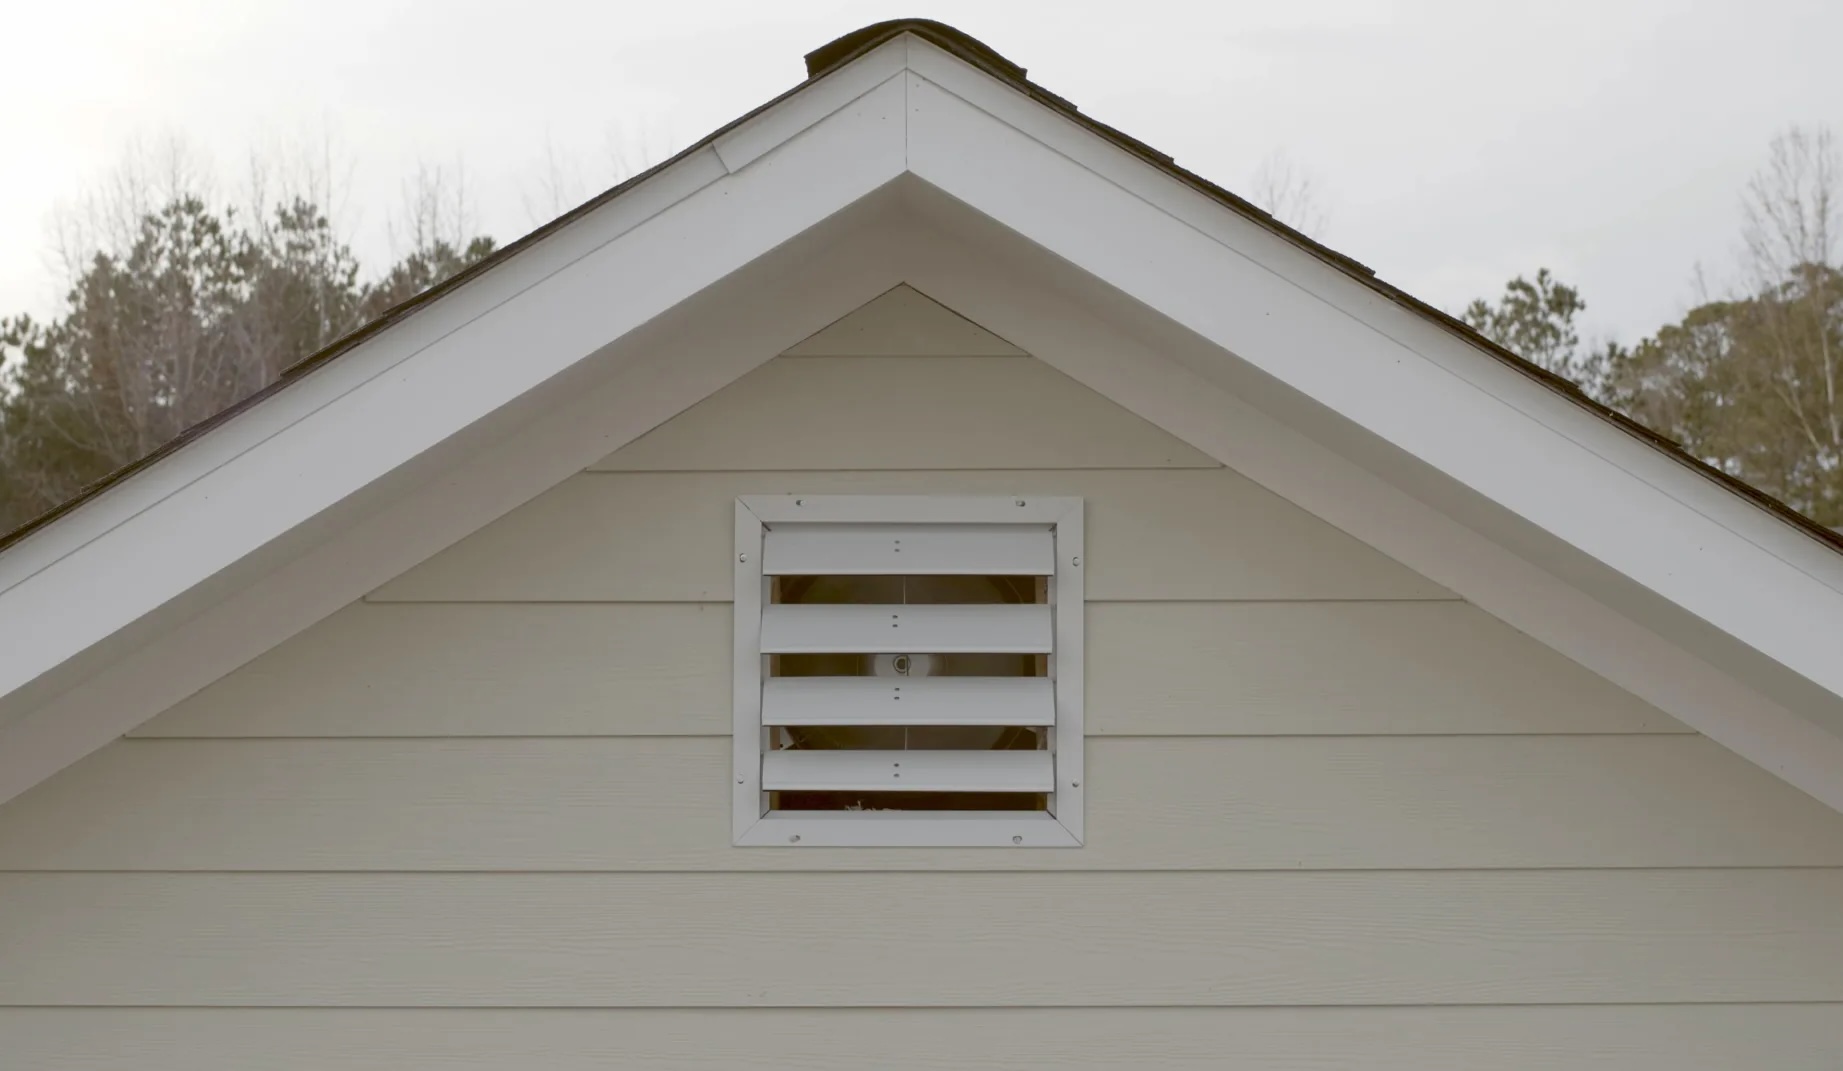
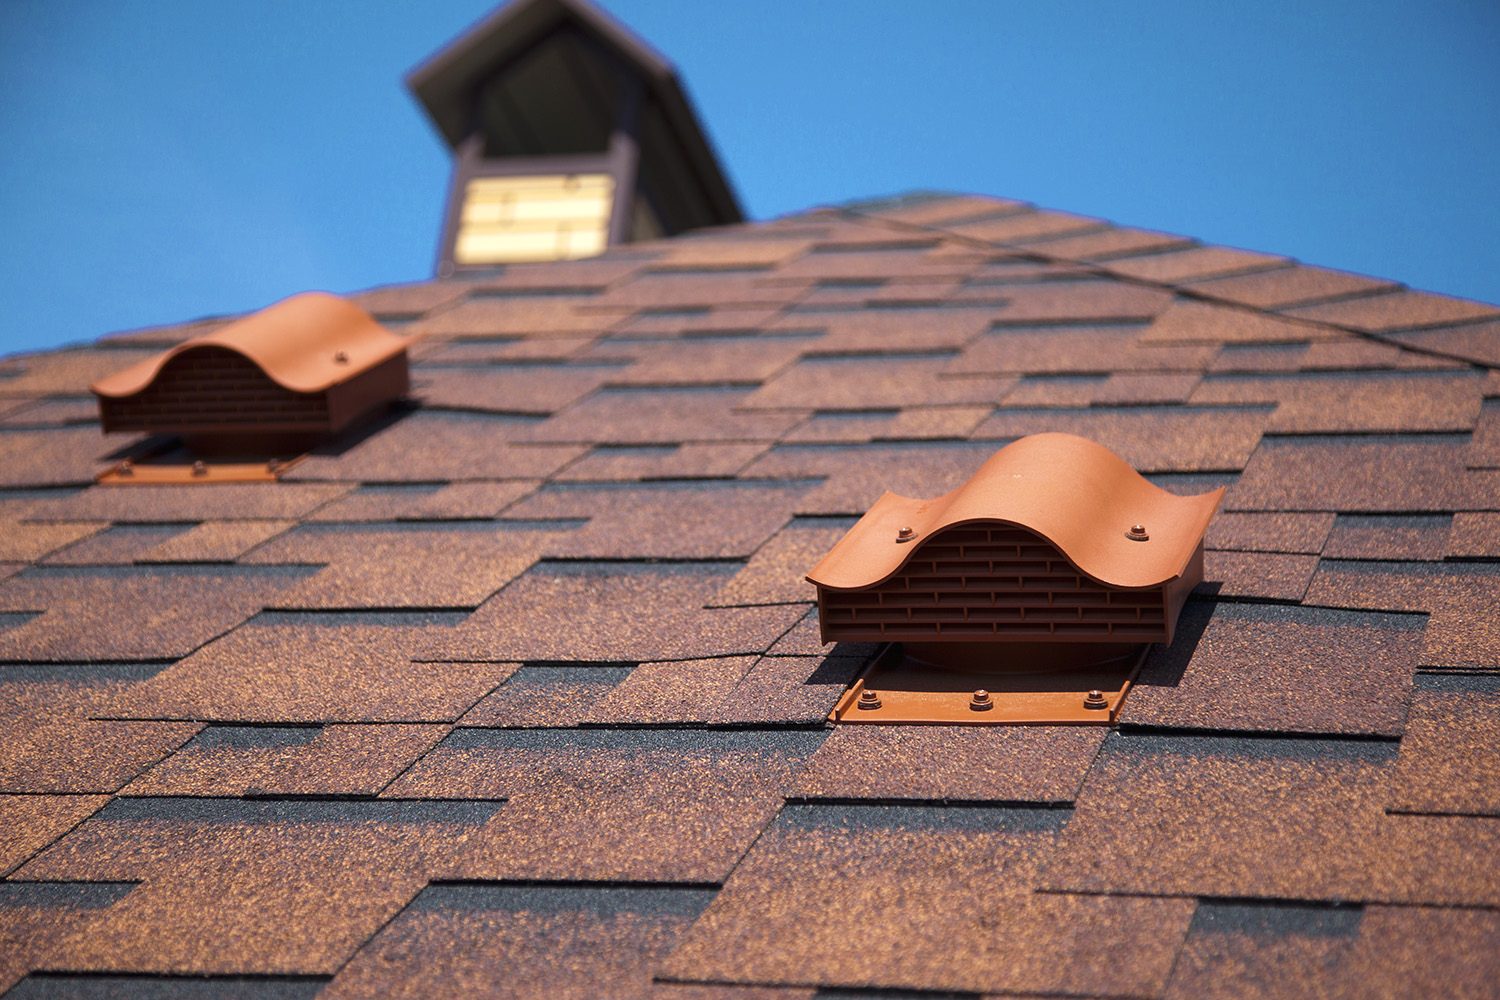
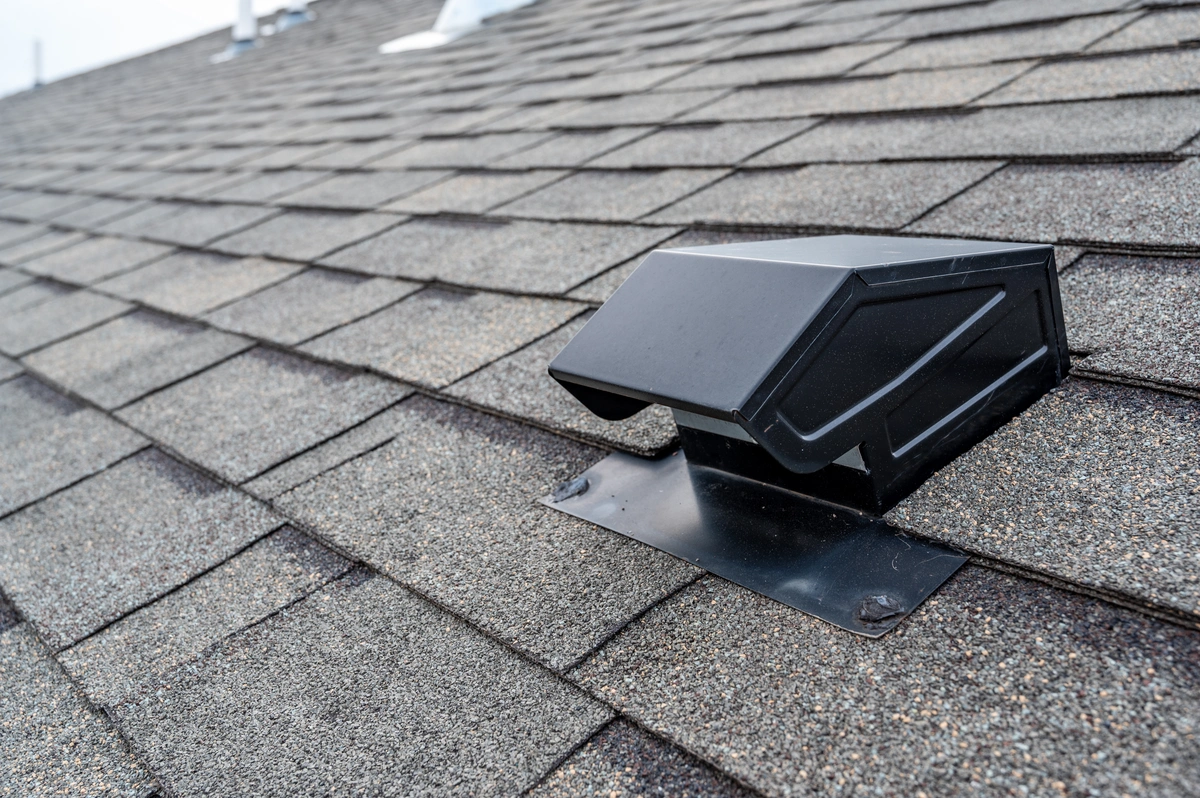
1. Ventilation Style: Evaluate the different ventilation styles, such as ridge vents, static vents, turbine vents, or power vents. Each style has its own advantages and disadvantages, so choose one that aligns with your ventilation needs and preferences.
2. Material: Roof vents are commonly made of materials like metal, plastic, or aluminum. Consider the durability, corrosion resistance, and longevity of different materials to select one that suits the climate and lifespan requirements of your roof.
3. Size: Ensure that the size of the roof vent matches the ventilation needs of your home. A properly sized vent allows for adequate airflow and prevents moisture and heat buildup in your attic or living space.
4. Weather Resistance: Since roof vents are exposed to weather elements, choose a vent that is designed to withstand harsh weather conditions like heavy rain, strong winds, or snow accumulation. This will help prevent water infiltration and damage to the vent and your roof.
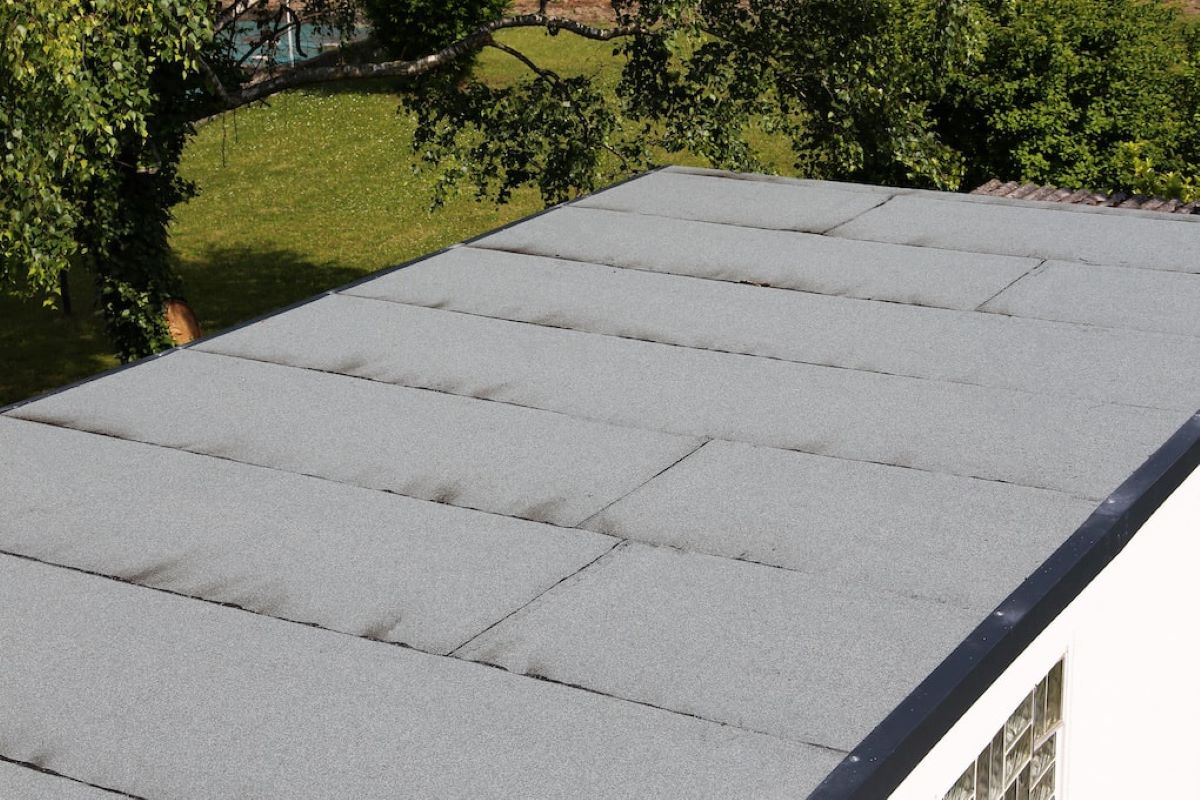
5. Compatibility: Consider the compatibility of the vent with your roof type and design. Different roof vents are designed to be installed on specific roof types, such as asphalt shingle roofs, metal roofs, or flat roofs. Ensure the vent you choose is compatible with your roof to ensure a proper and secure installation.
Do thorough research, read product reviews, and consult with professionals to identify the right roof vent that suits your specific needs. Selecting the right roof vent will ensure efficient ventilation and promote a healthy living environment in your home.
Read more: How To Install A Dryer Vent Through The Roof
Step 4: Measuring and Marking the Ventilation Area
Once you’ve selected the appropriate roof vent, the next step is to measure and mark the area where the vent will be installed. Proper measurements are essential to ensure accurate placement and a clean installation.
Follow these steps to measure and mark the ventilation area:
1. Locate the Attic: Access your attic and identify the area above which the roof vent will be installed. Look for any obstructions, such as joists or electrical wiring, that may impact the placement of the vent.
2. Measure the Ventilation Area: Use a tape measure to determine the dimensions of the roof vent. Measure the length, width, and height of the vent to accurately mark the dimensions on the roof.
3. Mark the Center Point: Use a pencil to mark the center point of the ventilation area on the roof’s surface. This will serve as a reference point for aligning and positioning the vent during the installation process.
4. Create a Template: If your roof vent requires a specific shape or opening, create a template using cardboard or plywood. Trace the outline of the vent onto the template and cut it out. Place the template on the roof to ensure it fits properly and aligns with the center point marking.
5. Double-Check the Measurements: Before proceeding further, double-check the measurements and alignment of the ventilation area. Ensuring accurate measurements will result in a precise and professional-looking installation.
By carefully measuring and marking the ventilation area, you’ll set the foundation for a successful roof vent installation. Accurate measurements will ensure that the vent fits securely and functions optimally, promoting proper airflow and ventilation in your home.
When installing a roof vent, be sure to choose the right type and size for your roof. Properly seal around the vent to prevent leaks and ensure proper ventilation.
Step 5: Cutting the Hole for the Vent
Now that you have accurately marked the ventilation area, it’s time to cut the hole in the roof for the vent. This step requires caution and precision to ensure a clean and accurate cut.
Follow these steps to cut the hole for the vent:
1. Prepare for Safety: Before starting, put on your protective gear, including gloves and safety glasses. Safety should always be a priority when working on any construction project.
2. Position the Template: If you created a template in the previous step, place it over the marked center point on the roof. Ensure that the template is aligned properly and securely in position.
3. Trace the Outline: Use a pencil or marker to trace the outline of the template onto the roof. This will guide your cutting process and ensure that the hole is the correct size and shape.
4. Cut the Opening: Use a drill to create a starter hole along the traced outline. Then, using a reciprocating saw or a circular saw with a suitable blade, carefully cut along the marked lines. Take your time to ensure a smooth and clean cut.
5. Remove the Cut-Out Section: Once you’ve completed the cut, remove the section of the roof that you have just cut out. Lift it gently to prevent any damage to the surrounding area.
6. Clean and Inspect: After removing the cut-out section, clean any debris or loose materials from the area. Inspect the edges of the cut to ensure there are no sharp or uneven edges that can cause damage or interfere with the vent installation.
By following these steps carefully and paying attention to detail, you’ll successfully cut a precise and properly sized hole for the roof vent. This hole will provide the necessary opening for proper airflow and ventilation in your home.
Step 6: Installing the Roof Vent
With the hole cut in the roof, it’s time to move on to installing the roof vent. This step involves securely attaching the vent to the roof to ensure proper ventilation and a watertight seal.
Follow these steps to install the roof vent:
1. Position the Vent: Place the roof vent over the hole, aligning it with the center point and ensuring that it covers the entire opening. Position the vent so that any seams or joints are facing away from prevailing wind and rain direction.
2. Secure the Vent: Use roofing nails or screws to secure the vent to the roof. Place each fastener around the outer edge of the vent, evenly spaced, and at a distance recommended by the manufacturer. Ensure that the vent is firmly attached to the roof surface.
3. Apply Roofing Tar: To create a watertight seal, apply a layer of roofing tar around the edges of the vent where it meets the roof. Use a roofing trowel or putty knife to spread the tar, ensuring it covers any gaps or openings. This will prevent water infiltration and potential leaks.
4. Install Flashing: If your roof vent requires flashing, carefully install it around the base of the vent. Flashing helps direct water away from the vent and provides an additional layer of protection against leaks.
5. Seal any Gaps: Inspect the installation for any gaps or openings between the vent and the roof. Use roofing cement or sealant to fill in any gaps, creating a tight and secure seal.
6. Check for Proper Fit: Ensure that the vent fits snugly and securely in place. Verify that it is level and does not wobble or move when gently pressed.
By following these steps, you’ll successfully install the roof vent and create a secure and effective ventilation system. This will help regulate temperature, improve indoor air quality, and protect your roof and attic from potential damage.
Step 7: Sealing and Insulating the Vent
Once the roof vent is installed, it’s important to properly seal and insulate the vent to prevent any air leaks or heat loss. This step ensures that the ventilation system operates efficiently and effectively.
Follow these steps to seal and insulate the roof vent:
1. Inspect for Gaps: Carefully inspect the area around the vent for any gaps or openings. Use a caulk gun to apply a high-quality, weather-resistant sealant around the edges of the vent where it meets the roof. This will create a tight seal and prevent air leakage.
2. Secure the Flanges: If your roof vent has flanges or additional components, ensure that they are securely fastened and sealed. Use roofing nails or screws along with roofing sealant to ensure that all parts are tightly connected.
3. Apply Insulation: In the attic, around the base of the roof vent, apply insulation. This helps to minimize heat loss or gain through the vent and improves energy efficiency. Use insulation batting or foam insulation to cover any gaps or spaces around the vent.
4. Check the Attic: Inspect the attic for any potential air leaks around the vent area. Seal any gaps or cracks with spray foam insulation or caulk to prevent air infiltration. This will help maintain the integrity of the ventilation system.
5. Test for Airflow: After sealing and insulating the vent, test the airflow to ensure that it is unobstructed. Check for any restrictions or blockages that may impede proper ventilation. Adjust the insulation or sealing as necessary to allow for unobstructed airflow.
By properly sealing and insulating the roof vent, you’ll maximize energy efficiency and ensure that your ventilation system operates effectively. This step helps to maintain a comfortable living environment, prevent air leaks, and minimize heat loss or gain, saving you energy and money in the long run.
Read more: How To Replace A Roof Vent
Step 8: Finalizing the Installation
Congratulations! You’re almost done with the roof vent installation. The final step involves some important finishing touches to ensure that the vent is properly secured and functioning optimally.
Follow these steps to finalize the installation:
1. Check the Ventilation: Once the vent is securely installed and sealed, check the ventilation to ensure that it is functioning as intended. Stand outside and observe the vent to ensure there is adequate airflow and no signs of restriction or obstruction.
2. Inspect the Roof: Carefully inspect the roof around the vent for any signs of damage or leaks. Look for any gaps or cracks that may have occurred during the installation process. If you notice any issues, address them promptly to prevent further damage.
3. Clean Up: Remove any debris and clean up the area around the installation site. Dispose of any packaging materials or scraps in a responsible manner. Leaving the area clean and tidy will ensure a professional-looking finish.
4. Maintain and Monitor: Regularly inspect and maintain the roof vent to ensure its continued functionality. Clear any debris that may accumulate on or around the vent to prevent blockages. Monitor the ventilation system’s performance and address any issues promptly.
5. Consult a Professional: If you have any doubts or concerns about the installation or the performance of the roof vent, consult a professional. They can provide expert advice and assistance to ensure that everything is in proper working order.
By following these final steps, you’ll complete the roof vent installation process and have a fully functioning and efficient ventilation system. Regular maintenance and monitoring will help ensure that your roof vent continues to provide optimal airflow and protects your home for years to come.
Conclusion
Installing a roof vent is an important step towards improving ventilation and maintaining a healthy living environment in your home. Proper roof ventilation not only enhances airflow but also helps to regulate temperature, reduce moisture buildup, and prevent damage to your roof and attic.
Throughout this comprehensive guide, we have covered the step-by-step process of installing a roof vent. From preparing the roof and determining ventilation needs to selecting the right vent, cutting the hole, and sealing the installation, each step plays a crucial role in ensuring a successful installation.
Remember to gather all the necessary tools and materials before starting the installation process. Safety should always be a priority, so make sure to wear protective gear and follow appropriate safety measures.
By carefully measuring, marking, and cutting the hole for the vent, you create a solid foundation for installation. The proper selection and secure attachment of the roof vent, along with sealing and insulating, help ensure efficient airflow and prevent potential leaks or air leaks.
After finalizing the installation, it’s crucial to regularly maintain and monitor the roof vent. Clear any debris, inspect for damage, and seek professional assistance if needed.
By following this guide, you can confidently install a roof vent and improve the ventilation system in your home. Enjoy the benefits of proper airflow, energy efficiency, and a comfortable living environment.
Remember, if you’re unsure or uncomfortable with any part of the installation process, it’s always best to consult a professional for expert assistance. With proper installation and maintenance, your roof vent will provide effective ventilation for years to come.
Frequently Asked Questions about How To Install A Roof Vent
Was this page helpful?
At Storables.com, we guarantee accurate and reliable information. Our content, validated by Expert Board Contributors, is crafted following stringent Editorial Policies. We're committed to providing you with well-researched, expert-backed insights for all your informational needs.





0 thoughts on “How To Install A Roof Vent”