Articles
How To Install Modified Bitumen Roofing
Modified: October 18, 2024
Learn how to install modified-bitumen roofing with our comprehensive articles. Find step-by-step guides and expert tips for a successful roofing project.
(Many of the links in this article redirect to a specific reviewed product. Your purchase of these products through affiliate links helps to generate commission for Storables.com, at no extra cost. Learn more)
Introduction
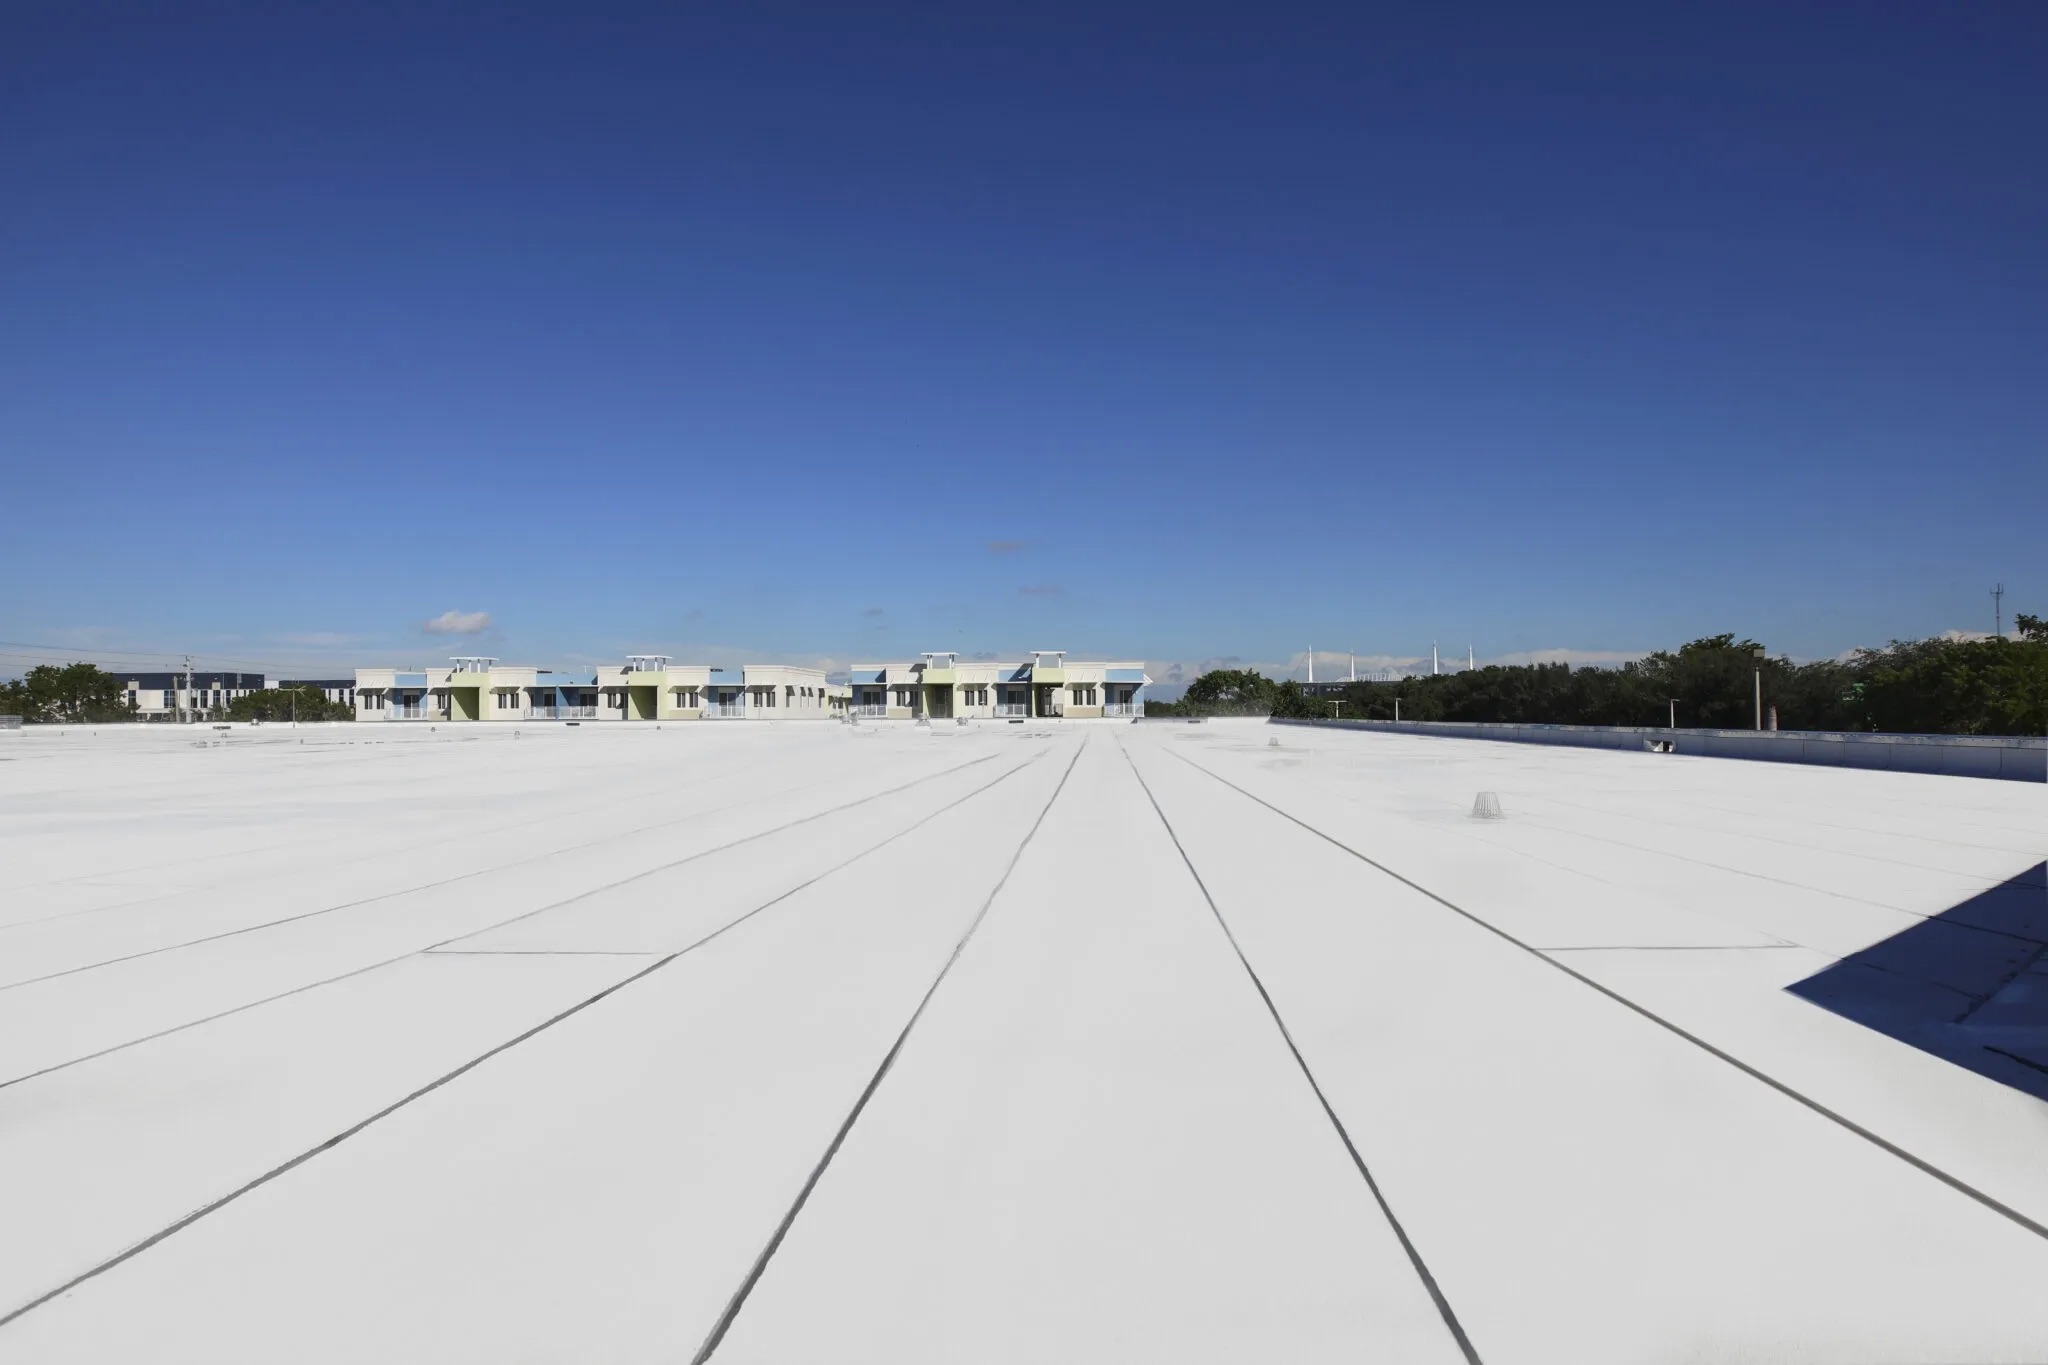
Installing a modified-bitumen roofing system is a great way to ensure the durability and longevity of your roof. This type of roofing material is known for its excellent weather resistance and stability, making it a popular choice for both residential and commercial buildings.
Modified-bitumen roofing is a combination of asphalt and rubber, creating a flexible and durable membrane that can withstand harsh weather conditions. It offers superior protection against UV rays, heat, and moisture, making it an ideal option for areas with extreme climates.
In this article, we will guide you through the step-by-step process of installing modified-bitumen roofing. Whether you are a DIY enthusiast looking to take on a roofing project or a professional contractor seeking a comprehensive guide, this article will provide you with the necessary information to successfully install this type of roofing.
Before we dive into the installation process, it’s essential to gather all the materials required for the project. Let’s take a look at the materials you will need:
Key Takeaways:
- Installing modified-bitumen roofing requires meticulous preparation, precise installation of base and cap sheets, and thorough seam sealing to ensure a durable and watertight roofing system.
- Regular inspections and maintenance are crucial for preserving the longevity and effectiveness of modified-bitumen roofing, preventing costly repairs, and ensuring long-lasting protection for your property.
Read more: How To Install A Roof Vent
Step 1: Gather the Materials
Before you begin installing modified-bitumen roofing, it’s important to gather all the necessary materials. Having everything on hand will ensure a smoother and more efficient installation process. Here are the materials you will need:
- Modified-bitumen roofing sheets: These sheets are the main component of your roof and provide the waterproofing layer. They are available in various styles and thicknesses, so choose the one that suits your specific needs.
- Roofing nails: These nails will be used to secure the roofing sheets to the roof surface. Make sure to choose nails with the appropriate length and gauge for your installation.
- Roofing adhesive: This adhesive is essential for bonding the roofing sheets to the roof surface. Opt for a high-quality adhesive that offers excellent adhesion and durability.
- Seam primer: Seam primer is used to prepare the surface for applying the adhesive at the seams and overlaps of the roofing sheets. It helps to improve the adhesion and durability of the seams.
- Roofing knife: A sharp and sturdy roofing knife is necessary for cutting the roofing sheets to the desired size and shape. Make sure to have extra blades on hand for a smooth and precise cutting process.
- Roofing roller: This tool is used to ensure proper adhesion of the roofing sheets to the roof surface and to remove any air bubbles or wrinkles. It helps to create a smooth and uniform appearance.
- Measuring tape: Accurate measurements are crucial for a successful roofing installation. A measuring tape will help you determine the dimensions of the roofing sheets and ensure a precise fit on your roof.
By gathering all these materials before you start the installation process, you can avoid interruptions and delays, allowing for a more efficient and effective installation of your modified-bitumen roofing.
Step 2: Prepare the Roof Surface
Before installing the modified-bitumen roofing, it’s essential to properly prepare the roof surface. This step ensures the longevity and effectiveness of the roofing system. Follow these steps to prepare the roof surface:
- Clean and remove any debris: Start by thoroughly cleaning the roof surface to remove any dirt, debris, or loose materials. Use a broom or a brush to sweep away leaves, twigs, and other debris. Additionally, consider using a pressure washer to effectively clean the surface.
- Repair damaged areas: Inspect the roof for any signs of damage, such as cracks, leaks, or deteriorated areas. Repair these issues before proceeding with the installation. Use roofing cement or a suitable sealant to fix any leaks or cracks, ensuring a watertight surface.
- Apply primer to the surface: Before applying the modified-bitumen membrane, it’s crucial to apply a primer to the roof surface. The primer improves the adhesion of the roofing sheets and helps create a secure bond. Follow the manufacturer’s instructions to apply the primer evenly across the entire surface.
Properly preparing the roof surface is vital for the success of your modified-bitumen roofing installation. By cleaning the surface, repairing any damages, and applying a primer, you are creating a stable base for the roofing system, ensuring its effectiveness and longevity.
Step 3: Install the Base Sheet
Installing the base sheet is a crucial step in the modified-bitumen roofing installation process. The base sheet provides the foundation for the roofing system and ensures proper waterproofing. Follow these steps to install the base sheet:
- Measure and cut the base sheet: Start by measuring the dimensions of the roof area and cut the base sheet accordingly. Leave a small overhang, typically around 2-3 inches, at the edges to allow for proper sealing and coverage.
- Apply adhesive to the roof surface: Using a suitable roofing adhesive, apply a layer of adhesive to the roof surface. Follow the adhesive manufacturer’s instructions and ensure even coverage across the entire area where the base sheet will be placed.
- Roll out and press the base sheet onto the adhesive: Carefully roll out the base sheet onto the adhesive, ensuring proper alignment and positioning. Use a roofing roller to press the base sheet securely onto the adhesive, smoothing out any wrinkles or air bubbles.
During the installation process, it’s important to pay attention to the proper alignment and overlap of the base sheet. Ensure that each sheet overlaps the previous one by the specified amount, usually around 2-3 inches, to create a reliable and watertight seam.
By properly measuring, cutting, and securely attaching the base sheet, you are establishing the foundation of your modified-bitumen roofing system. This step sets the stage for the subsequent installation of the cap sheet and ensures the overall effectiveness and durability of the roofing system.
Step 4: Install the Cap Sheet
Installing the cap sheet is the next important step in the modified-bitumen roofing installation process. The cap sheet provides an additional layer of protection and enhances the durability of the roofing system. Follow these steps to install the cap sheet:
- Cut and measure the cap sheet: Measure the dimensions of the roof area and cut the cap sheet accordingly. Similar to the base sheet, leave a small overhang at the edges for proper sealing and coverage.
- Apply adhesive to the base sheet: Using a roofing adhesive, apply a layer of adhesive onto the base sheet. Spread the adhesive evenly to ensure proper adhesion of the cap sheet.
- Roll out and press the cap sheet onto the adhesive: Carefully roll out the cap sheet onto the adhesive, aligning it with the base sheet. Use a roofing roller to press the cap sheet firmly onto the adhesive, smoothing out any wrinkles or air bubbles.
Just like with the base sheet, ensure that each cap sheet overlaps the previous one by the specified amount, typically around 2-3 inches, to create a robust and watertight seam.
It’s important to note that some cap sheets may require the use of a heat welder to fuse the seams together. Follow the manufacturer’s instructions for the specific cap sheet you are using to ensure a proper installation.
By carefully measuring, cutting, and securely attaching the cap sheet, you are adding an additional layer of protection and reinforcing the durability of your modified-bitumen roofing system. This step enhances the waterproofing capabilities of the roofing and prepares it for the next crucial steps in the installation process.
When installing modified-bitumen roofing, make sure to properly clean and prepare the substrate before applying the adhesive. This will ensure a strong and durable bond for the roofing material.
Read more: How To Install Roll Roofing
Step 5: Seal the Seams
Properly sealing the seams of the modified-bitumen roofing is essential for ensuring a watertight and durable roofing system. The seams provide a vulnerable area where water can penetrate if not adequately sealed. Follow these steps to seal the seams:
- Apply seam primer to the seams: Using a brush or a roller, apply a suitable seam primer to the seams and overlaps of the roofing sheets. The primer helps improve the adhesion of the sealing material and enhances the overall strength of the seams.
- Cut and measure modified-bitumen tape: Measure the length needed to cover each seam and cut the modified-bitumen tape accordingly. The tape should be wide enough to fully cover the seam and create a secure bond.
- Press the tape onto the seams: Carefully place the modified-bitumen tape onto the primed seams, ensuring it covers the entire seam length. Use a roofing roller to firmly press the tape onto the seams, creating a strong and watertight seal.
When applying the modified-bitumen tape, ensure that it is securely adhered to the roofing surface and that there are no gaps or air pockets underneath. Smooth out any wrinkles or bubbles using the roofing roller for a consistent and reliable seal.
Sealing the seams effectively prevents water infiltration and strengthens the overall integrity of the modified-bitumen roofing system. This step is crucial in ensuring long-lasting protection against various weather elements.
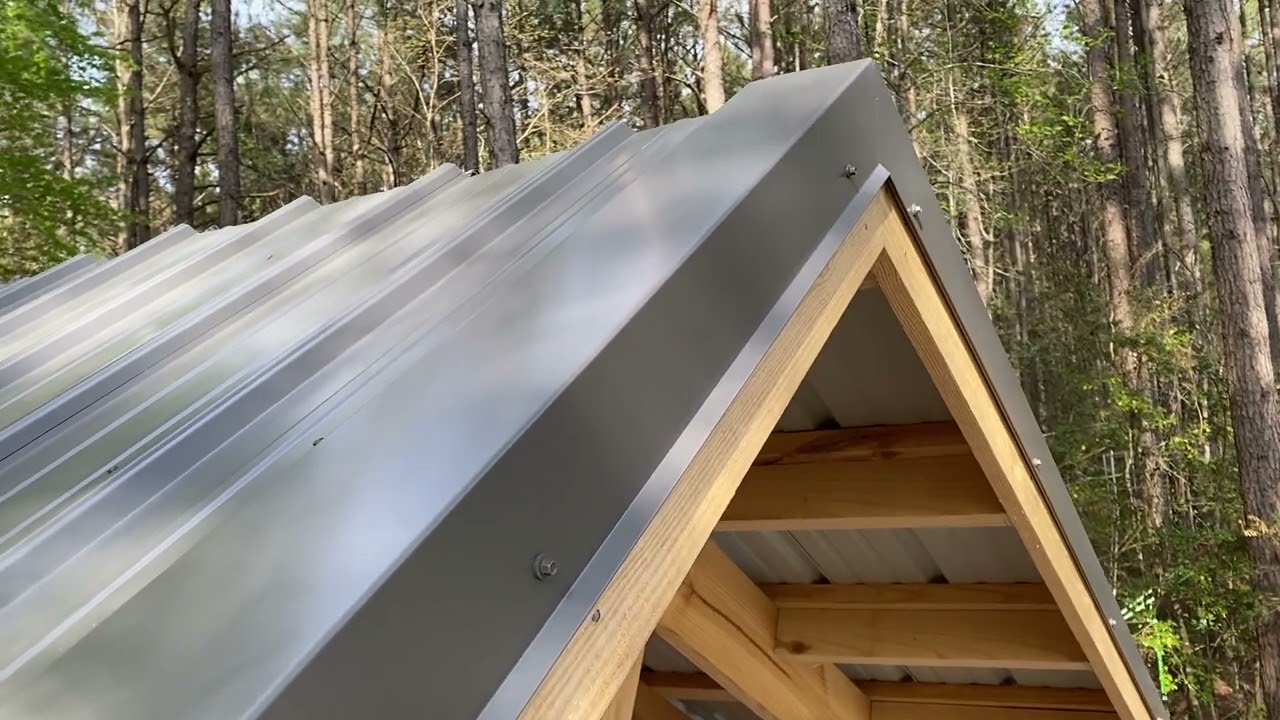
Step 6: Finish the Edges and Flashings
Finishing the edges and installing flashings is an important step in completing the installation of a modified-bitumen roofing system. This step ensures proper drainage and protects vulnerable areas of the roof. Follow these steps to finish the edges and install flashings:
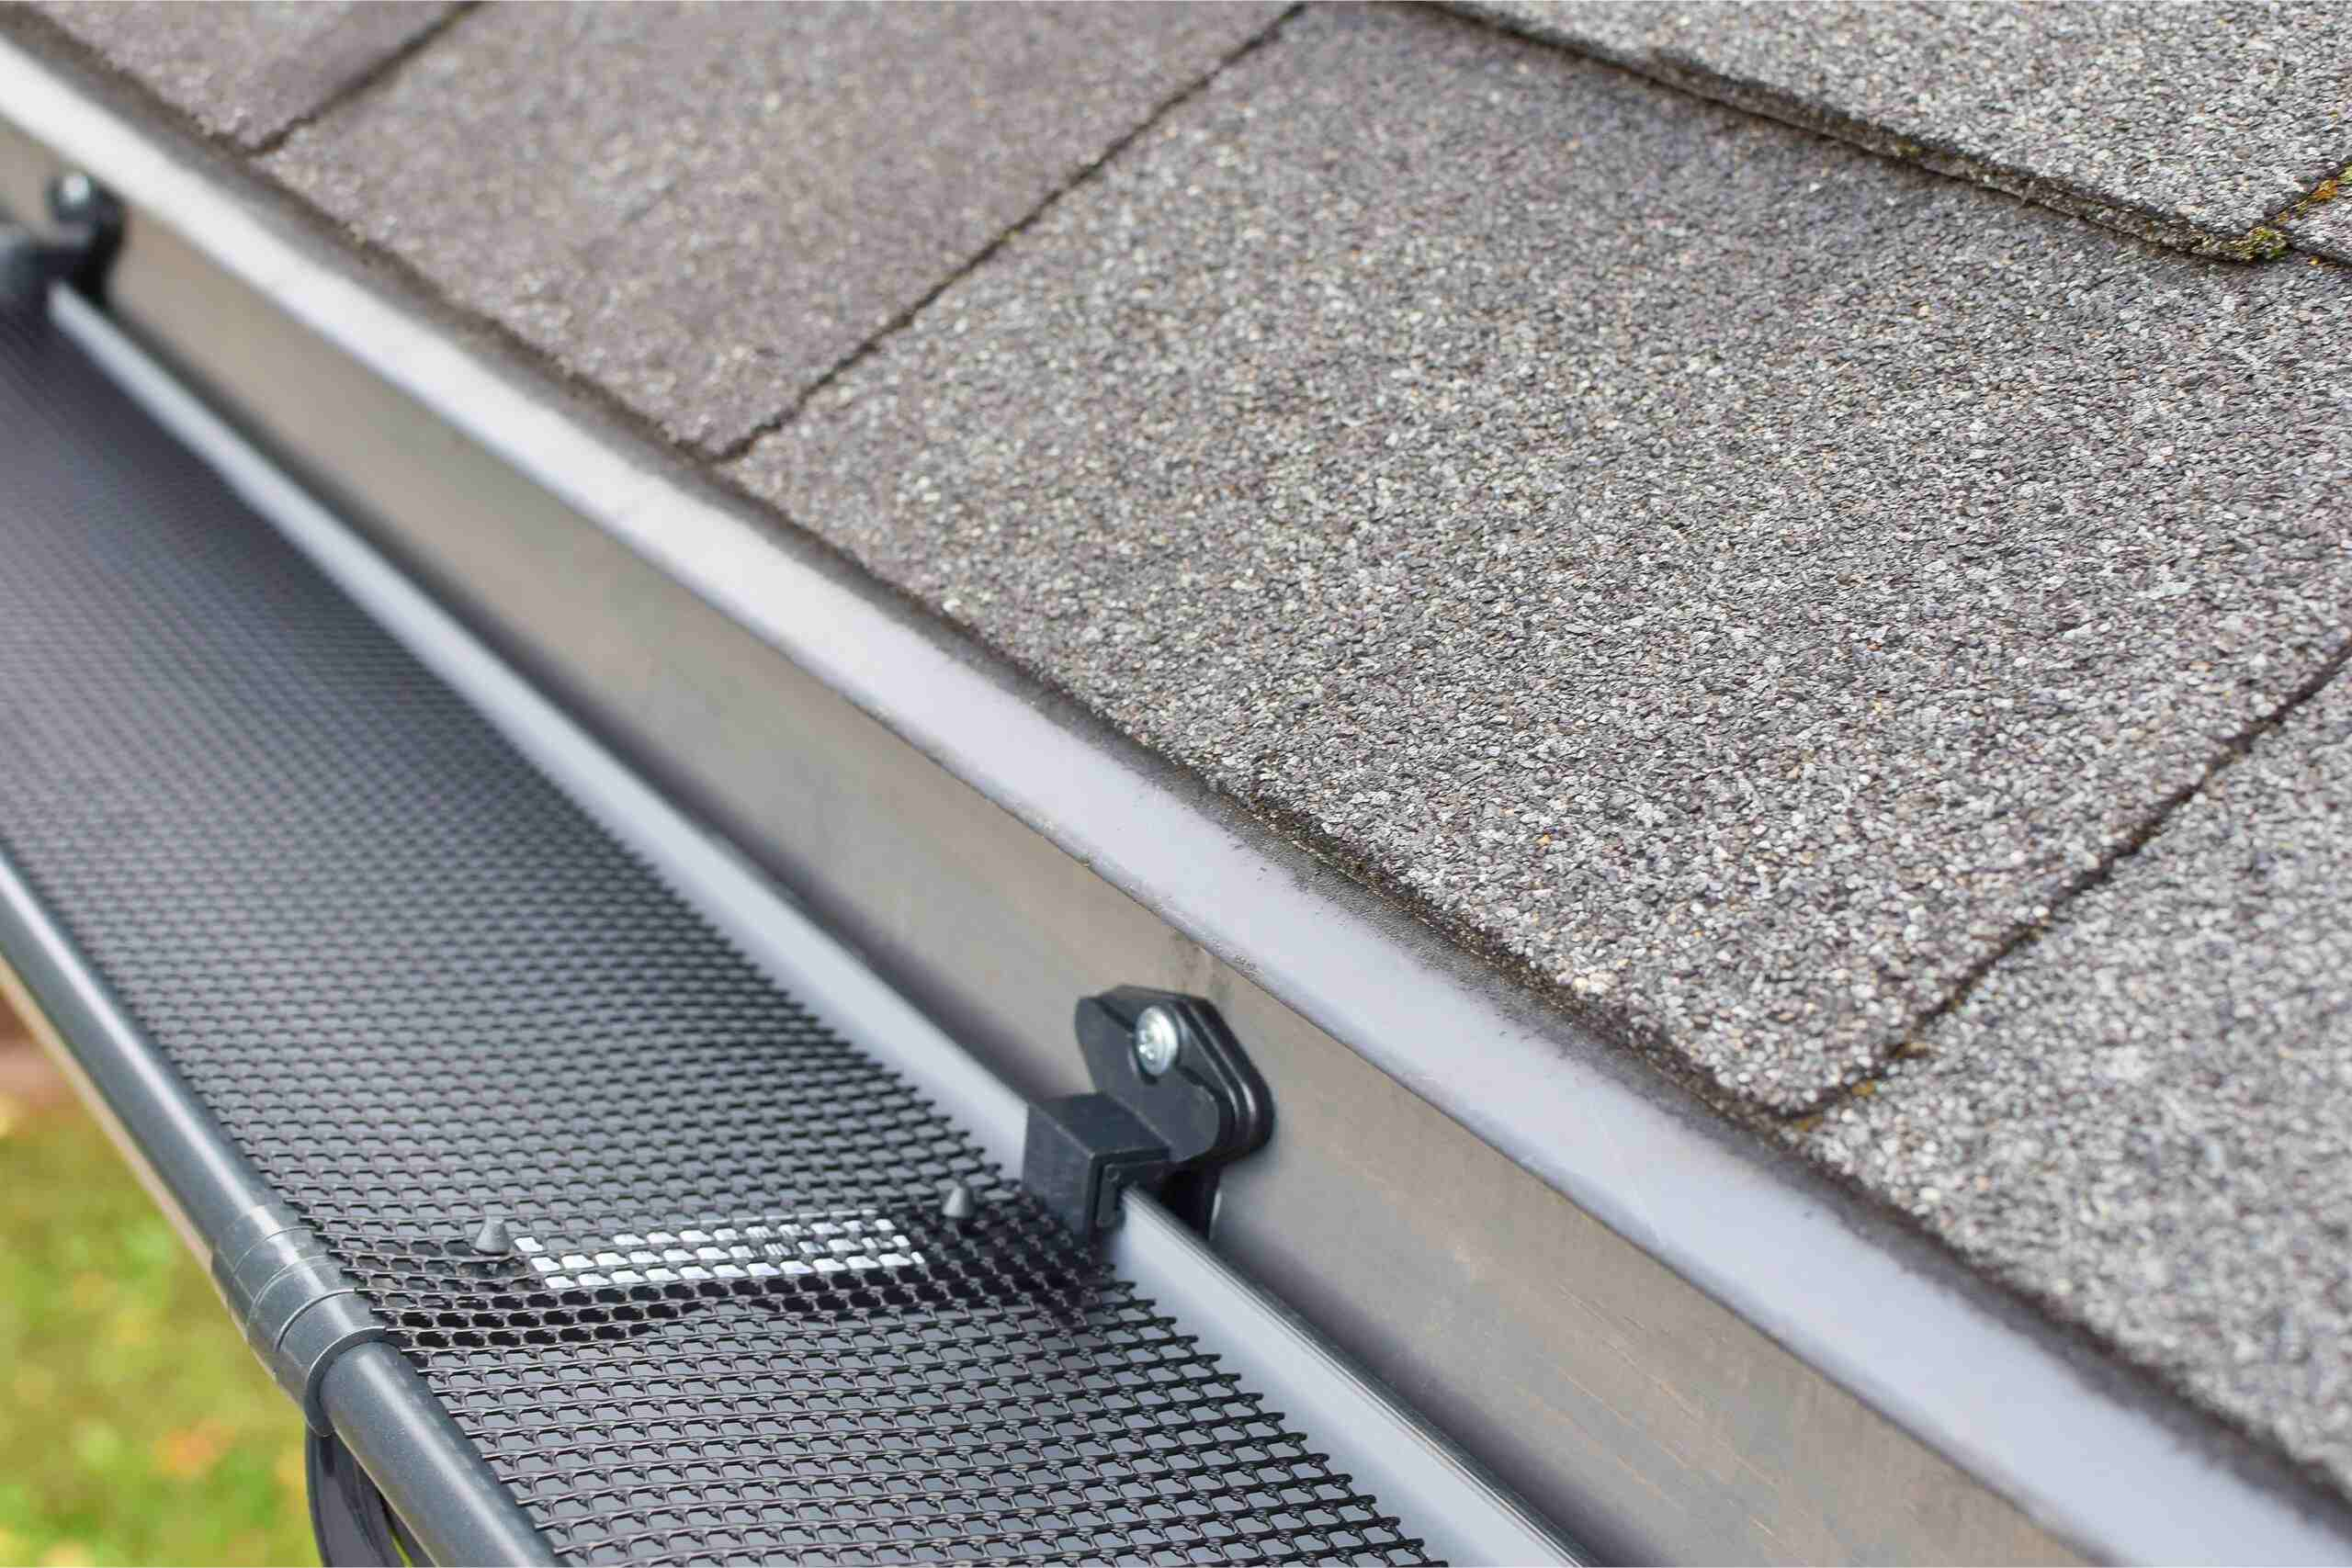
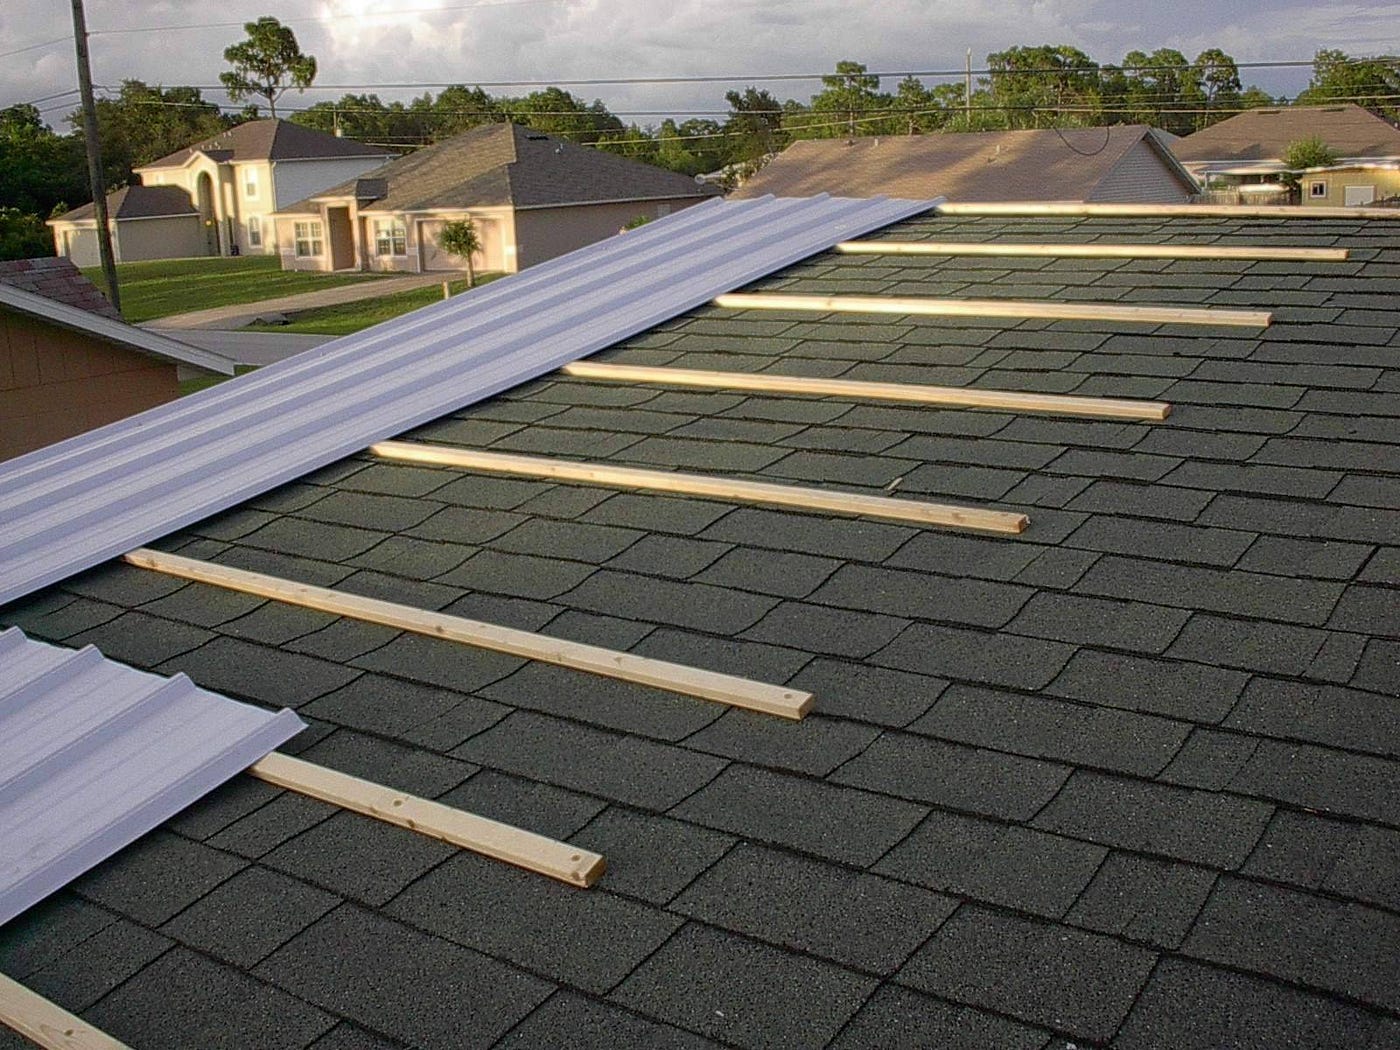
- Install drip edges along the roof edges: Drip edges are metal strips that are installed along the edges of the roof to redirect water away from the fascia and prevent water damage. Secure the drip edges in place using roofing nails, making sure they overlap each other for proper water flow.
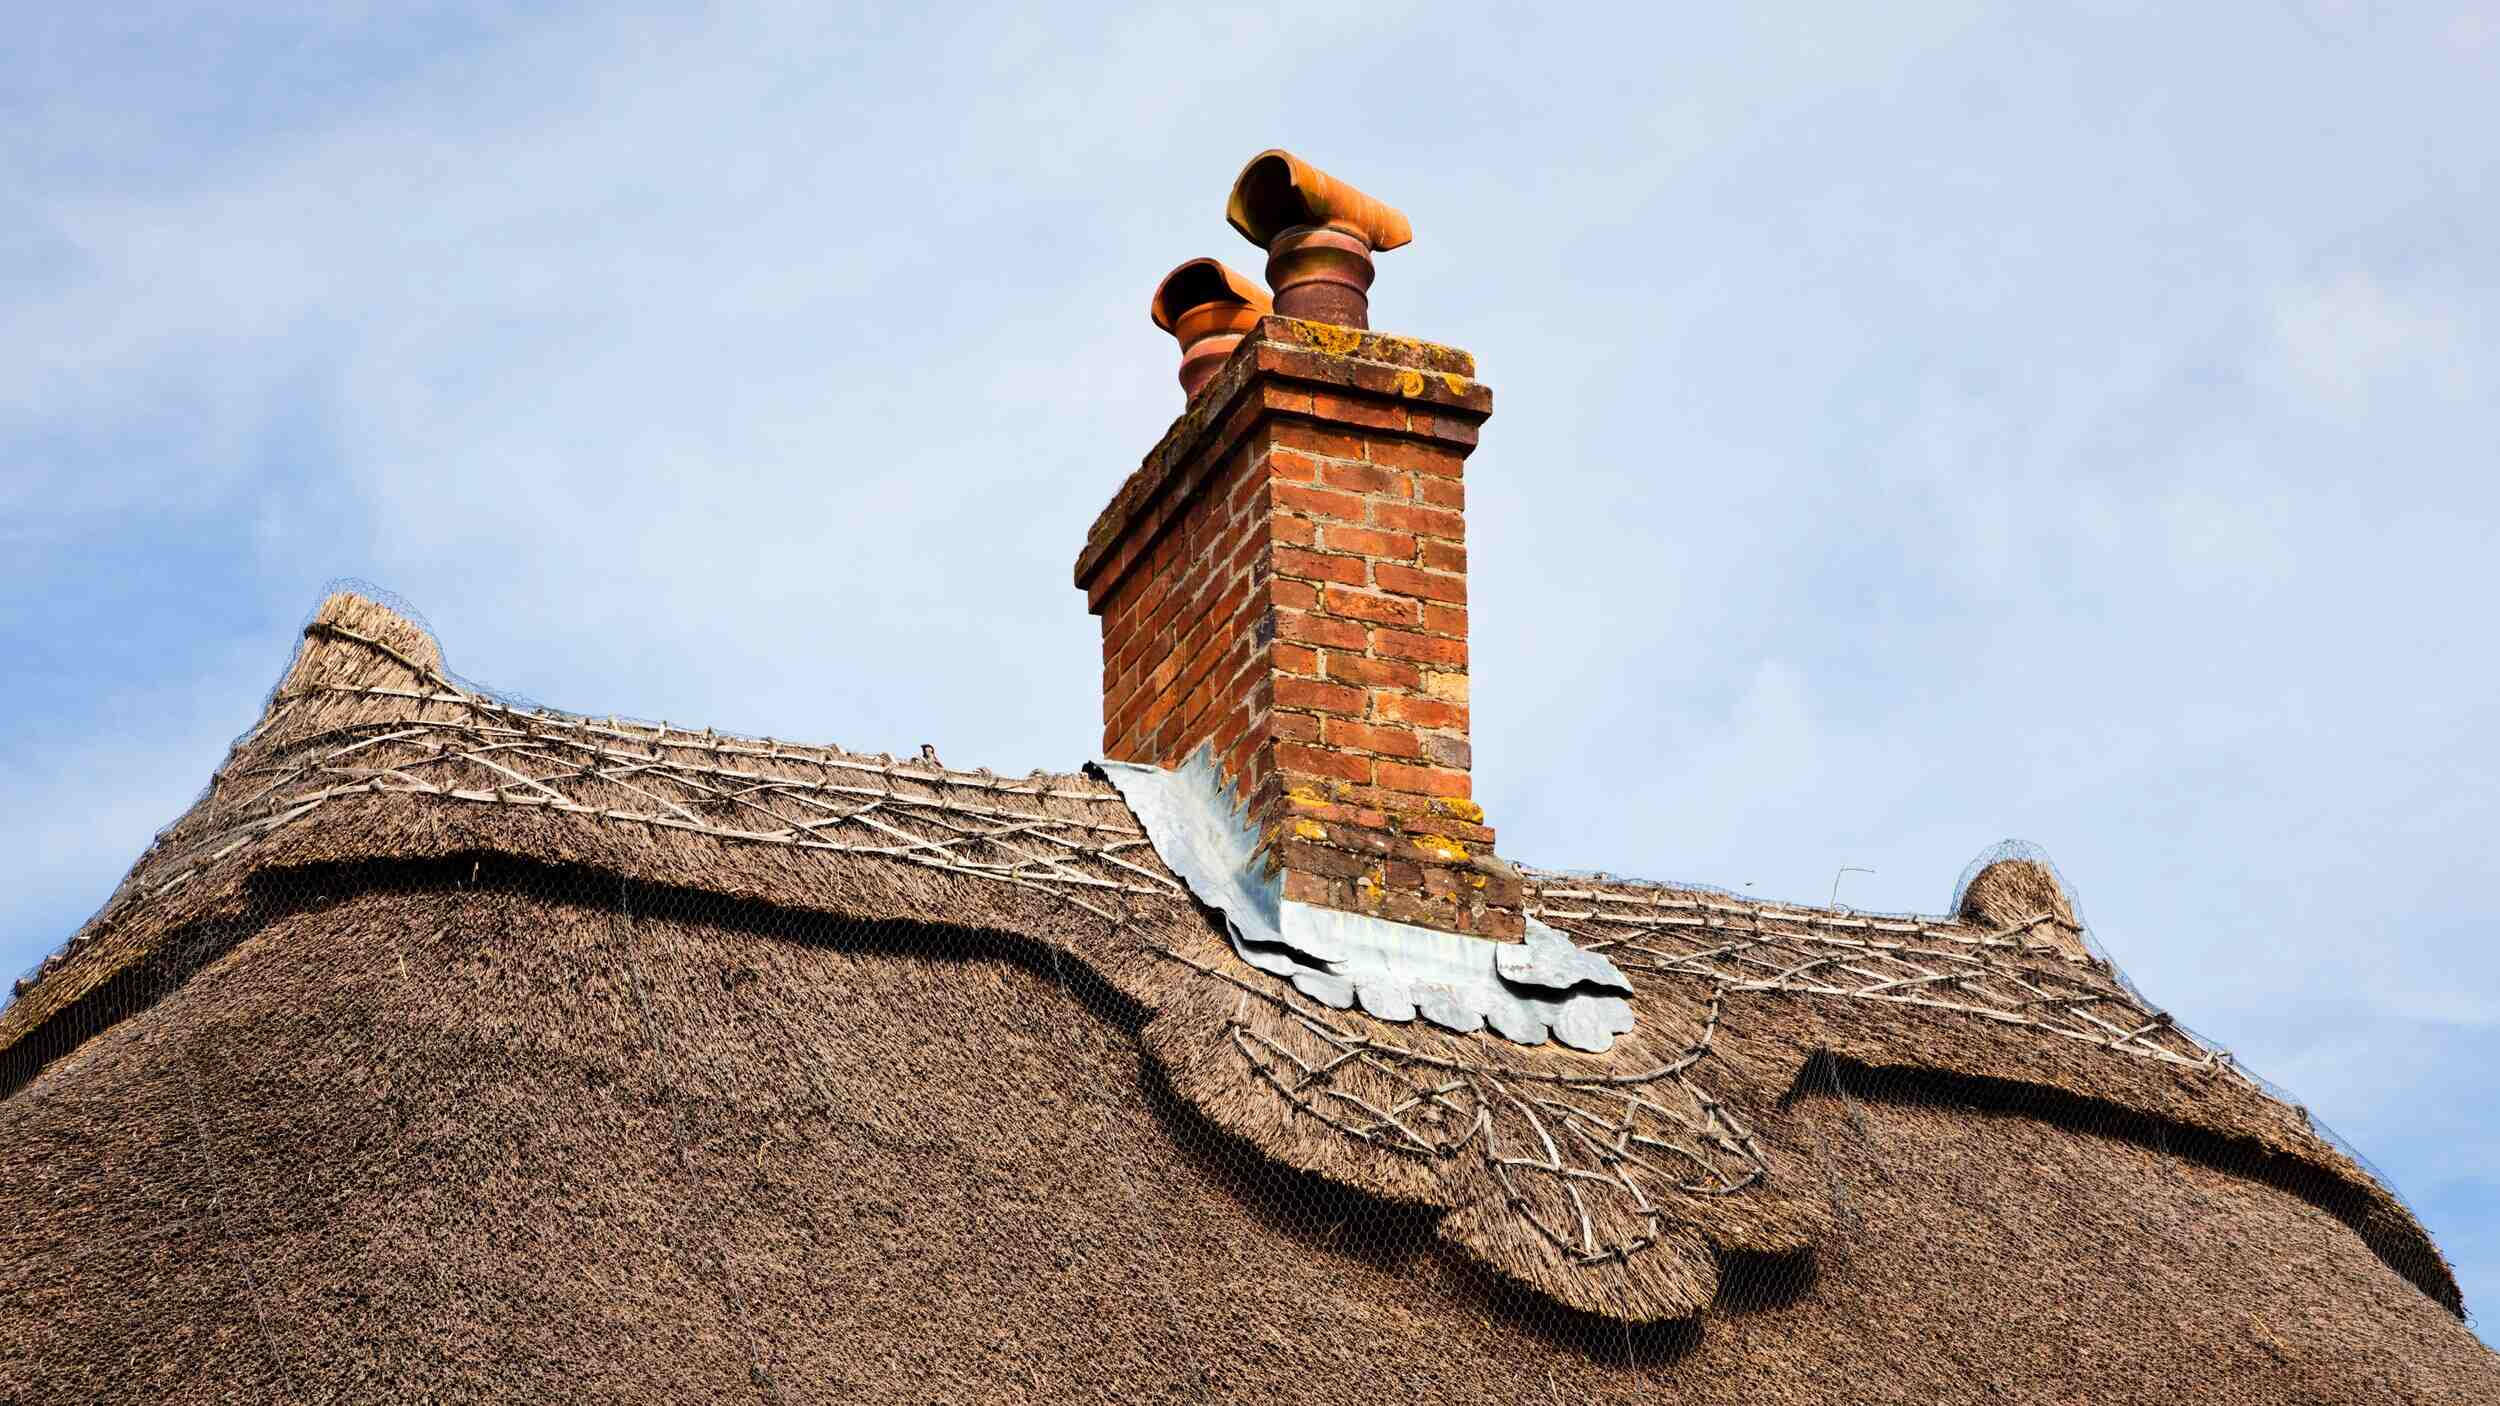
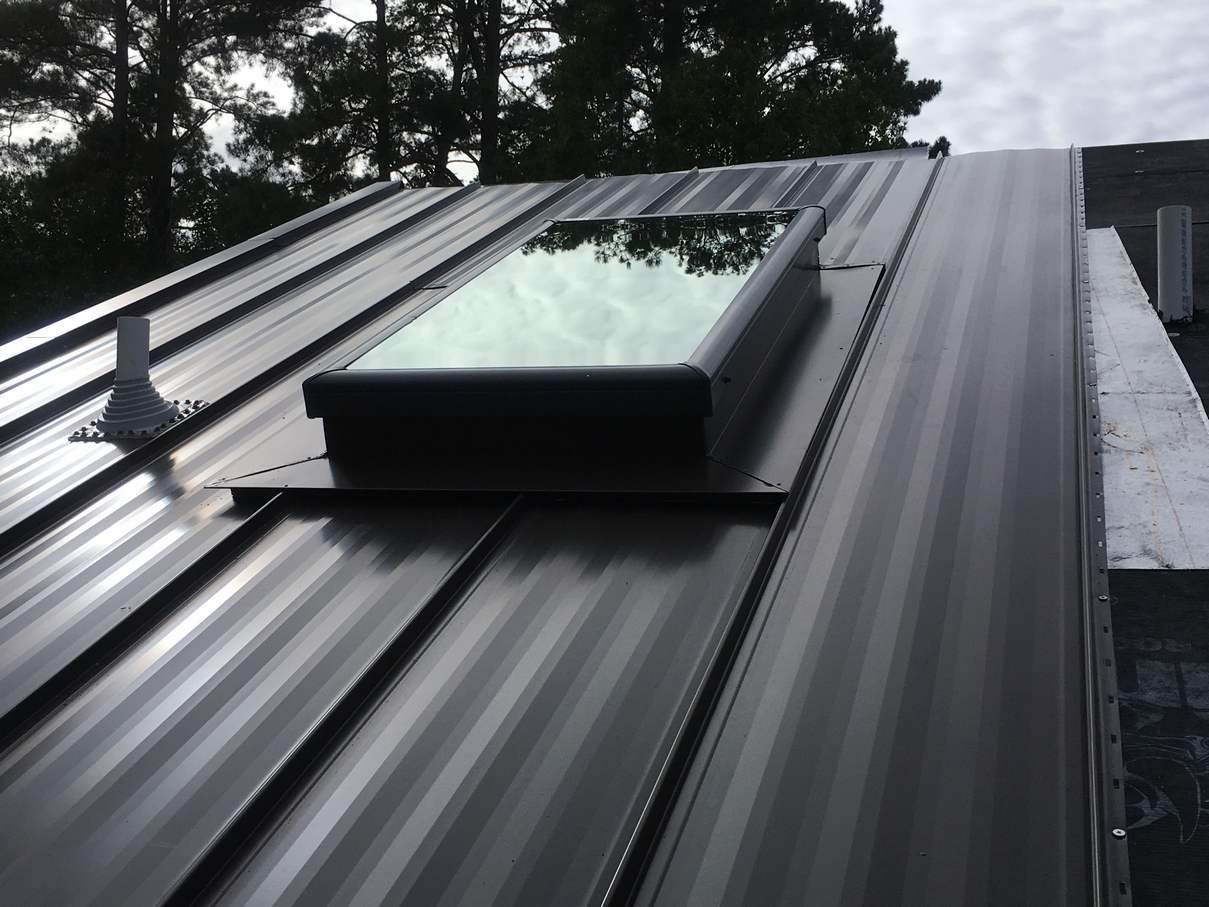
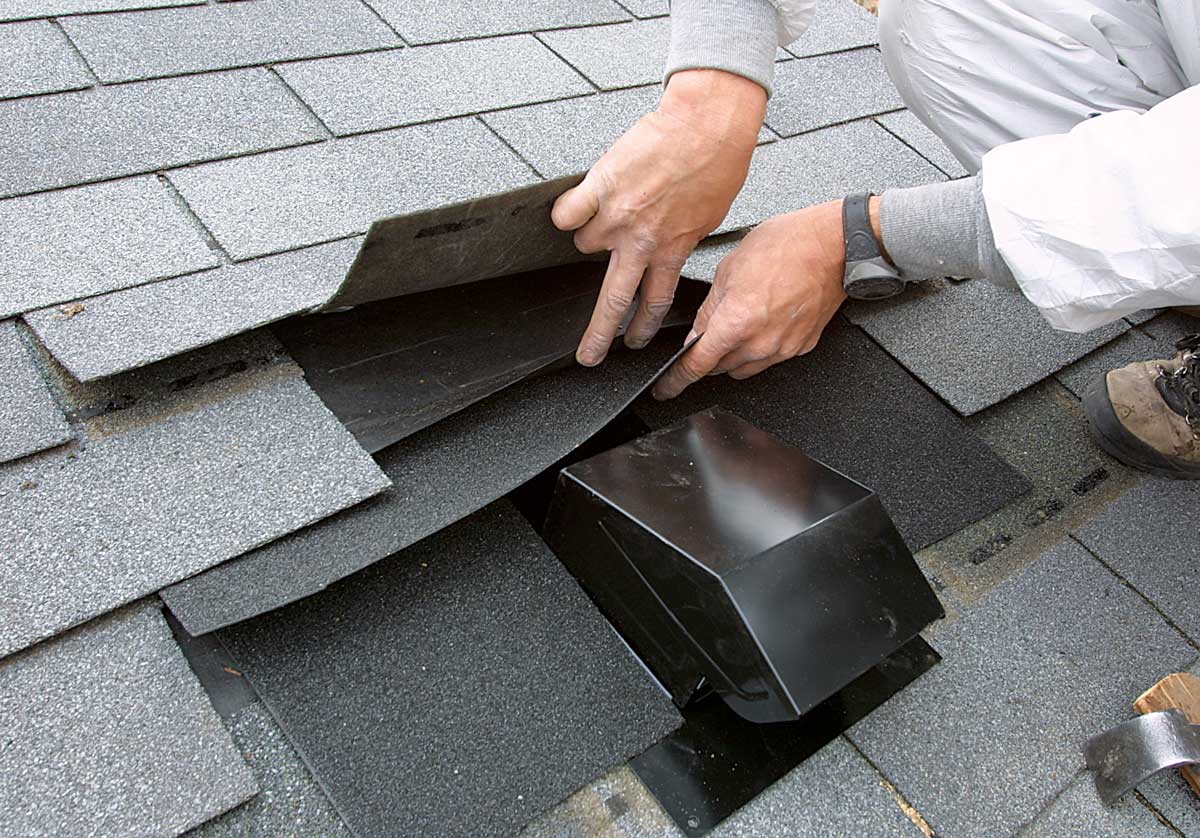
- Secure flashings around chimneys, vents, and penetrations: Flashings act as protective barriers around chimneys, vents, and other roof penetrations. Cut the flashings to the appropriate size and shape, ensuring they cover the vulnerable areas completely. Secure the flashings using roofing nails or screws, ensuring a tight fit.
When installing flashings, it’s crucial to create a watertight seal between the flashing and the roofing material. Apply roofing adhesive or sealant along the edges of the flashings to ensure a secure bond and prevent water from seeping in.
Properly finishing the edges and installing flashings is essential for maintaining the integrity of the modified-bitumen roofing system. Drip edges redirect water away from the edge of the roof, preventing water damage and potential leaks. Flashings protect vulnerable areas from water intrusion and help maintain a waterproof barrier.
Step 7: Inspect and Maintain the Modified-Bitumen Roofing
Inspecting and maintaining your modified-bitumen roofing is essential for ensuring its long-term functionality and durability. Regular inspections and maintenance will help identify any potential issues early on and prevent costly repairs. Follow these steps to inspect and maintain your modified-bitumen roofing:
- Inspect for any damages or issues: Regularly inspect your roof for any signs of damage, such as cracks, tears, or loose seams. Look for areas where the roofing has become discolored or bubbled, as this can indicate underlying problems. Address any damages promptly to prevent further deterioration.
- Clean the roof surface regularly: Remove any debris, leaves, or branches that may have accumulated on the roof surface. Use a soft-bristle brush or a leaf blower to gently clean the area. Avoid using harsh cleaning chemicals or abrasive tools that can damage the roofing material.
- Schedule periodic inspections and maintenance: It’s important to have your modified-bitumen roofing inspected by a professional on a regular basis. They can identify any potential issues and recommend necessary repairs or maintenance. Additionally, consider scheduling routine maintenance, such as reapplying seams or adding protective coatings, to extend the lifespan of your roof.
By regularly inspecting your modified-bitumen roofing and promptly addressing any issues, you can prevent more significant problems down the line. Keeping the roof surface clean and free of debris will help maintain its aesthetic appeal and prevent any potential blockages or damage to the drainage system.
Remember to consult with a professional roofing contractor for any complex repairs or maintenance tasks. They have the expertise and experience to assess and handle the specific needs of your modified-bitumen roofing.
By following these steps and implementing regular inspections and maintenance, you can ensure that your modified-bitumen roofing remains in optimal condition and provides long-lasting protection for your property.
Conclusion
Installing a modified-bitumen roofing system is a practical and effective way to ensure the durability and longevity of your roof. By following the step-by-step process outlined in this article, you can successfully install this type of roofing and enjoy its many benefits. From gathering the necessary materials to properly preparing the roof surface, installing the base and cap sheets, sealing the seams, finishing the edges, and maintaining the roof, each step plays a vital role in creating a robust and watertight roofing system.
Modified-bitumen roofing offers excellent weather resistance, stability, and protection against UV rays, heat, and moisture. Its flexibility and durability make it a popular choice for residential and commercial buildings in various climates. By installing this type of roofing, you can gain peace of mind knowing that your property is well-protected from the elements.
However, it’s important to remember that proper maintenance and regular inspections are necessary to ensure the continued performance of your modified-bitumen roofing. By inspecting for damages or issues, cleaning the roof surface regularly, and scheduling periodic inspections and maintenance, you can identify and address any potential problems before they worsen. This proactive approach will help extend the lifespan of your roof and prevent costly repairs down the line.
In conclusion, installing a modified-bitumen roofing system requires careful planning, precise execution, and ongoing maintenance. By following the steps outlined in this article and consulting with professionals when needed, you can enjoy the benefits of a durable and reliable roofing system that provides long-lasting protection for your property.
Frequently Asked Questions about How To Install Modified Bitumen Roofing
Was this page helpful?
At Storables.com, we guarantee accurate and reliable information. Our content, validated by Expert Board Contributors, is crafted following stringent Editorial Policies. We're committed to providing you with well-researched, expert-backed insights for all your informational needs.


0 thoughts on “How To Install Modified Bitumen Roofing”