
Articles
How To Make A Four Patch Quilt Block
Modified: January 5, 2024
Learn how to make a four patch quilt block with our informative articles. Explore step-by-step instructions, tips, and techniques to create beautiful quilts.
(Many of the links in this article redirect to a specific reviewed product. Your purchase of these products through affiliate links helps to generate commission for Storables.com, at no extra cost. Learn more)
Introduction
Welcome to the world of quilting! If you’re a beginner quilter looking to start your quilting journey or a seasoned quilter looking for a fun and versatile quilt block pattern, the four patch quilt block is an excellent choice. The four patch quilt block is a classic and timeless design that can be used in various quilting projects, from small mug rugs to large bed quilts.
Not only is the four patch quilt block visually appealing, but it is also beginner-friendly, making it perfect for those who are new to quilting. In this article, we will guide you through the step-by-step process of creating a four patch quilt block.
Before we dive into the details, let’s quickly go over the materials you will need.
Key Takeaways:
- Master the art of creating stunning four patch quilt blocks with this beginner-friendly and versatile pattern. Enjoy the process and embrace the satisfaction of creating something beautiful with your own hands.
- Experiment with different fabric combinations, colors, and patterns to create unique and stunning quilt designs. Have fun and unleash your creativity as you continue your quilting journey.
Read more: How To Make A 9 Patch Quilt Block
Materials Needed
Before getting started with your four patch quilt block, gather the following materials:
- Fabric: Choose a variety of fabrics in different colors and patterns to create visual interest in your quilt block. You will need at least four different fabric prints or solids.
- Ruler: A quilting ruler with clear measurements will help ensure accurate cutting and piecing.
- Cutting mat: A self-healing cutting mat provides a stable surface for cutting fabric without damaging your work surface or tools.
- Rotary cutter: A rotary cutter makes cutting fabric easy and precise.
- Thread: Use a good quality thread that matches or complements your fabric colors.
- Sewing machine: A sewing machine will make the piecing process quicker and more efficient, but you can also hand sew if preferred.
- Pins: Use pins to hold fabric pieces together while sewing.
- Iron and ironing board: Pressing seams is crucial in quilting, so make sure you have an iron and ironing board handy.
- Scissors: Use scissors to trim excess threads and fabric.
Now that you have gathered all the necessary materials, let’s move on to cutting the fabric.
Step 1: Cutting the fabric
The first step in creating a four patch quilt block is to cut the fabric into the desired sizes. Here’s how to do it:
- Select the fabrics you want to use for your quilt block. Choose contrasting colors or prints for a vibrant and dynamic look.
- Using your ruler and rotary cutter, cut each fabric into squares of equal size. The size of the squares will depend on your desired finished block size. For example, if you want a 6-inch finished block, cut each fabric square to measure 3.5 inches.
- If you are making multiple four patch quilt blocks, repeat the cutting process to obtain the desired number of fabric squares.
By cutting your fabric accurately, you ensure that your quilt blocks will come together without any issues during the piecing process. Now that you have your fabric squares ready, it’s time to move on to sewing the four patches.
Step 2: Sewing the four patches
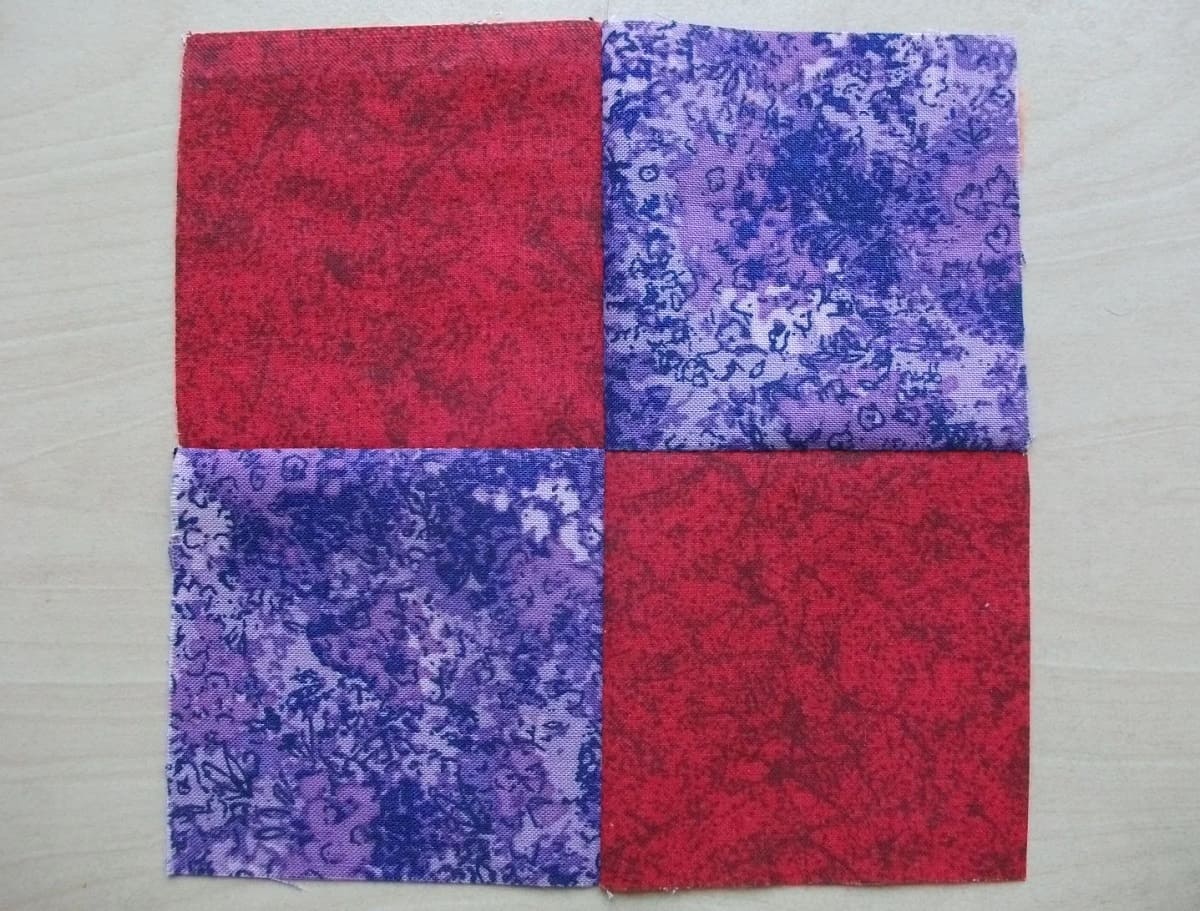
Now that you have your fabric squares cut, it’s time to sew them together to create the four patch quilt block. Follow these steps:
- Take two fabric squares and place them right sides together, aligning the edges.
- Using a 1/4 inch seam allowance, sew along one side of the fabric squares. Repeat the process with the remaining two fabric squares.
- Open up the sewn fabric squares and press the seam allowance to one side. This will help the seams lay flat and reduce bulk.
- Place the two sewn fabric units right sides together, matching the seams. Make sure the seams nest together for accuracy.
- Sew along one side with a 1/4 inch seam allowance. Press the seam allowance to one side.
By sewing the fabric squares together in this way, you will create four patches that form the foundation of your quilt block. Once you have sewn all your four patches, it’s time to assemble the quilt block.
When sewing the four patch quilt block, press the seams open to reduce bulk and create a flatter block for easier quilting.
Step 3: Assembling the quilt block
Now that you have your four patches ready, it’s time to assemble the quilt block. Follow these steps:
- Lay out your four patches in the desired pattern. You can arrange them randomly or create a specific design by strategically placing the fabric squares.
- Once you are satisfied with the layout, take the first two patches and place them right sides together, aligning the edges.
- Sew along one side with a 1/4 inch seam allowance and press the seam allowance open.
- Repeat the process with the remaining two patches, forming two rows.
- Place the two rows right sides together, matching the seams. Sew along one side with a 1/4 inch seam allowance and press the seam open.
By assembling the four patches in this manner, you will create a cohesive quilt block. Make sure to press the seams open or to one side after each step to ensure a flat and professional-looking quilt block.
Once you have assembled your quilt block, it’s important to press the seams to give it a polished look.
Read more: How To Make A Block Quilt
Step 4: Pressing the seams
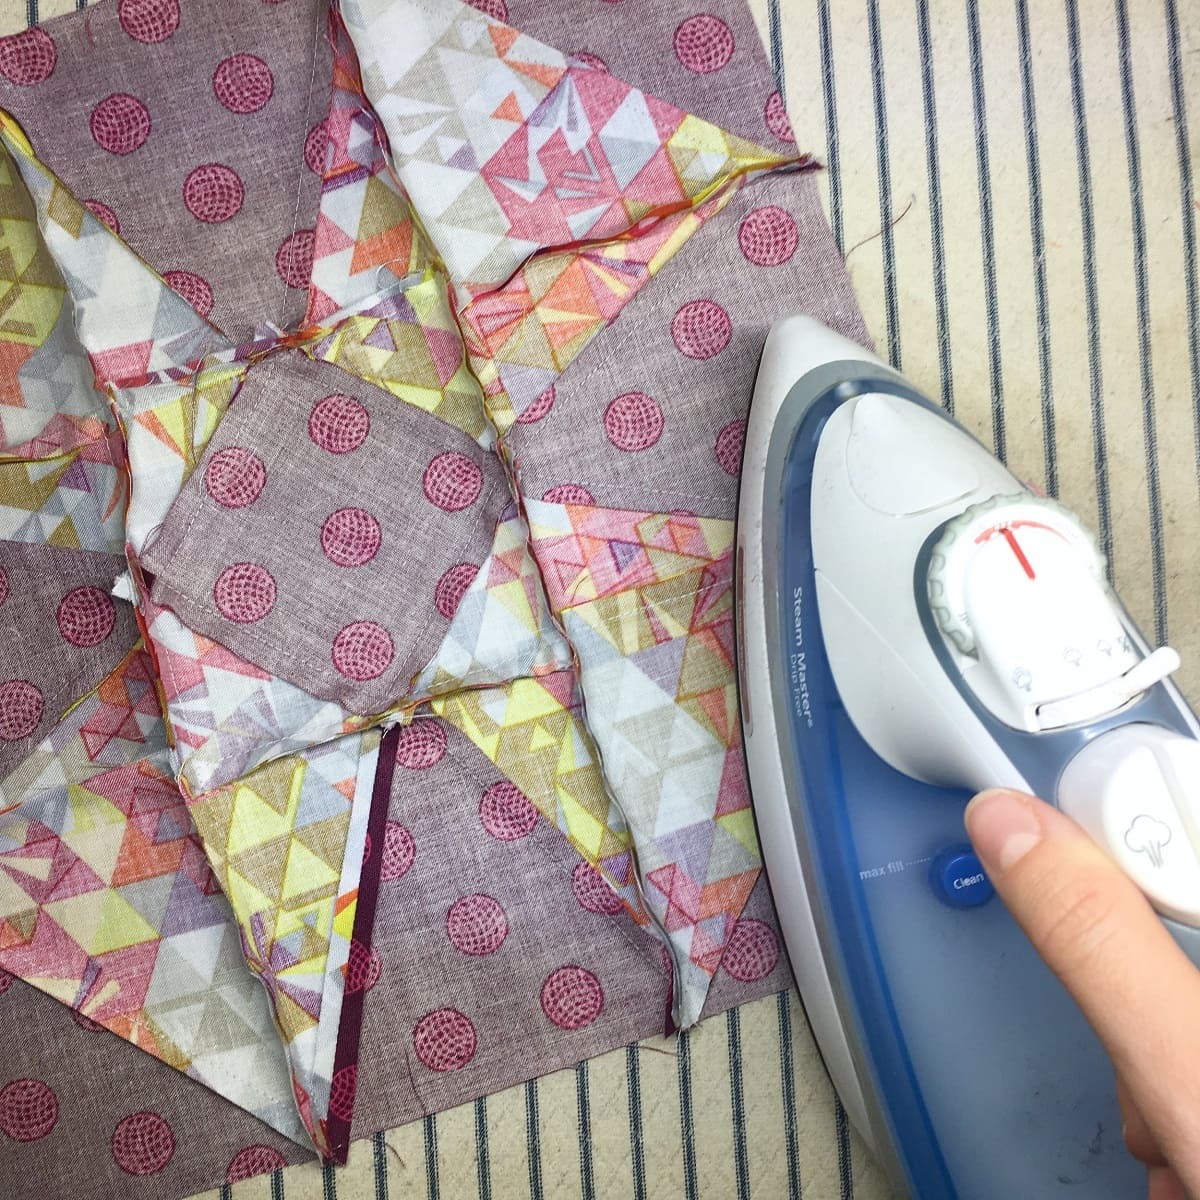
Pressing the seams is a crucial step in quilting as it helps set the stitches and creates a polished finish. Follow these steps to properly press the seams of your quilt block:
- Before pressing, give your quilt block a quick once-over to remove any loose threads or fabric lint.
- Place your quilt block on the ironing board, with the seam side facing up.
- Using a hot iron, press the seam gently to set it.
- If you pressed your seams open in the previous steps, continue pressing them open, running the iron along the seam line.
- If you pressed your seams to one side, press them in the direction specified in the pattern or in a way that reduces bulk and creates a neat appearance.
- Continue pressing all the seams of your quilt block until it lies flat and the stitches are securely set.
Properly pressed seams not only improve the overall appearance of your quilt block but also make it easier to sew together with other blocks in your quilt. Once you have pressed the seams, your four patch quilt block is almost complete.
Step 5: Finishing touches
Now that you have completed the main steps of creating a four patch quilt block, it’s time to add some finishing touches to make your block stand out. Here are a few options to consider:
- Sashing: Add sashing strips between your quilt blocks to create separation and give your quilt a more cohesive look. Choose a fabric that complements your block colors.
- Borders: Add borders to your quilt block to frame it and make it visually appealing. You can choose a contrasting fabric or continue with the same fabric used in the block.
- Quilting: Decide on the quilting design you want to use to secure the layers of your quilt together. You can do simple straight line quilting, free-motion quilting, or any other design that suits your personal style.
- Binding: Finish your quilt block by sewing on the binding. Choose a fabric that complements your quilt’s colors and follow the steps for binding to achieve a clean and professional finish.
Remember, these finishing touches are optional and can be customized to your preferences. Feel free to get creative and add your personal touch to make your quilt block unique.
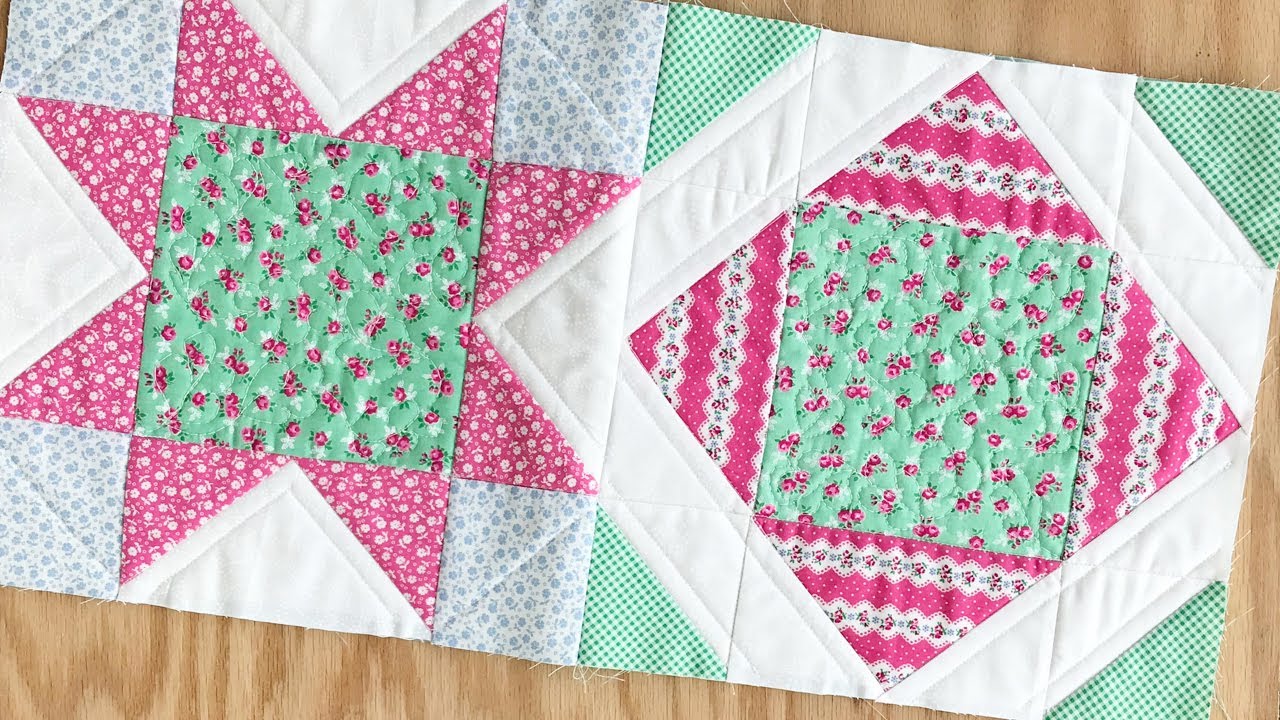
With the finishing touches in place, your four patch quilt block is complete and ready to be incorporated into your quilting project.
Conclusion
Congratulations! You have successfully learned how to make a four patch quilt block. This versatile and beginner-friendly quilting pattern allows you to create stunning quilt designs with endless possibilities.
By following the step-by-step instructions in this article, you have mastered the art of cutting fabric, sewing four patches, assembling the quilt block, pressing the seams, and adding finishing touches. Remember to give careful attention to detail and take your time to ensure accurate cutting and precise sewing. The more you practice, the more confident and skilled you will become in creating beautiful four patch quilt blocks.
Now that you have completed your quilt block, you can use it as a building block for larger quilts, create multiple blocks to form a quilt top, or even incorporate it into smaller projects like table runners, pillow covers, or wall hangings.
As you continue your quilting journey, feel free to experiment with different fabric combinations, colors, and patterns to create unique and stunning quilt designs. The possibilities are endless, and with each project, you will improve your quilting skills and creativity.
Remember to have fun, enjoy the process, and embrace the satisfaction that comes from creating something beautiful with your own hands. Happy quilting!
Frequently Asked Questions about How To Make A Four Patch Quilt Block
Was this page helpful?
At Storables.com, we guarantee accurate and reliable information. Our content, validated by Expert Board Contributors, is crafted following stringent Editorial Policies. We're committed to providing you with well-researched, expert-backed insights for all your informational needs.

0 thoughts on “How To Make A Four Patch Quilt Block”