
Articles
How To Quilt As You Go Blocks
Modified: February 24, 2024
Learn how to quilt as you go blocks with our informative articles. Discover tips, techniques, and step-by-step instructions to create beautiful quilt blocks effortlessly.
(Many of the links in this article redirect to a specific reviewed product. Your purchase of these products through affiliate links helps to generate commission for Storables.com, at no extra cost. Learn more)
Introduction
Welcome to the world of quilting! If you’ve always wanted to create a beautiful quilt but find the traditional methods overwhelming, then quilt as you go blocks might be the perfect technique for you. Quilt as you go is a method that allows you to quilt each block individually, making the process more manageable and allowing you to complete the project at your own pace.
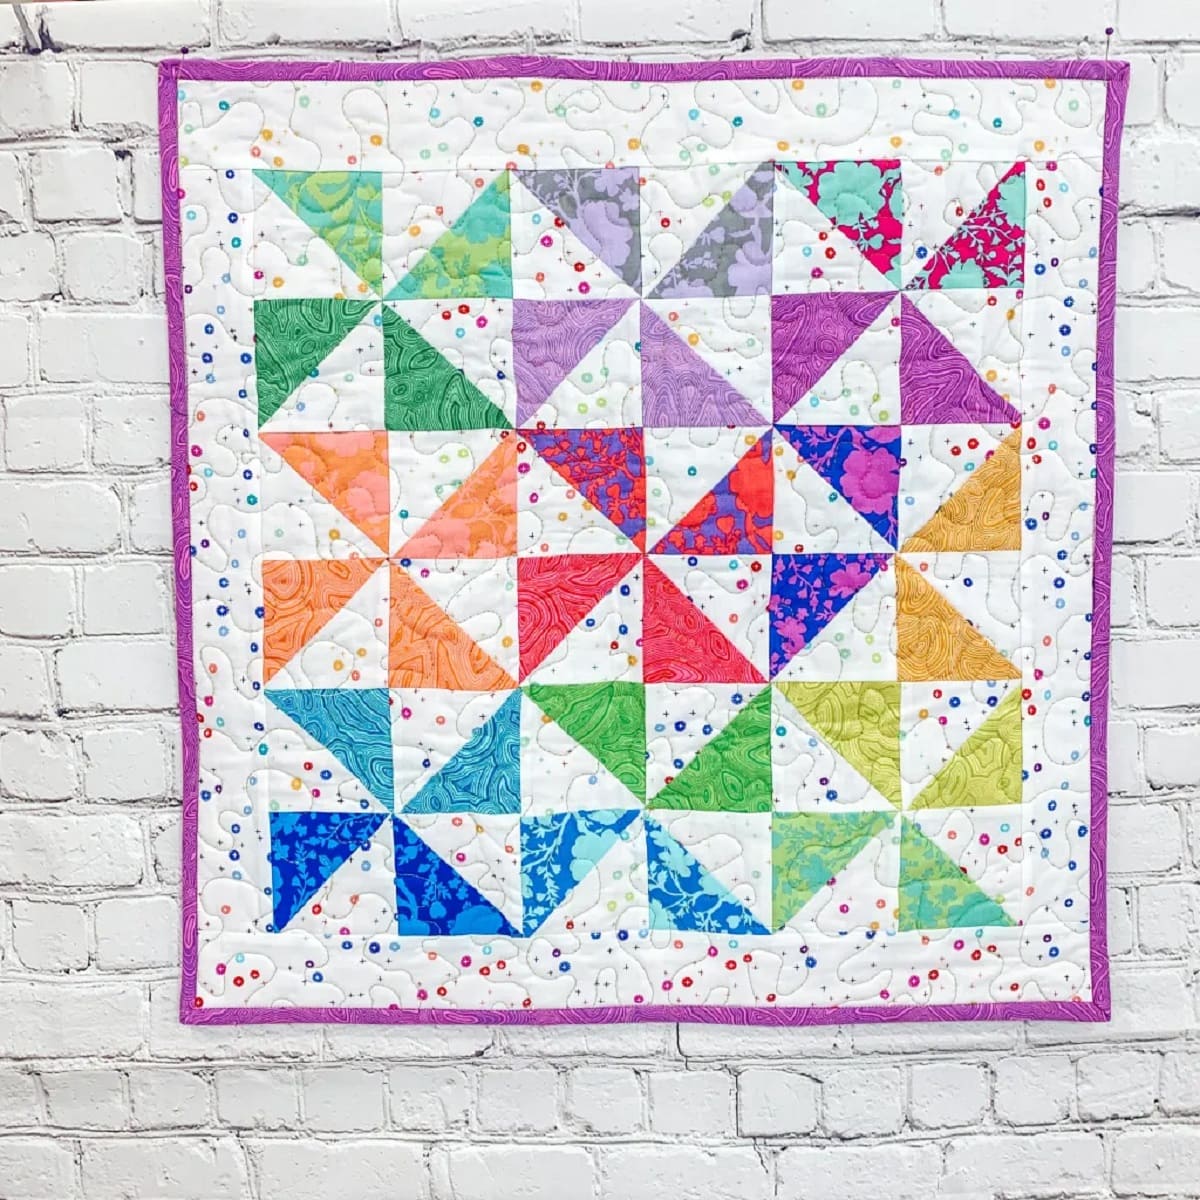
Not only does quilt as you go make quilting more accessible, but it also adds a unique touch to your finished quilt. Each block becomes a mini work of art, with its own design and quilting pattern. Plus, you can experiment with different fabrics and techniques, making every block a creative adventure.
In this article, we will guide you through the process of creating quilt as you go blocks. Whether you’re a beginner or an experienced quilter looking to try something new, this technique will give you the freedom to express your creativity while enjoying the satisfaction of completing a quilt.
Before we dive into the steps, let’s go over the materials you’ll need to get started.
Key Takeaways:
- Quilt as you go blocks offer a manageable and enjoyable way to create a personalized quilt, allowing for flexibility in fabric selection, design experimentation, and individualized quilting techniques.
- The quilt as you go technique not only makes quilting more accessible but also adds an artistic touch to the finished quilt, with each block becoming a mini masterpiece reflecting the quilter’s unique style and creativity.
Read more: How Do You Quilt As You Go
Materials Needed
Before you begin quilting as you go, gather the following materials:
- Fabric: Choose a variety of coordinating fabrics for your blocks. You can use scraps or purchase fabric specifically for this project.
- Quilt Batting: Select a batting that is appropriate for your desired level of warmth and loftiness.
- Backing Fabric: Choose a fabric for the back of your quilt that complements your block fabrics.
- Thread: Use a high-quality thread that matches or coordinates with your fabrics.
- Quilting Ruler: A quilting ruler with clear markings will help you achieve precise measurements.
- Cutting Mat: A self-healing cutting mat will protect your work surface and provide accurate cutting lines.
- Rotary Cutter: A rotary cutter with a sharp blade will make cutting your fabric easier and more precise.
- Pins or Clips: Use pins or binding clips to hold your layers together while quilting.
- Sewing Machine: A sewing machine with a walking foot is ideal for quilt as you go projects.
- Iron and Ironing Board: Pressing your fabric and blocks as you go will ensure crisp seams and a professional finish.
- Scissors: Keep a pair of sharp scissors handy for trimming threads and fabric.
Now that you have all the necessary materials, it’s time to dive into the step-by-step process of quilting as you go. Let’s get started!
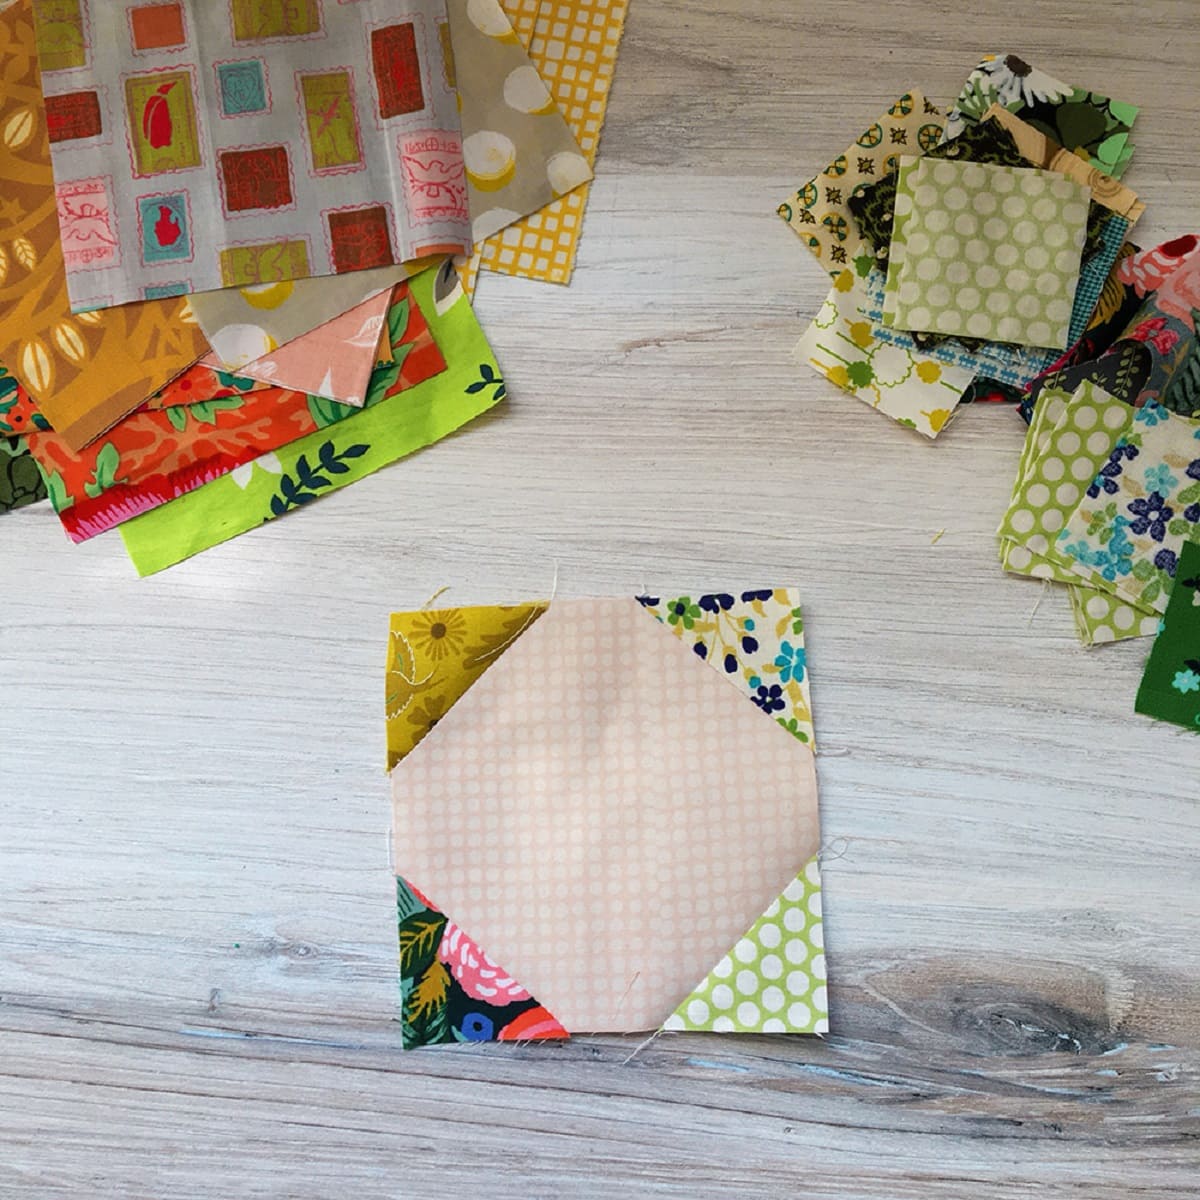
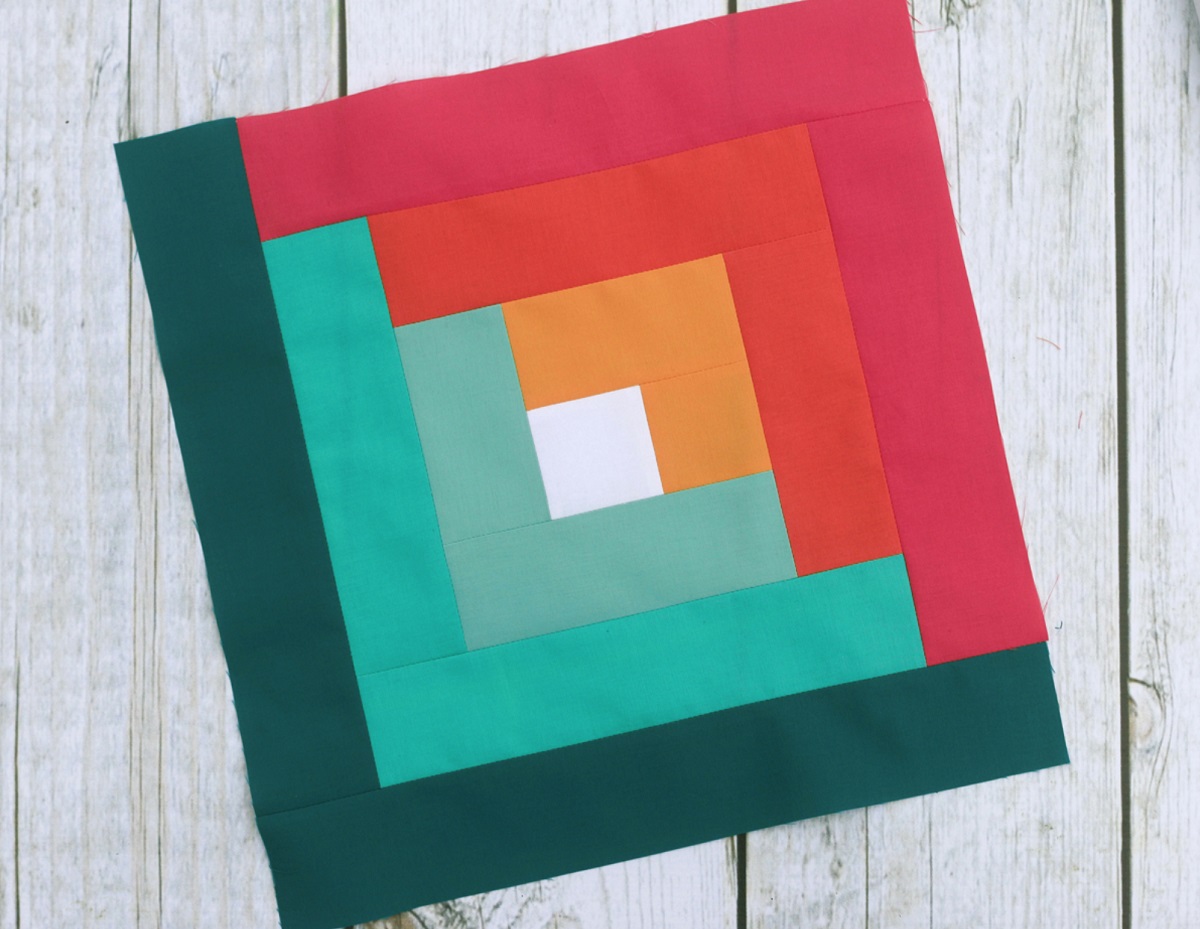
Step 1: Choosing your Fabric
The first step in creating quilt as you go blocks is selecting the fabric. Take some time to gather a variety of fabrics that coordinate well together. Consider the color scheme, patterns, and textures to create a cohesive and visually appealing quilt.
You can choose to use scraps from previous projects or purchase new fabric specifically for this project. Using a mix of fabrics adds interest and depth to your quilt, so don’t be afraid to mix prints, solids, and even textures like flannel or denim.
When selecting your fabrics, keep in mind the overall aesthetic you want to achieve. Are you going for a modern and bold look, or perhaps a more traditional and elegant feel? Visualize how the fabrics will work together and create a harmonious composition.
Consider the scale of the prints as well. Mixing small-scale prints with larger ones can add visual interest and prevent the quilt from looking too busy. Remember to also think about the colors and how they complement each other. You can choose a color palette or work with a specific theme if desired.
Finally, make sure you have enough fabric for your project. Calculate the size of your desired blocks and determine the amount of fabric needed to create each block. It’s always better to have a little extra fabric than to run out in the middle of your project.
Once you have gathered your fabric, you’re ready to move on to the next step: cutting the fabric!
Step 2: Cutting the Fabric
With your fabric selected, it’s time to start cutting it into the necessary pieces for your quilt as you go blocks. Proper cutting is essential for accurate and precise quilting, so take your time and ensure your measurements are exact.
Begin by determining the size of your quilt blocks. This can vary depending on your personal preference or the pattern you are following. Measure and mark the dimensions of each block on your fabric, using a quilting ruler and a fabric marking tool.
Using a rotary cutter, cut along the marked lines to create your blocks. Take care to follow the ruler and cut straight lines for clean edges. If you are making multiple blocks, repeat this process for each block.
In addition to cutting your block pieces, you will also need to cut the backing fabric and batting to the same dimensions as your blocks. These will provide the foundation and support for your quilt as you go blocks.
Make sure to cut these pieces accurately, as they need to line up perfectly with the block pieces when you assemble them. Double-check your measurements and use the quilting ruler to guide your cuts.
Take your time with cutting and be mindful of the fabric’s grain when positioning it on the cutting mat. This will ensure that your quilt assembly goes smoothly and your blocks look cohesive.
Once you’ve finished cutting your fabric, you’re ready to move on to the next step: creating the quilt sandwich!
Step 3: Creating the Quilt Sandwich
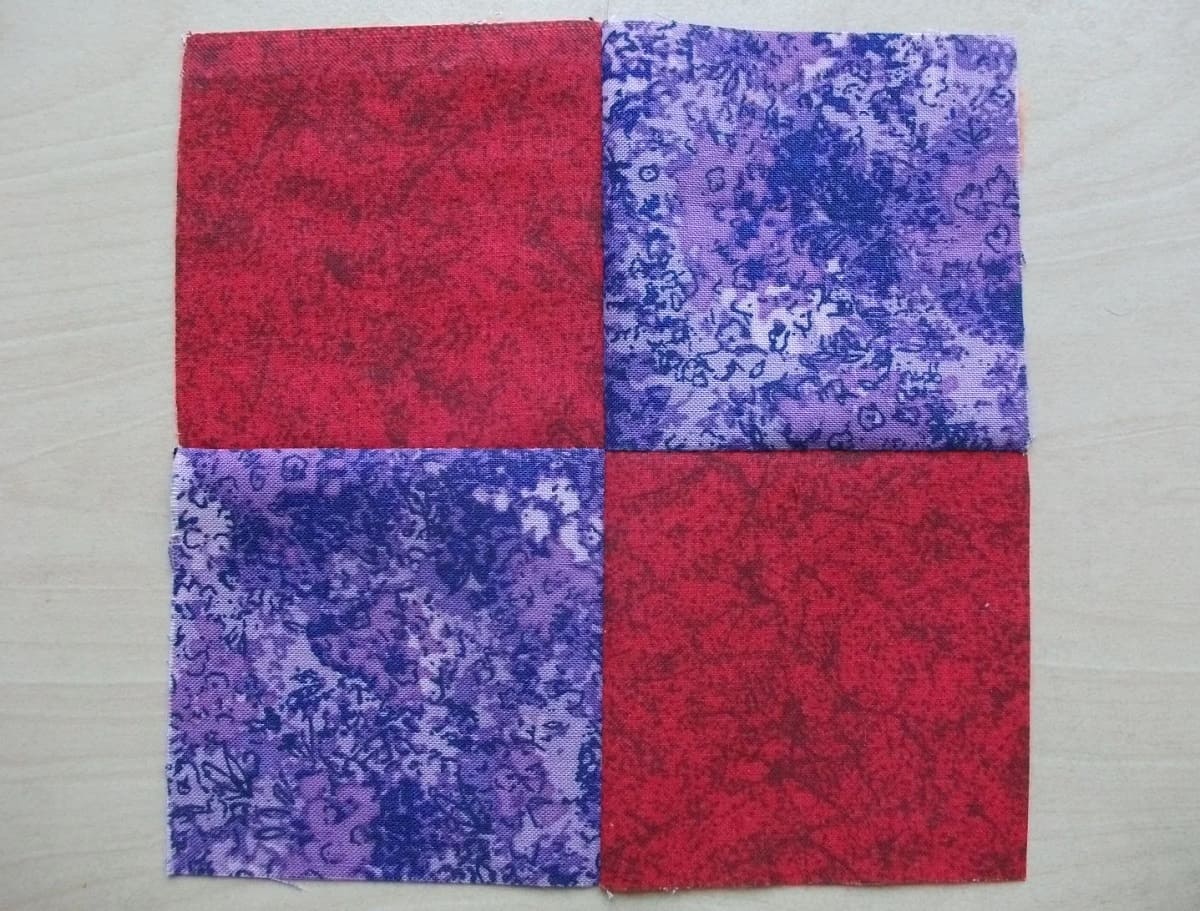
Now that you have your fabric pieces cut, it’s time to create the quilt sandwich. The quilt sandwich consists of three layers: the quilt block on top, the batting in the middle, and the backing fabric on the bottom.
Start by laying down the backing fabric with the right side facing down. Smooth out any wrinkles or creases to create a flat surface.
Next, place the batting on top of the backing fabric, ensuring it is centered and aligned with the edges. Smooth out any wrinkles or unevenness in the batting.
Now, it’s time to add the quilt block on top. Place the fabric block with the right side facing up on the batting, aligning it with the edges of the batting and backing fabric. Take a moment to ensure everything is centered and even.
At this stage, you can pin the layers together or use binding clips to keep them in place. This will prevent the fabrics from shifting while you quilt and handle the blocks.
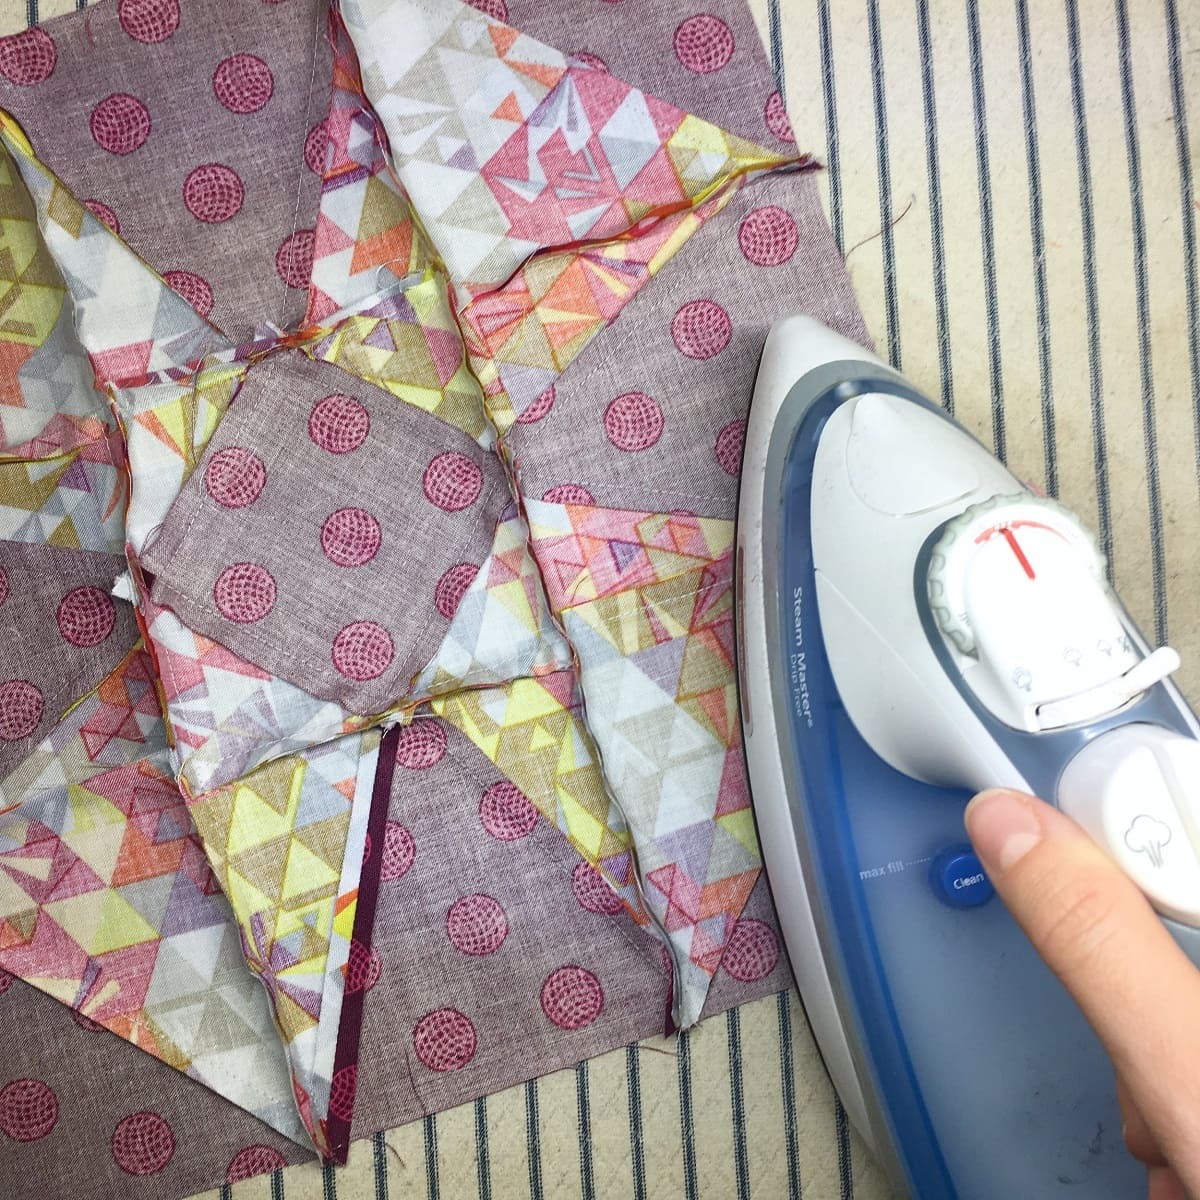
Once the layers are secured, take the time to press the quilt sandwich with an iron. This will help smooth out any wrinkles and create a flat surface for quilting.
Repeat this process for each quilt as you go block you plan to create. Stack the quilt sandwiches neatly for easy access as you move on to quilting each block individually.
With the quilt sandwiches ready, you’re set to move on to the next steps: securing and quilting the first block!
Read also: 15 Unbelievable Quilt As You Go for 2024
Step 4: Securing the First Block
Now that you have your quilt sandwich prepared, it’s time to secure the first block in place. This step will ensure that the layers stay together during the quilting process.
There are several ways to secure the layers, depending on your preference. You can use pins, basting stitches, or even adhesive spray. Choose the method that works best for you.
If you opt to use pins, start by placing them in the center of the block and work your way outwards, adding pins along the edges. Make sure the pins go through all the layers to hold them securely.
For basting stitches, set your sewing machine to a longer stitch length and sew around the edges of the quilt block. This will temporarily hold the layers together until you complete the quilting process.
Alternatively, adhesive spray can be used to bond the layers together. Follow the instructions on the spray can carefully to apply it evenly and avoid overspray.
Choose the method that suits your workflow and preferences. Once the layers are secured, you’re ready to move on to quilting the first block.
Remember, securing the layers is essential to prevent shifting and puckering during the quilting process. It ensures that the finished quilt will be flat, smooth, and visually appealing.
Now that your first block is secure, it’s time to move on to the exciting part: quilting!
Step 5: Quilting the First Block
With the first block secured in place, it’s time to start quilting! Quilting adds texture, dimension, and stability to your quilt as you go blocks.
There are various quilting techniques you can use, depending on your preference and the design you want to achieve. Here are a few options:
1. Stitch in the Ditch: Follow the seam lines of your block and quilt along them. This technique creates a clean and simple look, emphasizing the structure of the block.
2. Free-motion Quilting: If you’re feeling adventurous, try free-motion quilting. With the feed dogs lowered on your sewing machine, you can move the fabric freely under the needle, creating intricate designs, loops, or swirls.
3. Straight-Line Quilting: Quilt straight lines across the block using a quilting ruler or masking tape as a guide. You can create parallel lines or quilt at an angle for a modern and geometric aesthetic.
4. Echo Quilting: Echo quilt by stitching lines around the shapes or blocks in your quilt. This technique adds depth and emphasis to the design elements.
Choose the quilting technique that appeals to you and complements the design of your quilt block. Start quilting in the center of the block and work your way to the edges. Take your time, keeping the stitches even and consistent.
Remember to adjust your sewing machine settings, such as stitch length and tension, for optimal quilting results. Test your stitches on a scrap piece of fabric to ensure the settings are correct before quilting the actual block.
As you quilt, be mindful of the fabric and batting layers, ensuring they lie smooth and flat. Take breaks as needed to readjust the layers and smooth out any wrinkles that may appear.
Once you’ve completed quilting the first block to your satisfaction, it’s time to move on to adding the second block.
Congratulations! You’re making progress in your quilt as you go blocks journey. Stay tuned for the next steps!
When quilting as you go, use a walking foot to help feed the layers evenly and prevent shifting. This will result in a more professional-looking finished quilt block.
Step 6: Adding the Second Block
With the first block quilted, it’s time to add the second block to your quilt as you go project. This step allows you to build upon the foundation that you’ve created and expand your quilt one block at a time.
Start by deciding where you want to place the second block on the quilt. You can opt for a traditional layout with blocks arranged in a grid pattern, or you can experiment with different placements to create a more dynamic design.
If you’re following a specific pattern, refer to the instructions for guidance on block placement. If you’re improvising or designing your own quilt, trust your intuition and arrange the blocks in a way that appeals to you visually.
Once you’ve decided on the placement, align the second quilt block with the first one. Make sure the edges meet and the fabrics line up seamlessly. This is where the accuracy of your cutting and piecing will pay off.
Secure the second block to the first by pinning or clipping the layers together. It’s important to align and secure the edges to maintain a flat and smooth surface for quilting.
Take a moment to step back and assess the overall look of the two blocks together. Ensure that they are aligned and visually pleasing. Make any necessary adjustments before moving on to quilting the second block.
Remember to consider the quilting design as you add the second block. You can continue the same quilting pattern from the first block onto the new block to maintain consistency, or you can choose a different design to create contrast and variety.
Repeat the quilting process for the second block, just as you did with the first. Take your time, ensuring the fabric layers stay smooth and flat, and the stitching is even and consistent.
With the second block quilted, you’re well on your way to completing your quilt as you go project. Continue adding more blocks using the same steps until you’ve achieved the desired size and layout.
Stay tuned for the next steps as you bring your quilt as you go blocks together!
Step 7: Quilting the Second Block
Now that you have the second block added to your quilt, it’s time to quilt it and bring it to life. Quilting the second block follows the same process as quilting the first block, but with the added challenge of ensuring that the quilting lines seamlessly transition from one block to the next.
Start by securing the layers of the second block, pinning or clipping them together. Take a step back and examine the overall alignment of the two blocks. Make any necessary adjustments to ensure they are seamlessly connected.
Now, focus on continuing the quilting pattern from the first block onto the second block. If you were stitching in the ditch or quilting along specific lines, follow those lines into the second block. This will create a continuous flow of quilting stitches throughout your quilt as you go blocks.
Take care to maintain consistency in stitch length, tension, and spacing as you quilt the second block. Consistency will not only enhance the visual appeal of your quilt but also ensure that the layers are adequately secured.
Consider the design and composition of your quilt as you quilt the second block. If you’re using different fabrics or patterns, think about how the quilting stitches can enhance and highlight those design elements. You can choose to echo quilt around specific shapes or motifs, or you can experiment with different quilting motifs for added interest.
As with the previous block, take breaks as needed to readjust the layers, smooth out any wrinkles, and ensure that the fabrics and batting lay flat. Don’t rush the quilting process – it’s important to maintain focus and attention to detail to achieve the desired results.
Quilting the second block not only brings it to life but also helps connect it to the first block, creating a cohesive and unified quilt. Once you’ve completed quilting the second block, you’re ready to move on to the next steps in completing your quilt as you go project.
Great job on reaching this point! Your quilt is taking shape, and the excitement is building. Keep up the momentum as you progress further!
Read more: How To Make A Block Quilt
Step 8: Repeating the Process
As you continue on your quilt as you go journey, step 8 involves repeating the process of adding blocks and quilting them. By repeating this process, you will gradually build your quilt and bring it closer to completion.
Begin by selecting and adding the next block to your quilt. Consider the placement and arrangement of the new block in relation to the existing blocks. This will determine the overall design and aesthetic of your quilt.
Align the edges of the new block with the existing blocks and secure them together with pins or clips. Make sure the layers are smooth and flat, and the fabrics line up effortlessly.
Next, quilt the new block just as you have done with the previous blocks. Whether you choose to continue the same quilting pattern or introduce a new one, ensure that the quilting lines seamlessly flow from one block to another.
Pay attention to the design elements of the new block and consider how the quilting stitches can enhance and accentuate them. Experiment with different quilting motifs and techniques to add variety and visual interest.
Take your time as you quilt each block, maintaining consistency in stitch length, tension, and spacing. Check the layers periodically to ensure they are flat and smooth, making any necessary adjustments along the way.
Continue this process of adding blocks and quilting them until you have completed all the blocks for your desired quilt size. This repetition allows you to progress steadily and see your quilt come together block by block.
Remember, quilt as you go projects offer the flexibility to work at your own pace. Take breaks when needed and enjoy the process of creating each individual block. It’s a labor of love that will result in a unique and personal quilt.
Once you’ve added and quilted all the blocks, it’s time to move on to the next step of connecting the blocks and bringing your quilt as you go project to completion.
You’re doing an amazing job! Keep up the momentum, and soon you’ll have a beautiful quilt to cherish.
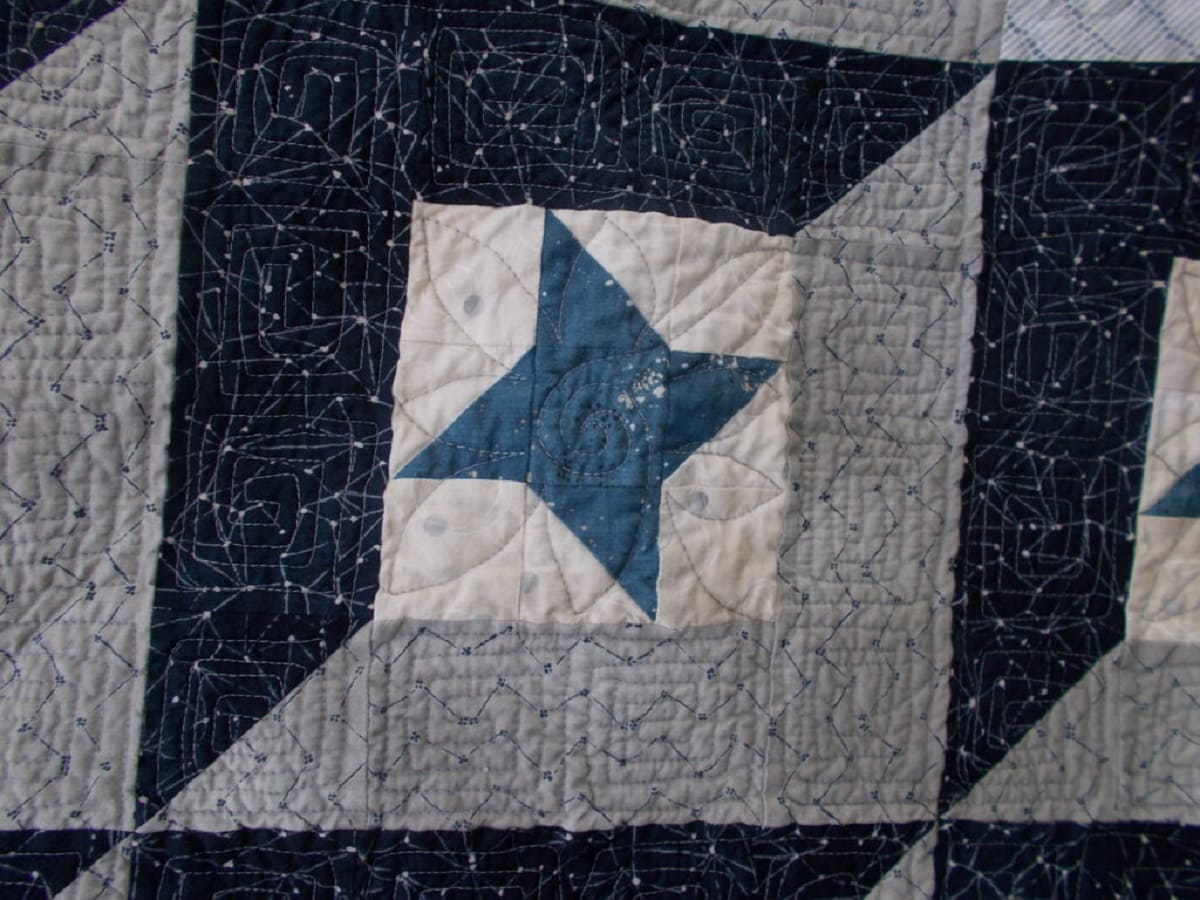
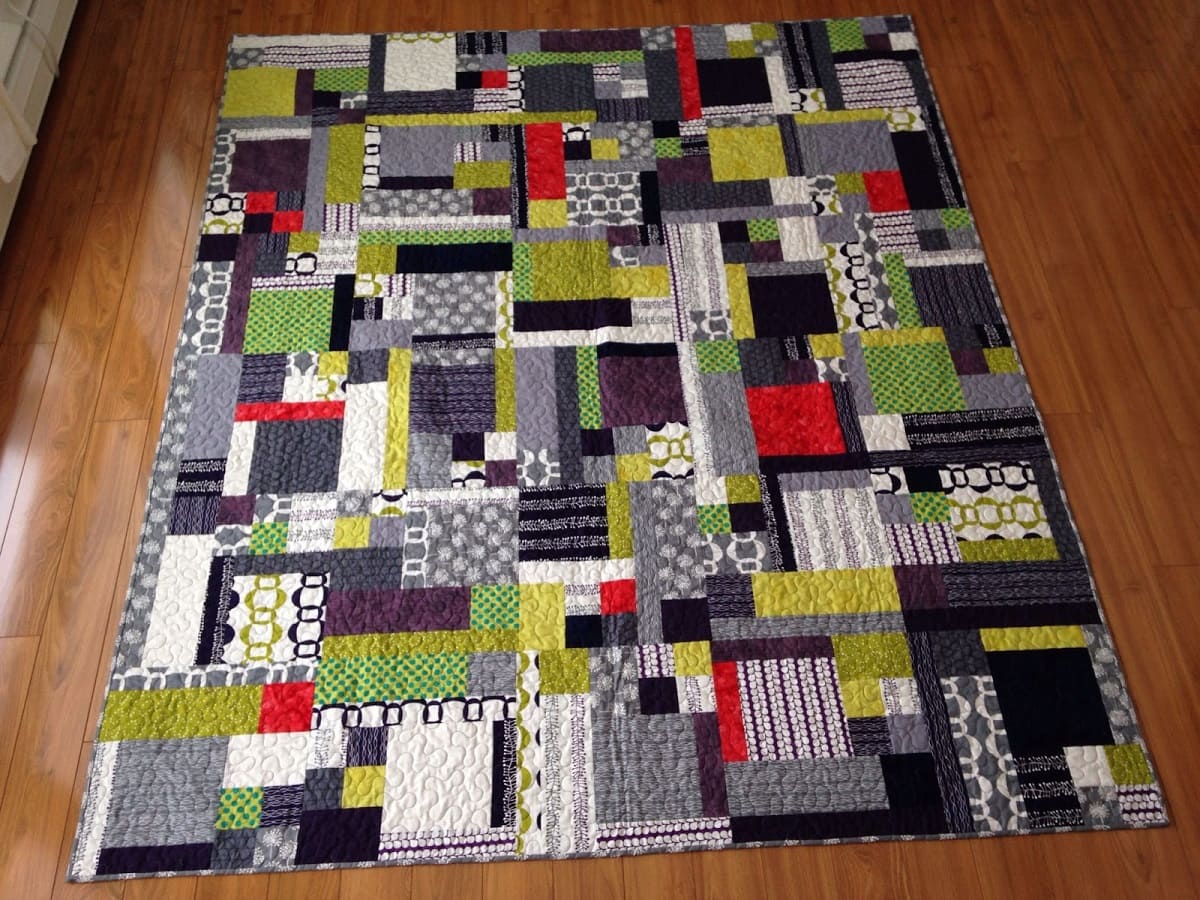
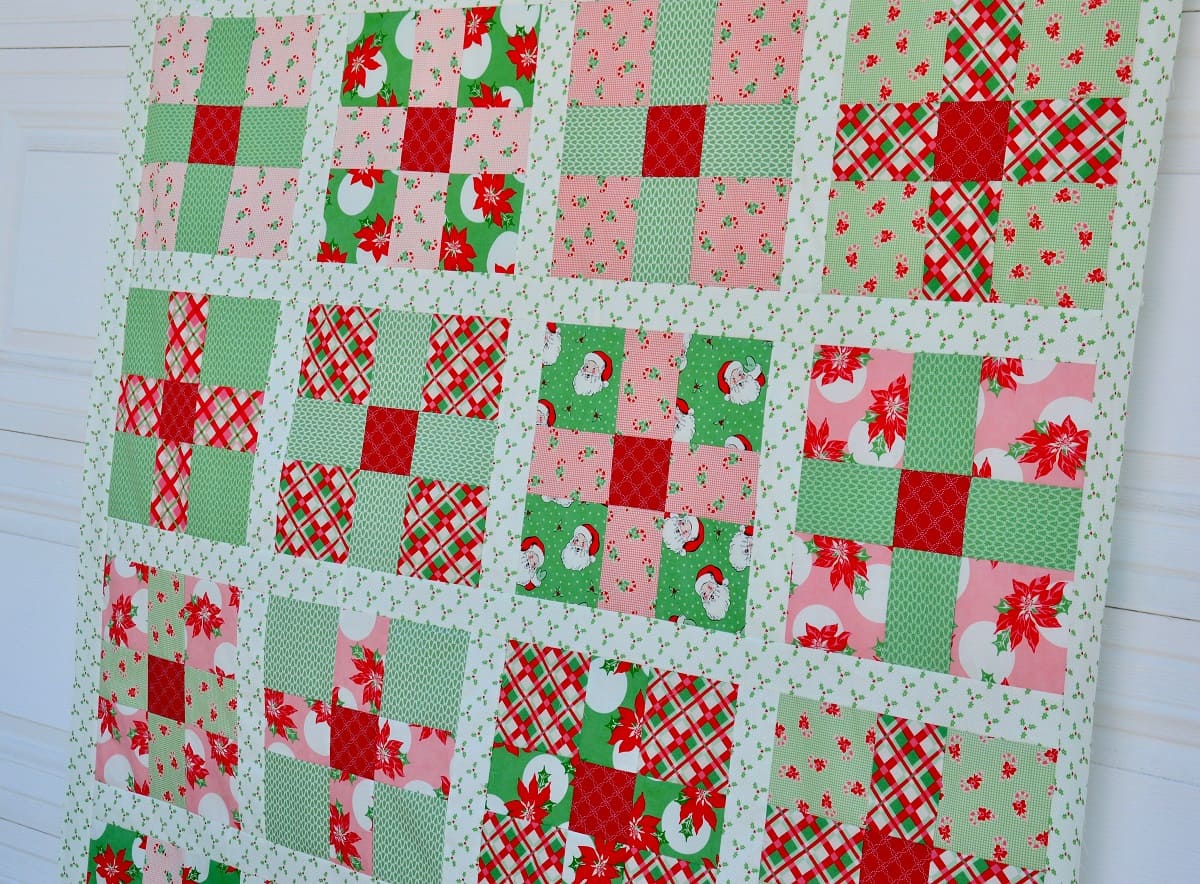
Step 9: Connecting the Blocks
Now that you have all your quilt as you go blocks quilted, it’s time to connect them and bring your quilt together as a cohesive piece. Connecting the blocks requires careful planning and precision to achieve a seamless and polished result.
Begin by laying out your quilt blocks in the desired arrangement. This is your chance to experiment with different layouts and find the one that best showcases your blocks and complements your overall design. Take your time to arrange and rearrange the blocks until you’re satisfied with the placement.
Once you’ve settled on the arrangement, it’s time to connect the blocks. There are multiple methods you can use to join the blocks, including sashing, cornerstones, or sashing strips.
Sashing: Sashing refers to the strips of fabric placed between the blocks. Cut fabric strips to the desired width and length and sew them between the blocks, creating a cohesive framework for your quilt. Sashing can add a pop of color or create a neutral separation between the blocks, depending on your preference.
Cornerstones: Cornerstones are small squares of fabric placed at the intersections of the sashing strips. These squares can complement the blocks or add contrast and visual interest. Sew the cornerstones to the sashing before attaching them to the blocks.
Sashing Strips: Alternatively, you can sew sashing strips directly onto the sides of each block to connect them. This method creates a continuous flow between the blocks and eliminates the need for separate sashing strips.
Whichever method you choose, take care to align the blocks and strips accurately. Pinning or clipping the blocks and strips together before sewing can help maintain alignment and prevent shifting during the sewing process.
When sewing the blocks together, use a consistent seam allowance to ensure evenness and symmetry. Press the seams open or to one side, based on your preference, to reduce bulk and create a smooth finish.
As you connect the blocks, continue to pay attention to the overall alignment and appearance of your quilt. Take breaks to step back, assess your progress, and make any necessary adjustments to achieve a cohesive and visually pleasing result.
Once you have connected all the blocks, take a moment to celebrate! Your quilt is almost complete. Now it’s time for the final touches to add the finishing flourish.
Great job on reaching this stage! Your quilt is coming together beautifully. Keep up the good work as you head towards the final step!
Step 10: Finishing Touches
Congratulations! You’re in the home stretch of completing your quilt as you go project. Step 10 involves adding the finishing touches that will give your quilt that polished and professional look.
Here are some key finishing tasks to consider:
1. Border: Adding a border around your quilt can provide a clean and cohesive frame. Choose a fabric that complements the colors and design of your quilt. Measure and cut the border fabric to fit the dimensions of your quilt, sew it to the edges, and press the seams.
2. Binding: Binding is the fabric strip that encloses the raw edges of your quilt. Cut your binding fabric into strips, fold them in half lengthwise, and attach them carefully to the edges of your quilt. There are various binding methods you can explore, such as double-fold or bias binding.
3. Quilting the Borders: Once the border is in place, consider adding quilting stitches to the border. This can be a continuation of the quilting pattern used on the blocks or a different design. Quilting the borders adds additional visual interest and helps secure the edges of the quilt layers.
4. Trimming and Squaring: After completing the quilting and binding, trim away any excess batting or backing fabric to ensure a neat and even edge. Use a quilting ruler and rotary cutter to square up the quilt, making sure all corners and edges are straight and aligned.
5. Labeling: Adding a label to your quilt is a great way to personalize it and provide a record of your hard work. Create a fabric label with your name, date, and any other details you’d like to include. Attach the label securely to the back of the quilt.
6. Final Pressing: Give your finished quilt a final pressing to smooth out any wrinkles or creases. Use a hot iron and steam to achieve a professional, crisp look.
Lastly, step back and admire your completed quilt as you go project. It’s a testament to your creativity, skill, and dedication. Take the time to appreciate the beauty and craftsmanship you’ve put into every stitch.
Remember, these finishing touches are what turn a collection of quilt as you go blocks into a stunning and functional quilt. Enjoy this final stage and revel in the satisfaction of completing your masterpiece.
Congratulations once again on reaching the end of your quilt as you go journey. Your quilt is now ready to be cherished and enjoyed for years to come.
You did it! Enjoy the fruits of your labor and continue exploring the world of quilting with newfound confidence and enthusiasm.
Conclusion
Congratulations on completing your quilt as you go project! You’ve journeyed through the steps of choosing fabric, cutting and piecing blocks, quilting each block individually, connecting them seamlessly, and adding the final finishing touches. The result is a unique and personalized quilt that showcases your creativity and craftsmanship.
Quilt as you go blocks offer a manageable and enjoyable way to create a quilt, allowing you to tackle the project at your own pace. By breaking the process down into smaller blocks, you have the flexibility to experiment with different fabrics, designs, and quilting techniques within your project.
Throughout this journey, you learned the importance of fabric selection, precise cutting, securing layers, and quilting with attention to detail. You honed your skills and gained confidence in creating each individual block, and then skillfully connecting them to form a cohesive quilt.
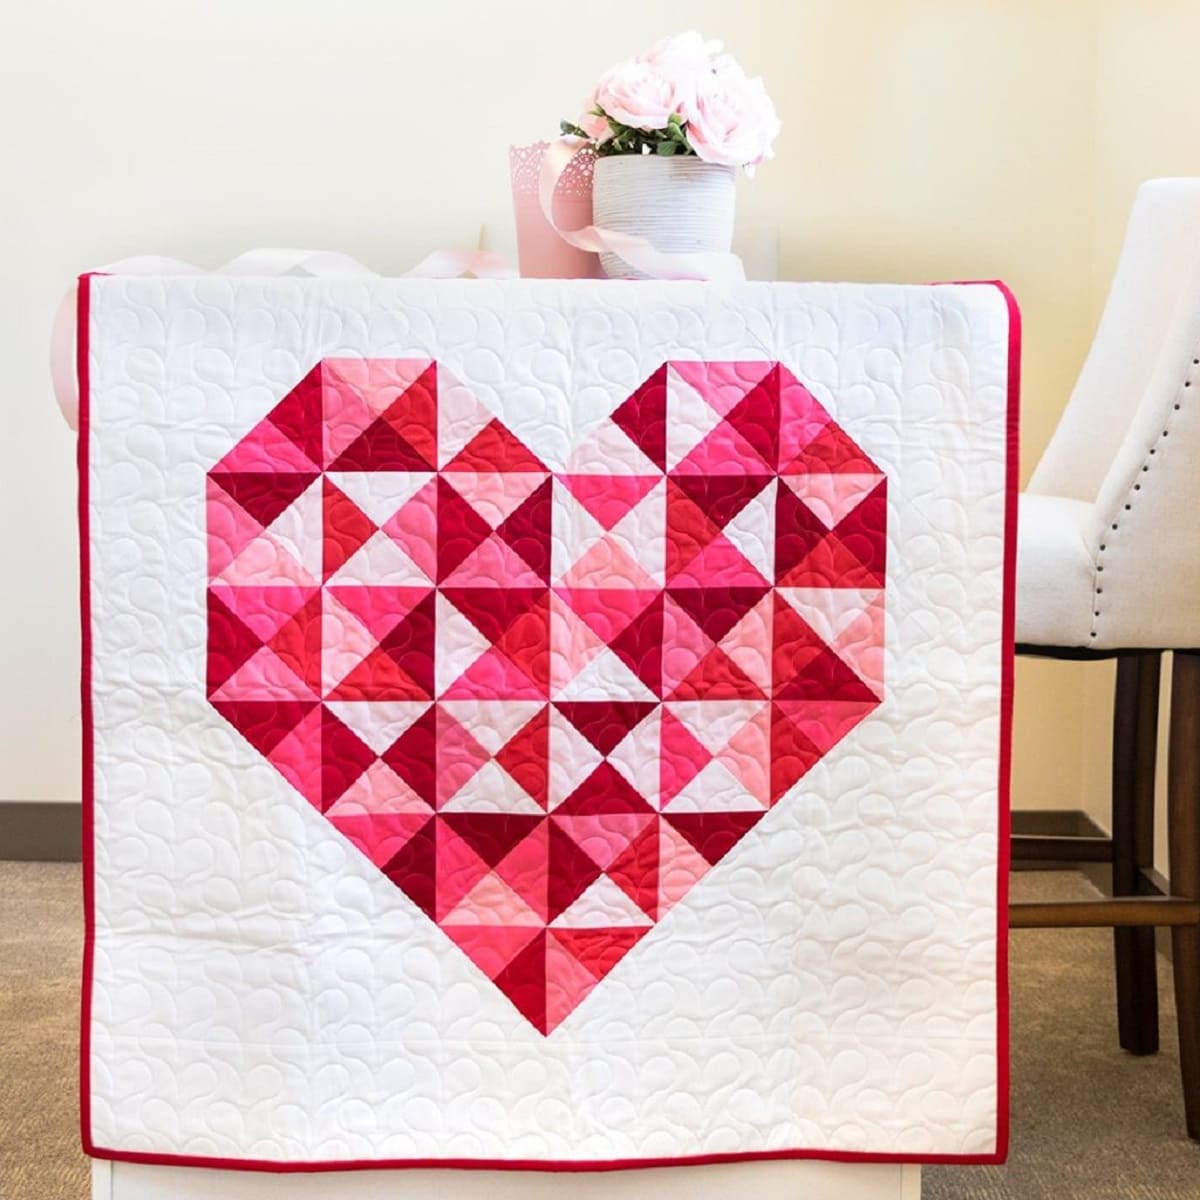
The quilt as you go technique not only makes quilting more accessible but also adds an artistic touch to your finished quilt. Each block becomes a mini masterpiece with its own design and quilting pattern. The result is a stunning quilt that tells a story and reflects your unique style.
Remember, quilting is a journey, and each project brings new challenges and opportunities for growth. Embrace the learning process, stay open to trying new techniques and designs, and trust your artistic instincts.
Whether you keep your quilt as a cherished heirloom, gift it to someone special, or proudly display it as a work of art, it will serve as a testament to your passion and creativity. Your quilt as you go project is a labor of love, a masterpiece that you can hold and admire for years to come.
So, take a moment to celebrate your accomplishment, bask in the joy of completing your quilt, and treasure the memories that are woven into its very fabric. You’ve created something beautiful, and your journey as a quilter continues to unfold.
Happy quilting!
Frequently Asked Questions about How To Quilt As You Go Blocks
Was this page helpful?
At Storables.com, we guarantee accurate and reliable information. Our content, validated by Expert Board Contributors, is crafted following stringent Editorial Policies. We're committed to providing you with well-researched, expert-backed insights for all your informational needs.


0 thoughts on “How To Quilt As You Go Blocks”