
Articles
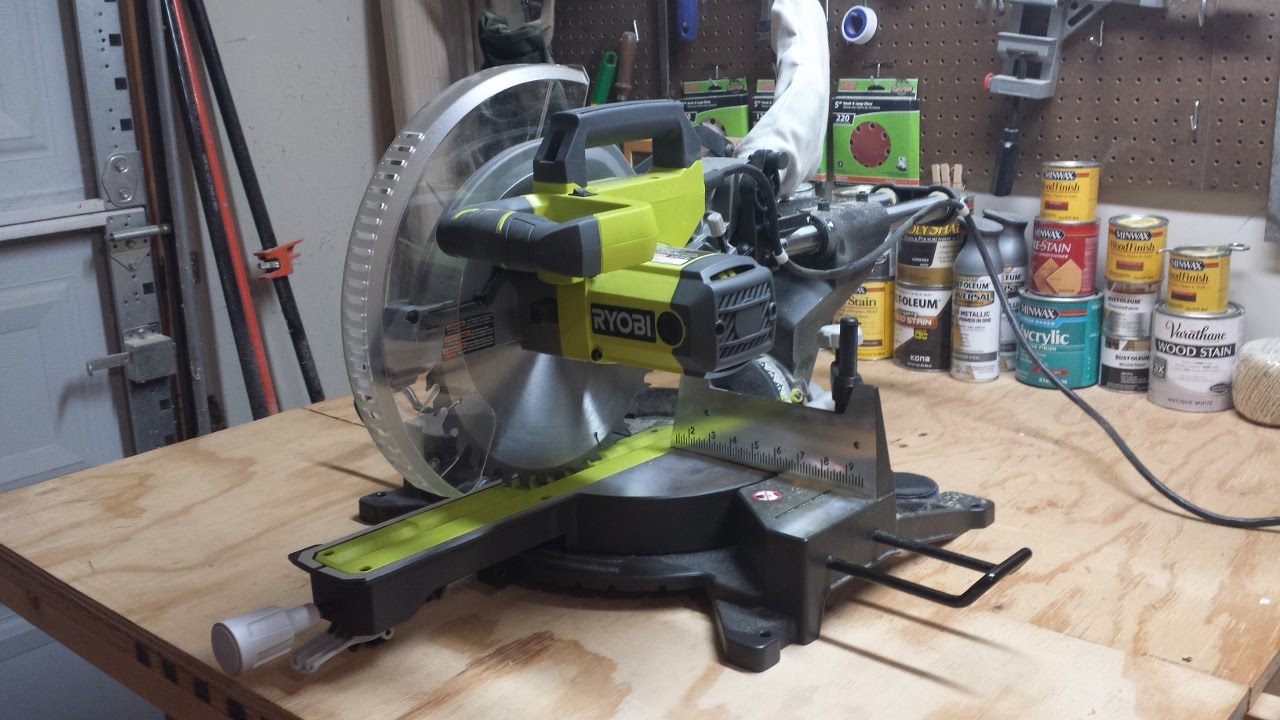
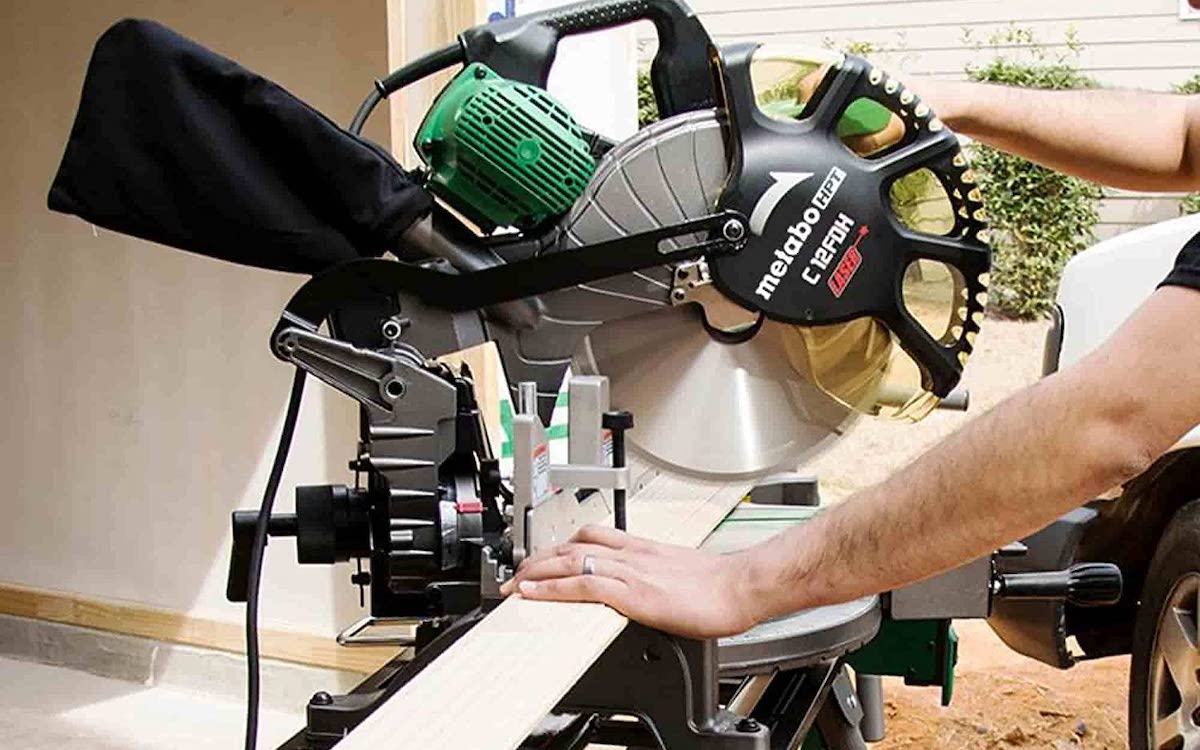
How To Use Ryobi Table Saw
Modified: January 7, 2024
Learn how to effectively use a Ryobi table saw with our comprehensive articles. Gain valuable insights and maximize your woodworking projects.
(Many of the links in this article redirect to a specific reviewed product. Your purchase of these products through affiliate links helps to generate commission for Storables.com, at no extra cost. Learn more)
Introduction
Welcome to the world of woodworking! If you’re looking to enhance your DIY skills or take on more advanced projects, a table saw is an essential tool to have in your workshop. And one of the most trusted brands in the market is Ryobi. In this article, we will guide you on how to use the Ryobi table saw effectively and safely.
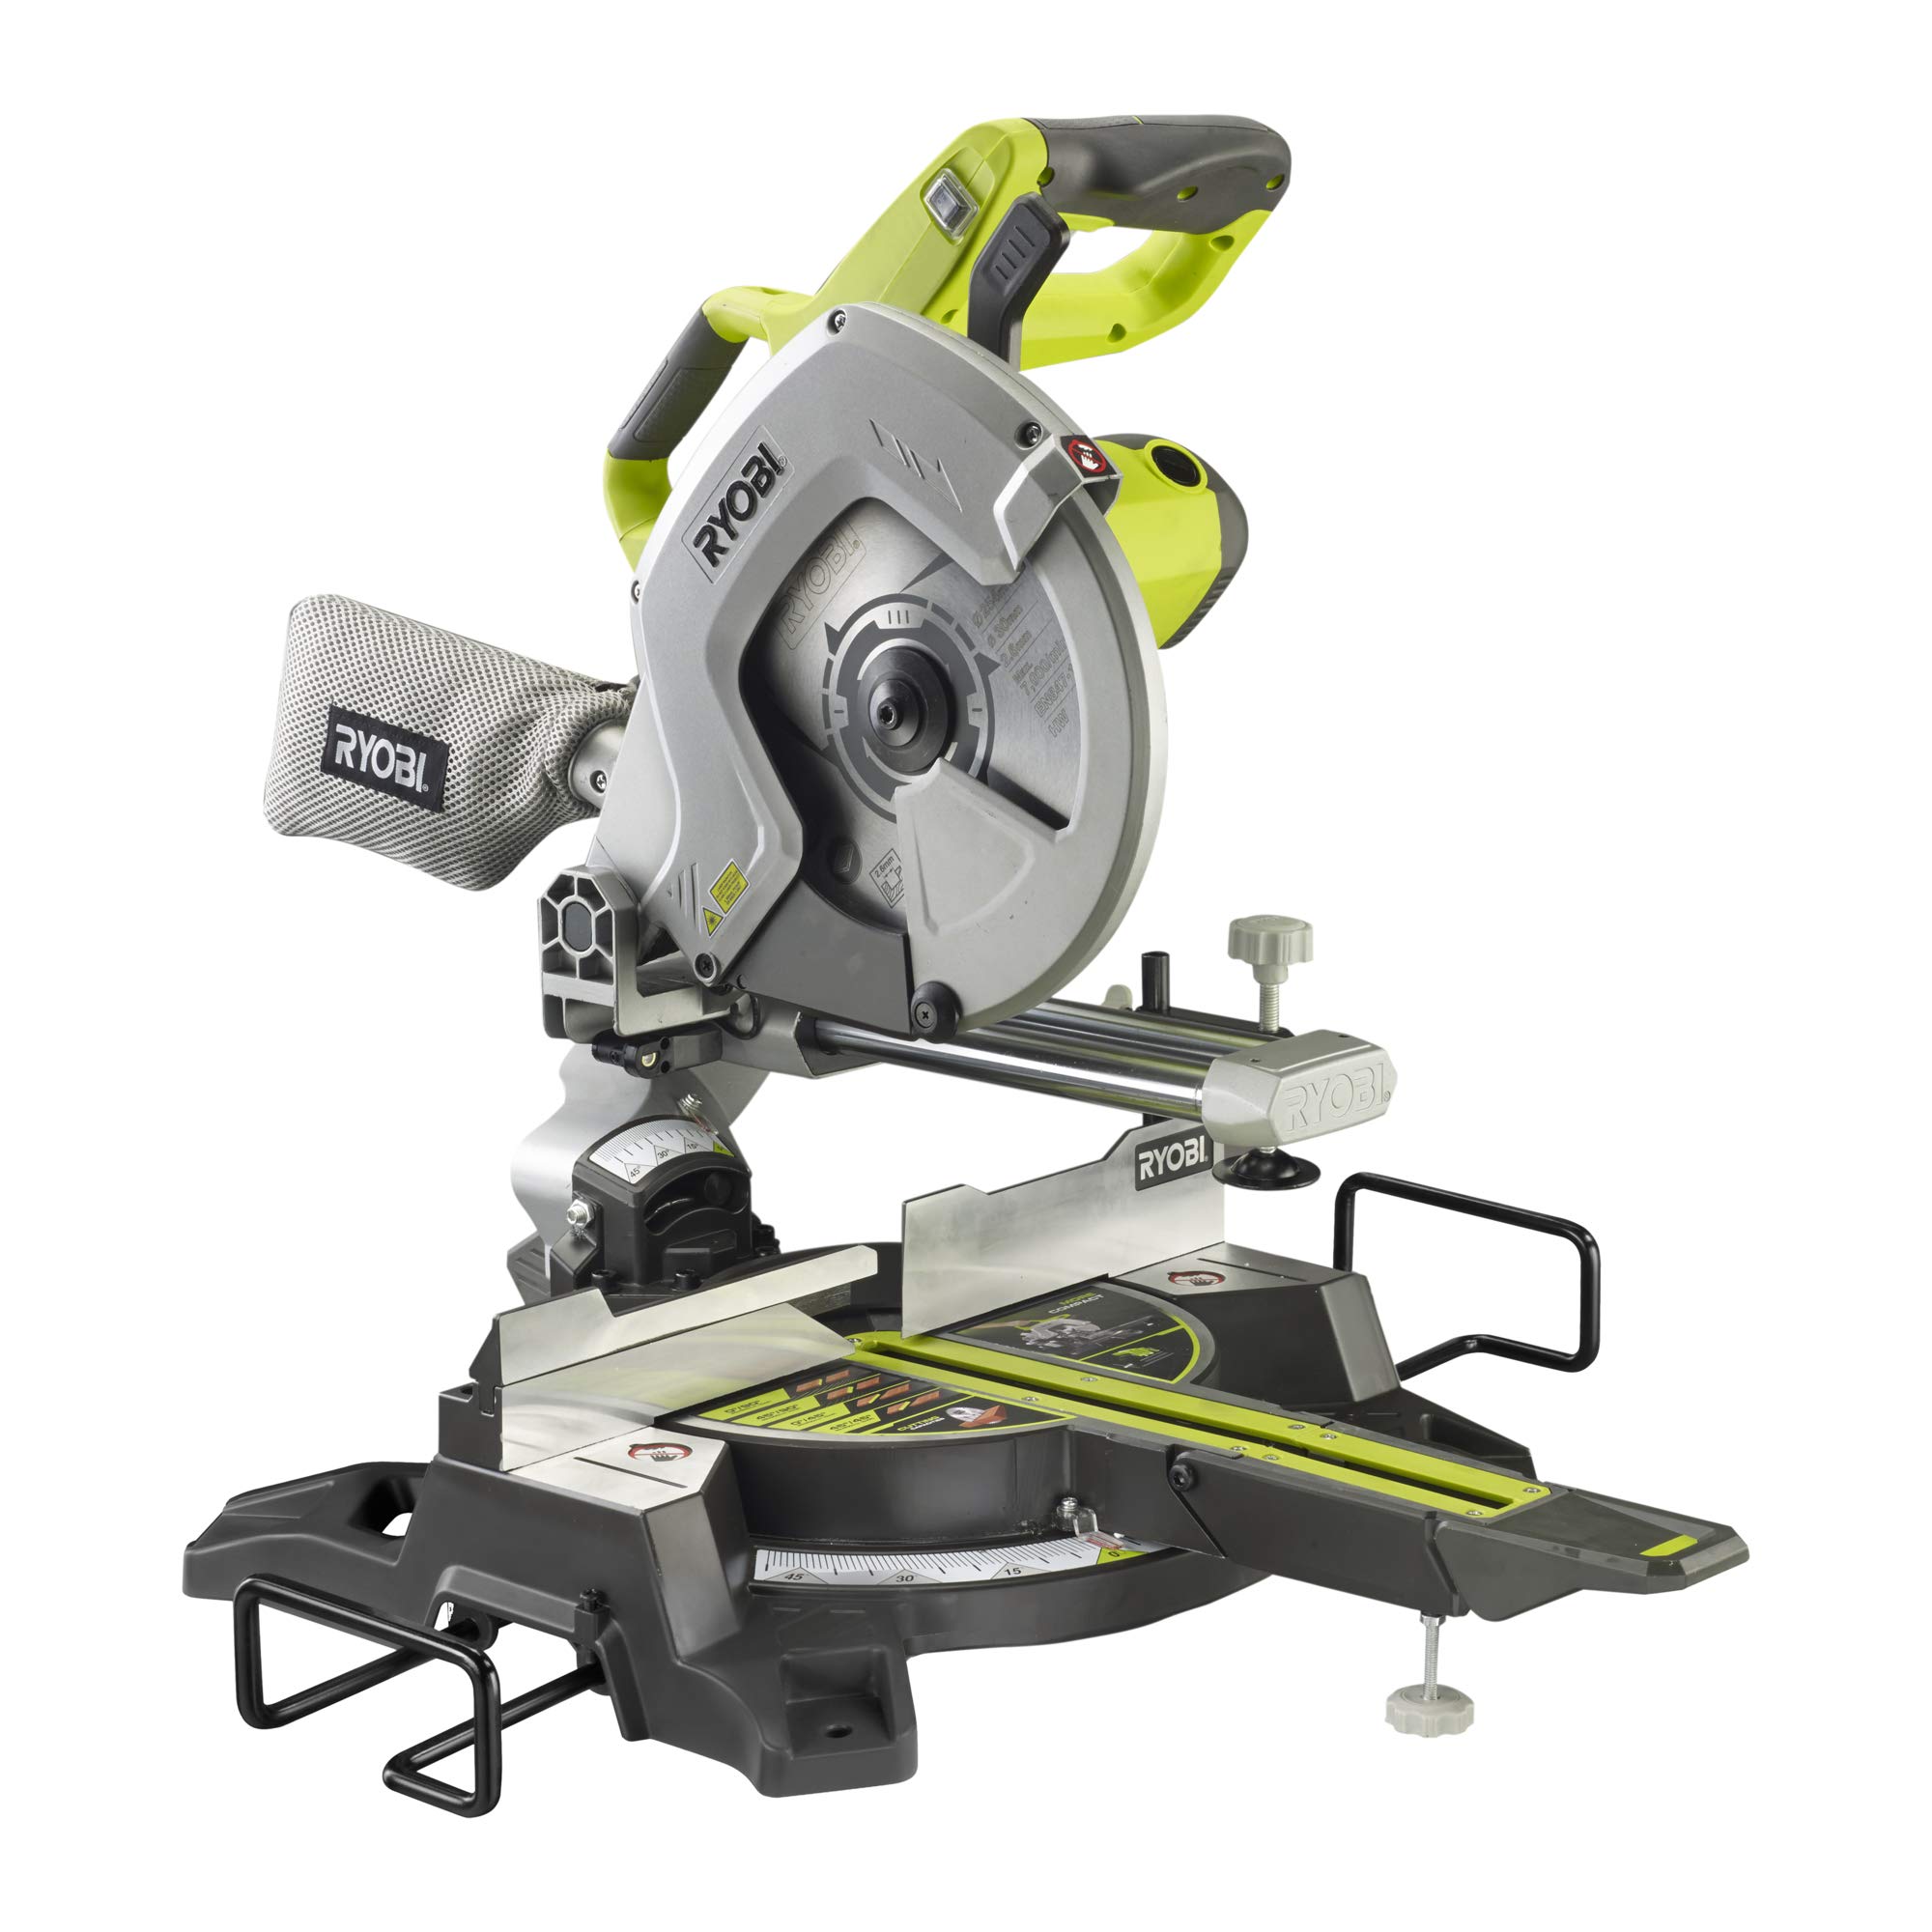
A table saw is a versatile and powerful tool that allows you to make precise cuts on various types of materials, including wood, plywood, and even plastic. It consists of a circular saw blade mounted on an arbor that is driven by an electric motor. With a flat and sturdy table surface, a rip fence for straight cuts, and miter gauge for angled cuts, the Ryobi table saw provides an excellent platform for woodworking enthusiasts.
Before we dive into the specifics of using the Ryobi table saw, it’s crucial to prioritize safety. As with any power tool, there are inherent risks involved, and taking the necessary precautions will ensure a safe and enjoyable woodworking experience. So, let’s start by understanding some essential safety measures you need to follow.
Key Takeaways:
- Prioritize safety by following essential precautions when using the Ryobi table saw, ensuring a safe and enjoyable woodworking experience.
- Master the art of using the Ryobi table saw by setting it up, adjusting the blade, and utilizing features like the rip fence and miter gauge for accurate and professional cuts.
Read more: How To Use Ryobi Circular Saw
Safety Precautions
When working with a table saw, it’s crucial to prioritize safety to prevent accidents and injuries. Here are some essential safety precautions to keep in mind before, during, and after using the Ryobi table saw:
- Read the manual: Familiarize yourself with the user manual provided by Ryobi. It will contain important safety guidelines specific to your model.
- Wear protective gear: Always wear safety goggles to protect your eyes from flying debris. Additionally, use ear protection to minimize noise exposure, and wear a dust mask to avoid inhaling sawdust.
- Inspect the saw: Before turning on the table saw, make sure it’s in good working condition. Check for any loose or damaged parts, and ensure that the blade is properly aligned and secured.
- Maintain a clean workspace: Keep your work area free from clutter, debris, and tripping hazards. A clean and organized workspace will help you maneuver around the table saw safely.
- Use a push stick: When making narrow cuts or working with small pieces of wood, always use a push stick to keep your hands at a safe distance from the blade.
- Never reach over the blade: Avoid reaching over the spinning blade, as it can lead to severe accidents. Wait for the blade to come to a complete stop before making any adjustments or retrieving materials.
- Stay focused: Woodworking requires concentration and attention to detail. Avoid distractions and stay focused on the task at hand. Never operate the table saw when you’re tired or under the influence of drugs or alcohol.
- Keep children and pets away: Ensure that children and pets are nowhere near the table saw while it’s in use. It’s advisable to have a designated woodworking area where they cannot access the tool.
- Practice proper blade handling: When changing the blade or performing maintenance, always disconnect the power source and handle the blade with care. Use appropriate tools and techniques to avoid accidents.
- Be cautious with kickback: Kickback is a common table saw hazard that occurs when the wood is forcefully thrown back towards the operator. To avoid kickback, position yourself to the side of the blade, and always use a splitter or anti-kickback device.
Remember, safety should always be your top priority when using any power tool, including the Ryobi table saw. By following these precautions, you can create a safe working environment and minimize the risk of accidents or injuries.
Setting Up the Ryobi Table Saw
Before you start using the Ryobi table saw, you need to ensure that it’s properly set up for optimal performance. Here’s a step-by-step guide on how to set up your Ryobi table saw:
- Choose a stable location: Find a flat and secure surface where you can place your table saw. Ideally, set it up in a workshop or garage with ample space for maneuvering and working comfortably.
- Check the power supply: Ensure that you have access to a power outlet that can handle the saw’s electricity requirements. Refer to the user manual for the specific power specifications of your Ryobi table saw.
- Assemble the table saw: Follow the instructions provided in the user manual to assemble the different components of the table saw. This may include attaching the table extension wings, miter gauge, rip fence, and blade guard.
- Adjust the table height: Depending on your preference and the type of cuts you’ll be making, adjust the height of the table to a comfortable working position. Use the built-in height adjustment mechanism to raise or lower the table accordingly.
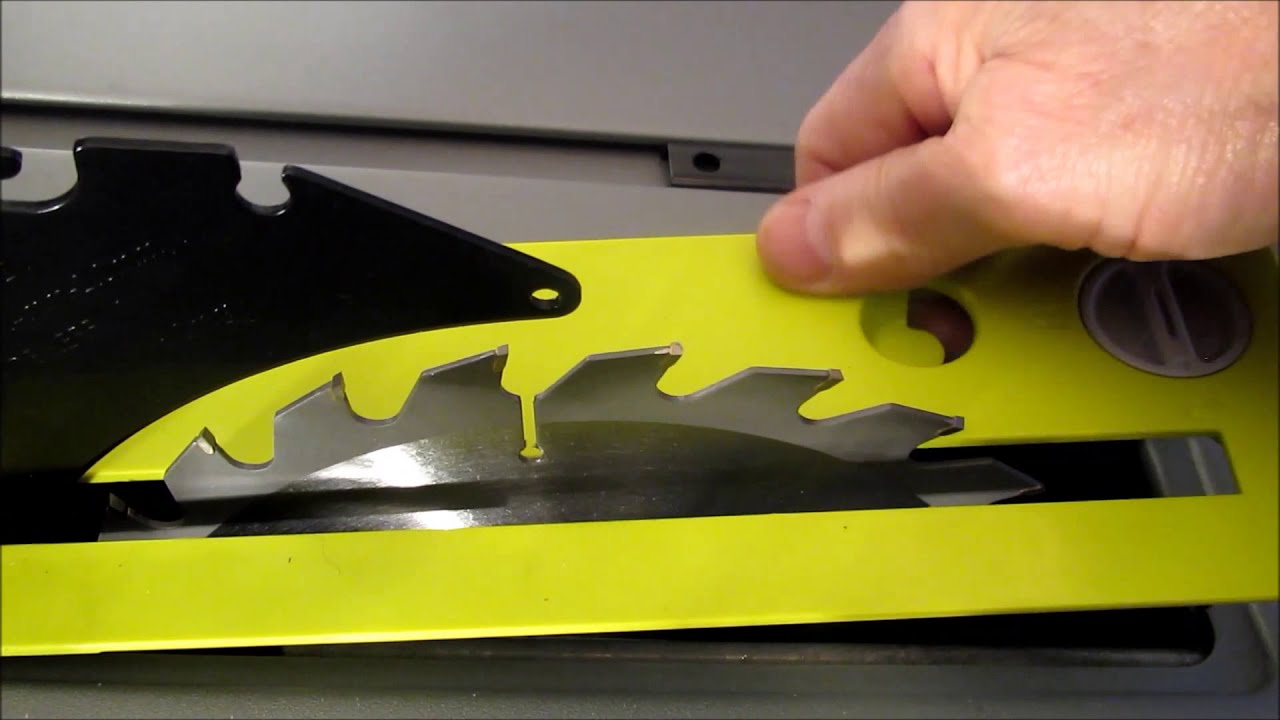
- Install the blade: Choose the appropriate blade for your project and mount it onto the arbor. Ensure that the blade is securely tightened and aligned with the table saw’s markings for accurate cuts.
- Align the rip fence: Position the rip fence parallel to the blade so that it guides your workpiece accurately. Use the adjustment knobs or screws on the rip fence to align it correctly. Double-check the alignment before making any cuts.
- Calibrate the miter gauge: The miter gauge allows you to make angled cuts with precision. Ensure that it’s set at a 90-degree angle to the blade. If necessary, make adjustments using the calibration screws to achieve accurate angles.
- Test the blade height and angle adjustments: Before starting a project, test the blade height adjustment and the bevel angle adjustment to ensure they function properly. Familiarize yourself with the controls and practice making adjustments as needed.
Once you have successfully set up your Ryobi table saw, you’re ready to start making cuts. Remember to always refer to the user manual for any specific setup instructions related to your model of the Ryobi table saw. With proper setup, you’ll be able to unlock the full potential of your table saw and achieve accurate and professional-looking results.
Adjusting the Blade
Properly adjusting the blade of your Ryobi table saw is essential for achieving accurate cuts and ensuring your safety. Here are the steps to follow when adjusting the blade:
- Turn off the saw and unplug it: Before making any adjustments to the blade, ensure that the table saw is turned off and unplugged to eliminate any risk of accidental start-up.
- Find the blade adjustment controls: Locate the blade height adjustment control and the bevel angle adjustment control on your Ryobi table saw. These controls may be in the form of knobs or levers, depending on the model.
- Adjust the blade height: To set the blade at the proper height, you need to determine the depth of the cut you want to make. Using the blade height adjustment control, raise or lower the blade until it’s slightly higher than the thickness of the workpiece.
- Lock the blade height: Once you have set the desired blade height, lock it in place using the locking mechanism provided on your Ryobi table saw. This ensures that the blade remains secure during operation.
- Adjust the bevel angle: If you need to make bevel cuts, adjust the bevel angle of the blade. Consult the user manual to determine how to operate the bevel adjustment control specific to your Ryobi table saw model. Typically, you will be able to tilt the blade to the left or right.
- Check the blade alignment: It’s crucial to ensure that the blade is aligned parallel to the miter gauge slots on the table. To verify the alignment, place a square against the blade and the miter gauge slot. If there is any deviation, make the necessary adjustments using the alignment controls provided.
- Test the adjustments: Once you have made the necessary blade adjustments, it’s important to test them before proceeding with your project. Use a scrap piece of wood to verify that the blade is cutting accurately and at the desired angle.
Regularly checking and adjusting the blade on your Ryobi table saw will help you maintain precision and safety while working. Remember to follow all safety precautions and refer to the user manual for any specific instructions related to your model. With the blade properly adjusted, you can achieve clean and professional cuts for your woodworking projects.
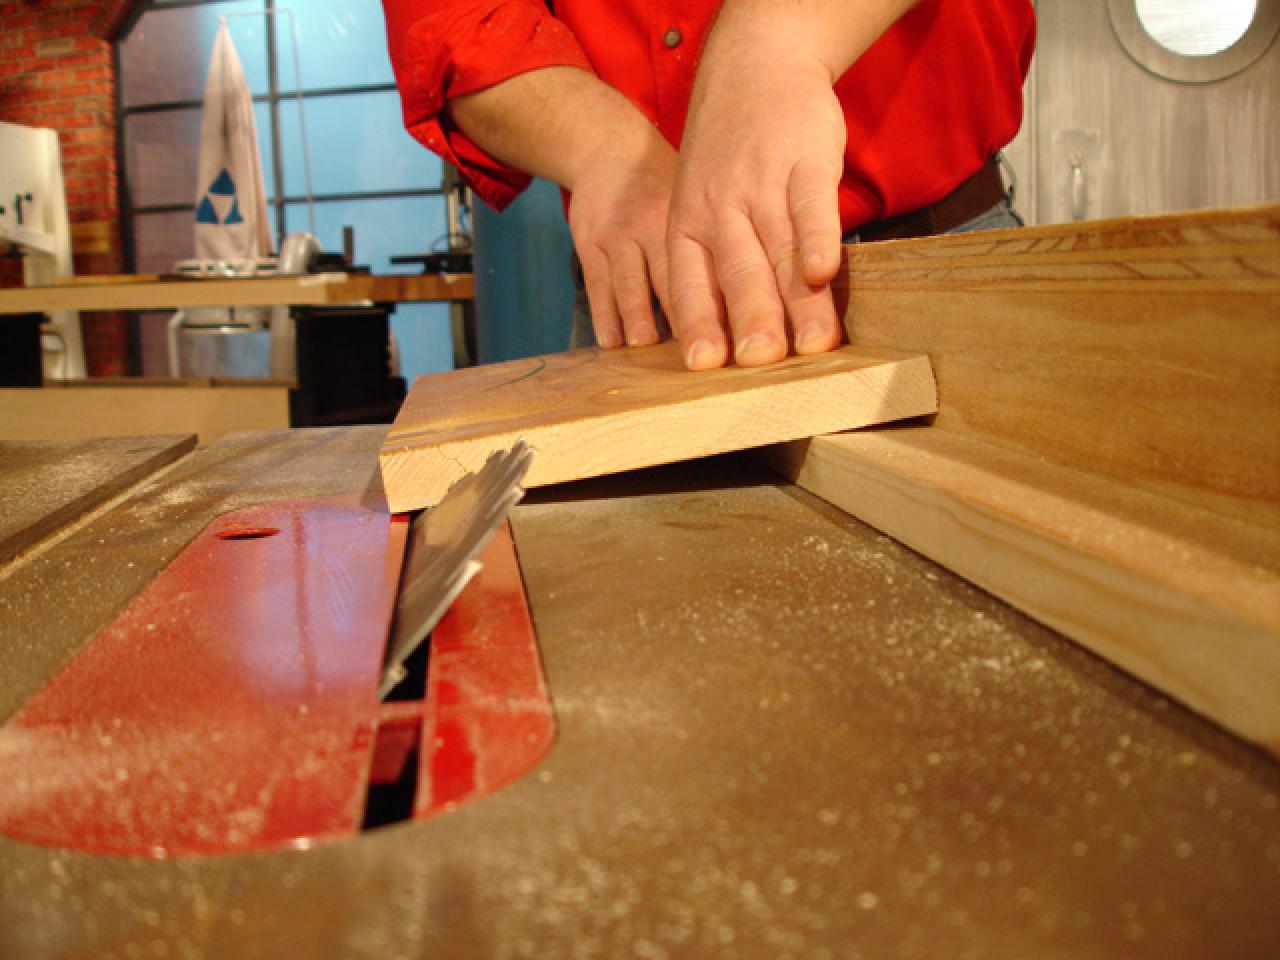
Using the Rip Fence
The rip fence is a crucial component of your Ryobi table saw that ensures accurate and straight cuts when working with wide or long wood pieces. Follow these steps to effectively use the rip fence:
- Position the rip fence: Start by determining the desired width of the cut you want to make. Slide the rip fence along the front rail of the table and position it to the desired width. The measuring scale on the rip fence will help you align it accurately.
- Square the rip fence: To ensure the rip fence is parallel to the blade, use a square to check its alignment. Place the square against the rip fence and the front edge of the blade. If the square sits flush against both, your rip fence is square.
- Lock the rip fence: Once the rip fence is in the correct position and properly aligned, lock it in place using the locking mechanism on your Ryobi table saw. This will secure the rip fence and prevent it from moving during cuts.
- Position the workpiece: Place your wood piece against the rip fence, ensuring that it is snug and parallel to the fence. Hold the piece firmly against the fence with one hand while using the other hand to operate the saw.
- Start the cut: Turn on the table saw and engage the blade. Gently push the workpiece through the blade, keeping a steady and controlled motion. Use a push stick if the wood piece is narrow, ensuring your hands are a safe distance from the blade.
- Continue the cut: Maintain a consistent forward motion as you guide the workpiece along the rip fence. Avoid pushing too forcefully, as this can cause the wood to bind or kickback. Let the blade do the cutting, and maintain firm control over the workpiece.
- Complete the cut: Once you have passed the entire length of the workpiece through the blade while maintaining proper control, turn off the table saw. Allow the blade to come to a complete stop before removing the cut piece from the table.
Remember to always follow proper safety precautions when using the rip fence on your Ryobi table saw. Keep your hands clear of the blade, and wear appropriate safety gear, including safety goggles and ear protection. Practice using the rip fence on scrap pieces of wood before attempting cuts on your actual project material to familiarize yourself with the process and ensure accuracy.
Read more: How To Unlock A Ryobi Miter Saw
Making Crosscuts
Crosscuts are an essential part of woodworking projects, allowing you to cut a workpiece to the desired length or create precise angled cuts. Follow these steps to make accurate crosscuts using your Ryobi table saw:
- Measure and mark: Begin by measuring and marking the desired length of the crosscut on your workpiece. Use a measuring tape and a pencil to ensure accurate measurements.
- Set up a miter gauge: Locate the miter slot on your Ryobi table saw and insert the miter gauge into the slot. Adjust the miter gauge to the desired angle if you’re planning on making angled crosscuts.
- Position the workpiece: Place the marked workpiece against the miter gauge, ensuring that the cutline aligns with the blade. Hold the workpiece firmly in position, using clamps if necessary, to prevent it from shifting during the cut.
- Turn on the saw: With the workpiece securely positioned, turn on the table saw. Allow the blade to reach its full speed before proceeding with the cut.
- Make the crosscut: Gently push the workpiece through the blade, using the miter gauge as a guide. Maintain a steady and controlled motion, ensuring that your hands are safely away from the blade. Use a push stick if necessary, especially for small workpieces.
- Complete the crosscut: Once you have passed the workpiece completely through the blade, turn off the table saw and allow the blade to come to a complete stop. Carefully remove the cut piece from the table saw.
When making crosscuts, always prioritize safety. Use appropriate safety gear, such as safety goggles and ear protection, and keep your hands clear of the blade. Take your time to ensure accuracy and double-check your measurements and alignments before making the cut. Practice on scrap pieces of wood before working on your actual project materials to familiarize yourself with the process.
By following these steps and using the miter gauge on your Ryobi table saw, you’ll be able to make clean and precise crosscuts for a variety of woodworking projects.
When using a Ryobi table saw, always ensure that the blade guard and riving knife are properly in place to prevent kickback and ensure safety.
Making Miter Cuts
Miter cuts are angled cuts commonly used in woodworking for creating joints, frames, and decorative elements. The Ryobi table saw, equipped with a miter gauge, allows you to make precise miter cuts. Follow these steps to make accurate miter cuts using your Ryobi table saw:
- Measure and mark: Determine the angle and length of the miter cut that you want to make. Use a protractor or angle finder to measure the desired angle and mark the workpiece accordingly.
- Set up the miter gauge: Insert the miter gauge into the miter slot on your Ryobi table saw. Make sure it fits snugly and securely in the slot. Adjust the miter gauge to the desired angle by loosening the locking mechanism and rotating it to the appropriate position.
- Secure the workpiece: Place the workpiece against the miter gauge, aligning the marked cutline with the blade. Use clamps or other secure methods to hold the workpiece firmly in place. This will ensure accuracy and prevent any movement during the cut.
- Turn on the saw: With the workpiece properly secured, turn on the table saw and let the blade reach its full speed before proceeding with the cut.
- Make the miter cut: Gently push the workpiece through the blade, using the miter gauge as a guide. Maintain a steady and controlled motion, and make sure to keep your hands clear of the blade at all times. Use a push stick if necessary, especially for small or narrow workpieces.
- Complete the miter cut: Once you have passed the workpiece completely through the blade, turn off the table saw and wait for the blade to come to a complete stop. Remove the cut piece from the table saw, and inspect the miter cut for accuracy.
When making miter cuts, precision and accuracy are essential. Take your time to ensure proper measurements and alignment before making the cut. Use safety equipment such as safety goggles and ear protection, and keep your hands at a safe distance from the blade. Practice on scrap pieces of wood to familiarize yourself with the process and achieve desired results.
With the miter gauge on your Ryobi table saw, you’ll be able to create clean and professional miter cuts for a wide range of woodworking projects.
Using the Blade Guard and Anti-Kickback Pawls
The blade guard and anti-kickback pawls are vital safety features of your Ryobi table saw. They help protect you from direct contact with the blade and prevent kickback, which is the sudden and forceful backward movement of the workpiece. Here’s how to properly use the blade guard and anti-kickback pawls:
- Inspect the blade guard and pawls: Before starting any cutting operation, ensure that the blade guard and anti-kickback pawls are in good condition and functioning correctly. Check for any damage or misalignment that could affect their effectiveness.
- Install the blade guard: Attach the blade guard assembly to your Ryobi table saw according to the manufacturer’s instructions. The guard should cover the exposed part of the blade and be positioned close to the workpiece without touching it.
- Engage the anti-kickback pawls: Check if your table saw is equipped with anti-kickback pawls. These are small teeth-like attachments that sit behind the blade. They help prevent the workpiece from being forcefully thrown back by the rotating blade.
- Adjust the pawls: Align the anti-kickback pawls in a way that they lightly touch the surface of the workpiece. Ensure that they are correctly positioned to engage the wood as it moves past the blade, preventing any backward movement.
- Keep the guard in place: During the cutting process, keep the blade guard in place at all times. Avoid removing or lifting it while the blade is still rotating. The guard will help deflect any wood chips or debris and provide an added layer of protection.
- Inspect and clean regularly: Regularly inspect and clean the blade guard and anti-kickback pawls. Remove any sawdust or debris that may accumulate and hinder their proper function.
Remember that safety should always be a priority when using your Ryobi table saw. The blade guard and anti-kickback pawls are designed to protect you from potential risks and accidents. Even though they may slightly obstruct your view of the blade, it’s important not to compromise on safety. By using these safety features properly, you can have a safer and more enjoyable woodworking experience.
Maintaining and Cleaning the Table Saw
Proper maintenance and regular cleaning of your Ryobi table saw not only ensure its longevity but also contribute to safe and efficient operation. Here are some essential tips on maintaining and cleaning your table saw:
- Read the user manual: Familiarize yourself with the manufacturer’s recommended maintenance guidelines specific to your model of the Ryobi table saw. The manual will provide valuable information on particular maintenance requirements.
- Inspect for damage: Before each use, visually inspect your table saw for any signs of damage or wear. Check the blade, arbor, rip fence, miter gauge, and other components for any loose or missing parts. Ensure that all safety features like the blade guard and pawls are intact and functioning properly.
- Check the alignment: Periodically check the alignment of the blade, rip fence, and miter gauge to ensure accurate cuts. Make necessary adjustments following the instructions provided in the user manual.
- Keep the table clean: After each use, clear the table surface of any sawdust, debris, or scraps. You can use a brush or a vacuum to remove the dust. Avoid using compressed air, as it can blow the sawdust into the air and potentially cause respiratory issues.
- Clean the miter gauge and rip fence: Regularly clean the miter gauge and rip fence to prevent buildup of sawdust or debris. Use a cloth or a brush to remove any residue, ensuring smooth movement and accurate measurements.
- Inspect and clean the blade: Carefully inspect the condition of the blade before and after each use. Check for any dullness, chips, or missing teeth. If necessary, remove the blade and clean it using a blade-cleaning solvent and a brush. Ensure the blade is completely dry before reattaching it.
- Lubricate moving parts: Lubricate the moving parts of the table saw, such as the elevation and bevel adjustment mechanisms, as recommended by the manufacturer. This will help maintain smooth operation and extend the lifespan of the components.
- Store in a dry and clean environment: When not in use, store your Ryobi table saw in a dry and clean environment to prevent rust and damage. Protect it from excessive moisture, temperature fluctuations, and direct sunlight.
- Regularly inspect the electrical cord: Check the electrical cord of your table saw for any signs of wear or fraying. If you notice any damage, immediately replace it to avoid electrical hazards.
By regularly maintaining and cleaning your Ryobi table saw, you’ll have a reliable and efficient tool that will serve you well in your woodworking projects. Remember to always prioritize safety and refer to the user manual for any specific maintenance instructions related to your model.
Read more: How To Start Ryobi Chain Saw
Troubleshooting Common Issues
Even with proper maintenance, you may encounter some common issues with your Ryobi table saw. Here are some troubleshooting tips to help you resolve these issues:
- Blade not cutting straight: If you notice that the blade is not cutting straight, check the alignment of the blade and rip fence. Make sure they are parallel to each other. Additionally, ensure that the workpiece is positioned firmly against the rip fence to prevent any movement during the cut.
- Excessive sawdust buildup: If you notice a significant accumulation of sawdust around the blade or in the internal parts of the table saw, it may affect its performance. Regularly clean the table saw, including the blade, miter gauge, and rip fence, to prevent sawdust buildup. Consider using a vacuum attachment specifically designed for sawdust collection.
- Motor overheating: If the motor of your table saw is overheating or shutting off during operation, it may indicate a problem with the electrical circuit. Check if the power source can handle the ampere needs of the table saw. Additionally, ensure that the motor cooling vents are not blocked by sawdust or debris.
- Difficulty adjusting the bevel angle: If you’re having trouble adjusting the bevel angle of the blade, make sure there are no obstructions or debris preventing the smooth movement of the adjustment mechanism. Clean the area around the bevel adjustment controls and lubricate the components if necessary.
- Uneven or rough cuts: If you’re getting uneven or rough cuts, it may indicate a dull or damaged blade. Inspect the blade for any signs of wear or chips. Consider sharpening or replacing the blade as needed. Additionally, ensure that the blade is properly aligned and tightened.
- Unstable or wobbly table: If you notice that the table saw is unstable or wobbles during operation, check the table legs and supports. Tighten any loose screws or bolts and ensure that all parts are properly assembled and secured. If the problem persists, consult the user manual or contact Ryobi for further assistance.
If you encounter any issues with your Ryobi table saw that you’re unable to resolve, it’s best to consult the user manual or contact Ryobi customer support for specific troubleshooting advice. Remember to always prioritize safety and avoid attempting repairs that you’re not qualified to perform.
By being aware of these common issues and knowing how to address them, you’ll be able to keep your Ryobi table saw in optimal working condition and enjoy smooth and precise cuts in your woodworking projects.
Conclusion
Using a table saw, such as the Ryobi table saw, can greatly enhance your woodworking projects. With proper understanding and utilization of its features, you can achieve accurate and professional-looking cuts. However, it’s essential to prioritize safety throughout the process.
In this article, we discussed the importance of safety precautions when using the Ryobi table saw. We covered setting up the table saw, adjusting the blade, using the rip fence, making crosscuts and miter cuts, and utilizing the blade guard and anti-kickback pawls. We also touched upon the significance of maintaining and cleaning your table saw for optimal performance.
Remember to always follow the safety guidelines provided in the user manual and wear appropriate protective gear. Take the time to properly set up your table saw, adjust the blade height and angle, and use the rip fence and miter gauge correctly to ensure accurate cuts. Additionally, utilize the blade guard and anti-kickback pawls to protect yourself from potential accidents.
Maintaining your Ryobi table saw by regularly cleaning it, inspecting for any damage, and performing necessary adjustments will help extend its lifespan and ensure safe and efficient operation. Lastly, if you encounter any issues with your table saw, refer to the troubleshooting tips provided or seek assistance from the manufacturer.
By following these guidelines, practicing proper techniques, and being vigilant about safety, you can unleash the full potential of your Ryobi table saw and embark on woodworking projects with confidence. Enjoy the journey of creating beautiful and functional pieces with your newfound skills!
Frequently Asked Questions about How To Use Ryobi Table Saw
Was this page helpful?
At Storables.com, we guarantee accurate and reliable information. Our content, validated by Expert Board Contributors, is crafted following stringent Editorial Policies. We're committed to providing you with well-researched, expert-backed insights for all your informational needs.

0 thoughts on “How To Use Ryobi Table Saw”