Home>Articles>Prep & Prime: Essential House Cleaning Checklist Before Painting

Articles
Prep & Prime: Essential House Cleaning Checklist Before Painting
Modified: October 19, 2024
Get your house ready for a flawless paint job with this essential cleaning checklist. Ensure every surface is prepped and primed to perfection.
(Many of the links in this article redirect to a specific reviewed product. Your purchase of these products through affiliate links helps to generate commission for Storables.com, at no extra cost. Learn more)
Ready to give your home a fresh coat of paint? Proper preparation is key to achieving a professional look and ensuring the paint adheres well. Start by understanding that thorough wall cleaning is essential to remove dust, dirt, and grease, which can prevent paint from sticking properly. Using a mixture of warm water and dish soap, gently wipe down walls in circular motions and rinse them with clean water, avoiding excess moisture.
After cleaning, inspect the surfaces for any cracks, holes, or peeling paint. These imperfections need to be addressed with spackling compounds and a putty knife to create a smooth foundation. Remember, the quality of your surface preparation greatly impacts the final result.
Before you start painting, don’t forget to apply a high-quality primer. This step is crucial as it protects against moisture and helps the paint adhere better, offering a seamless and longer-lasting finish. Investing time in these preparation steps will save you effort and ensure your paint job looks professional and endures longer.
Key Takeaways
- Clean and rinse walls with a mild solution.
- Repair imperfections with spackling compounds.
- Use a quality primer for better adhesion and finish.
Read more: How To Clean Ceiling Before Painting
Preparation Essentials
Proper preparation before painting ensures a smooth and flawless finish. This involves gathering the right tools and protecting furniture and fixtures.
Assembling Your Tools and Materials
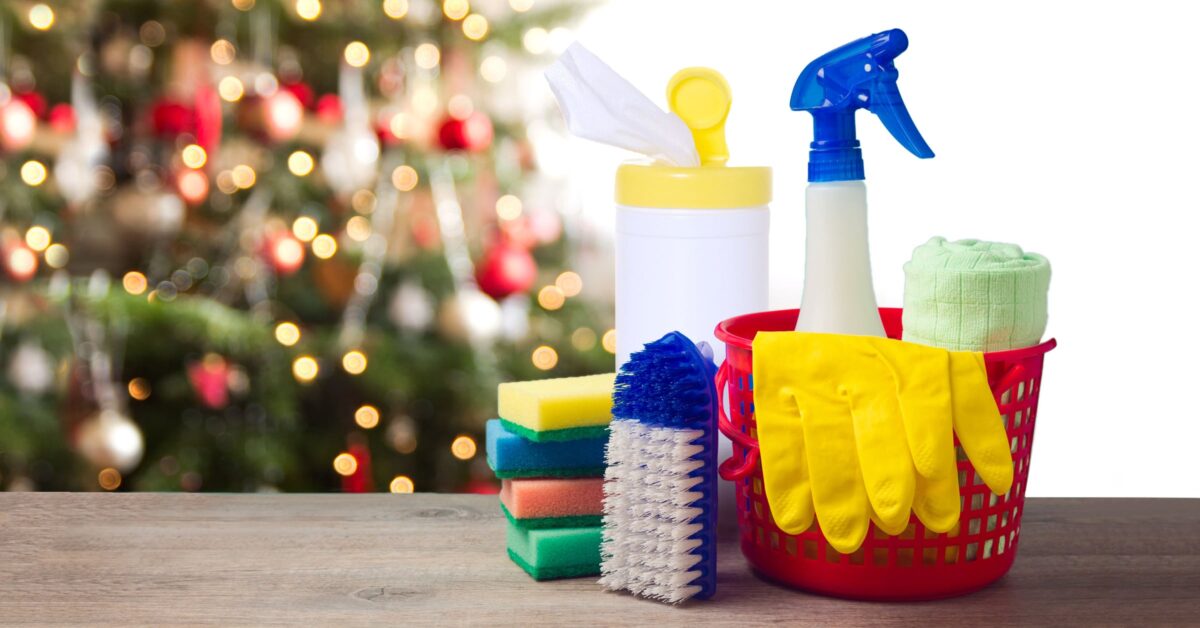
Before starting, collect all necessary tools and materials. This typically includes paint brushes, rollers, paint trays, sandpaper, and putty knives. Cleaner and TSP (trisodium phosphate) help in cleaning surfaces.
Ensure you have drop cloths to protect floors and other surfaces. Using a primer is essential for a uniform finish, especially on bare walls or patched areas.
Safety gear is crucial; wear goggles to protect your eyes from dust and splashes. A good-quality sponge is handy for cleaning walls. Having everything ready ensures a smooth workflow and reduces interruptions.
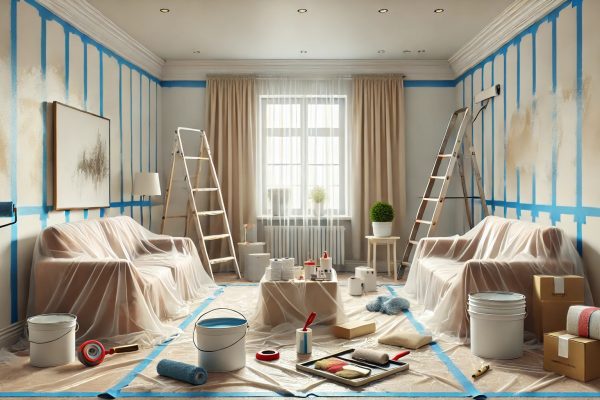
Furniture and Fixture Protection
Begin by moving as much furniture as possible out of the room. For items that can’t be moved, use drop cloths or plastic sheets to cover them. Tape down the covers to ensure they don’t shift.
Remove or cover fixtures like light switch plates and outlet covers. Use painter’s tape to protect edges of trim, windows, and door frames from stray paint. This attention to detail prevents accidental paint splatters and maintains the cleanliness of your fixtures.
Surface Cleaning and Repair
Proper preparation is vital for ensuring the best results when painting walls. This involves both cleaning the surfaces and addressing any imperfections such as holes and cracks.
Read more: How To Store Prime Rib Before Cooking
Wall Cleaning Techniques
Professional House painters from New Line Painting advise the following: For a successful painting project, it’s important to start with clean walls. Dust and cobwebs can be removed with a soft brush or vacuum. Grease and grime are commonly found in kitchens and should be cleaned using a mild detergent solution.
All wall surfaces should be wiped down to remove dust with a clean, damp cloth. If stubborn stains are present, stronger cleaners can be used, but rinsing with clean water afterward is essential to leave a zero-residue surface.
Washing techniques might vary depending on the wall material, so special care should be taken with plaster or paneled walls. This ensures the paint adheres properly and provides a smooth finish.
Addressing Wall Imperfections
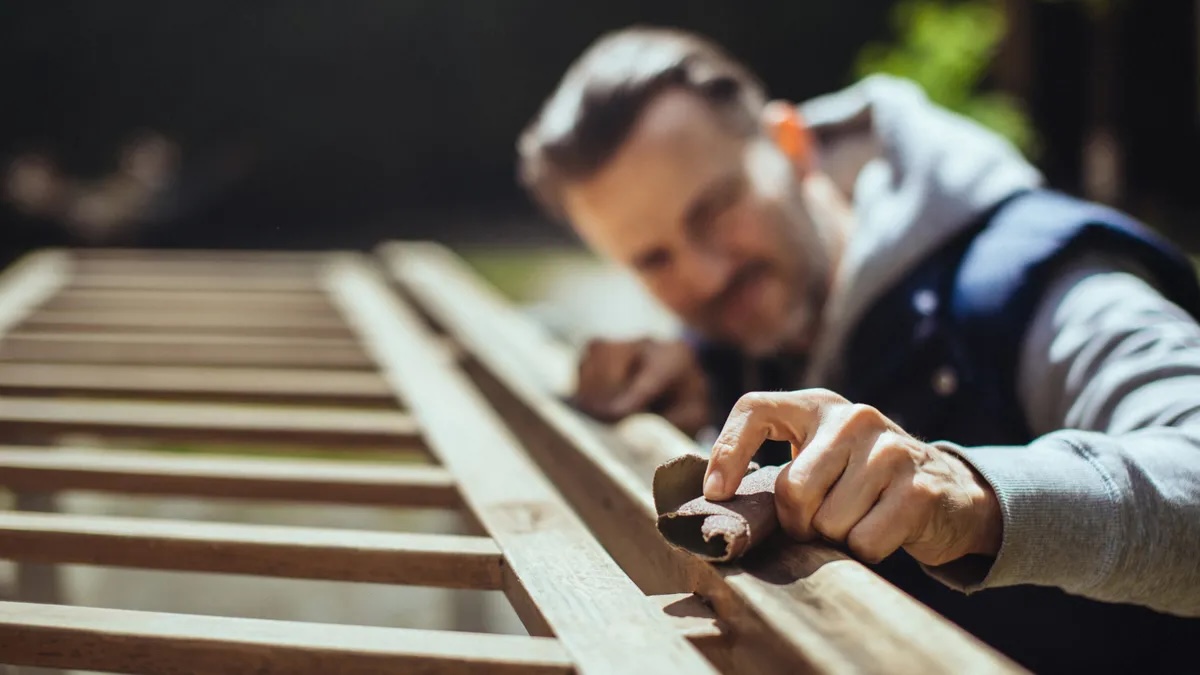
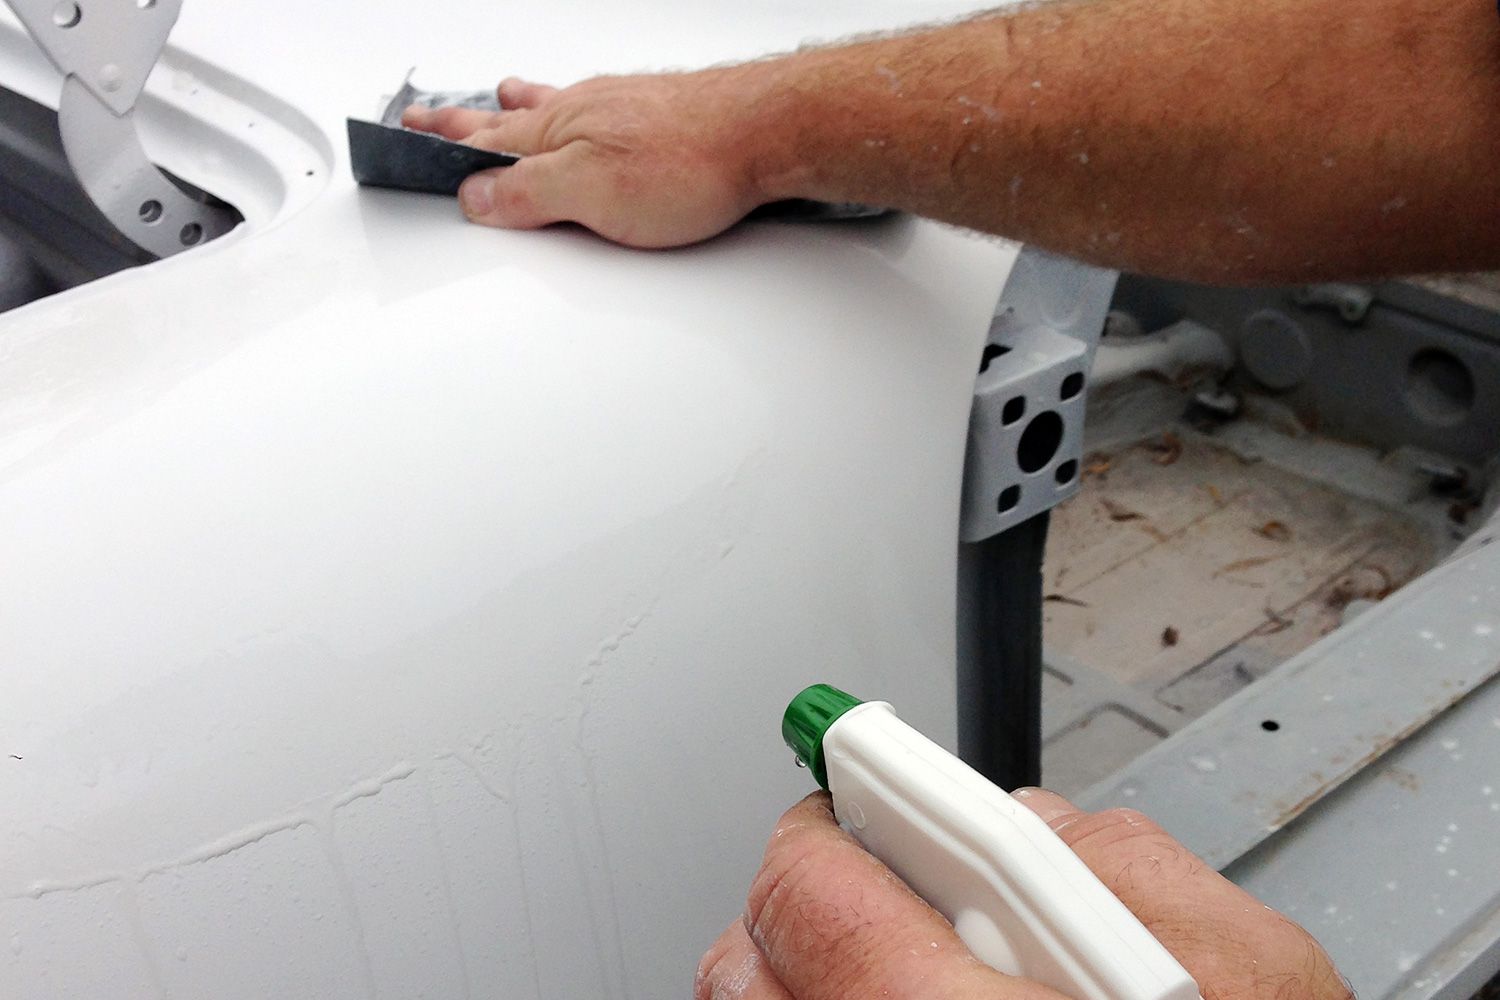
Before painting, it is crucial to repair any wall imperfections. This includes filling cracks, dents, and holes with a suitable patching compound. Larger holes might require additional support such as a mesh or drywall patch.
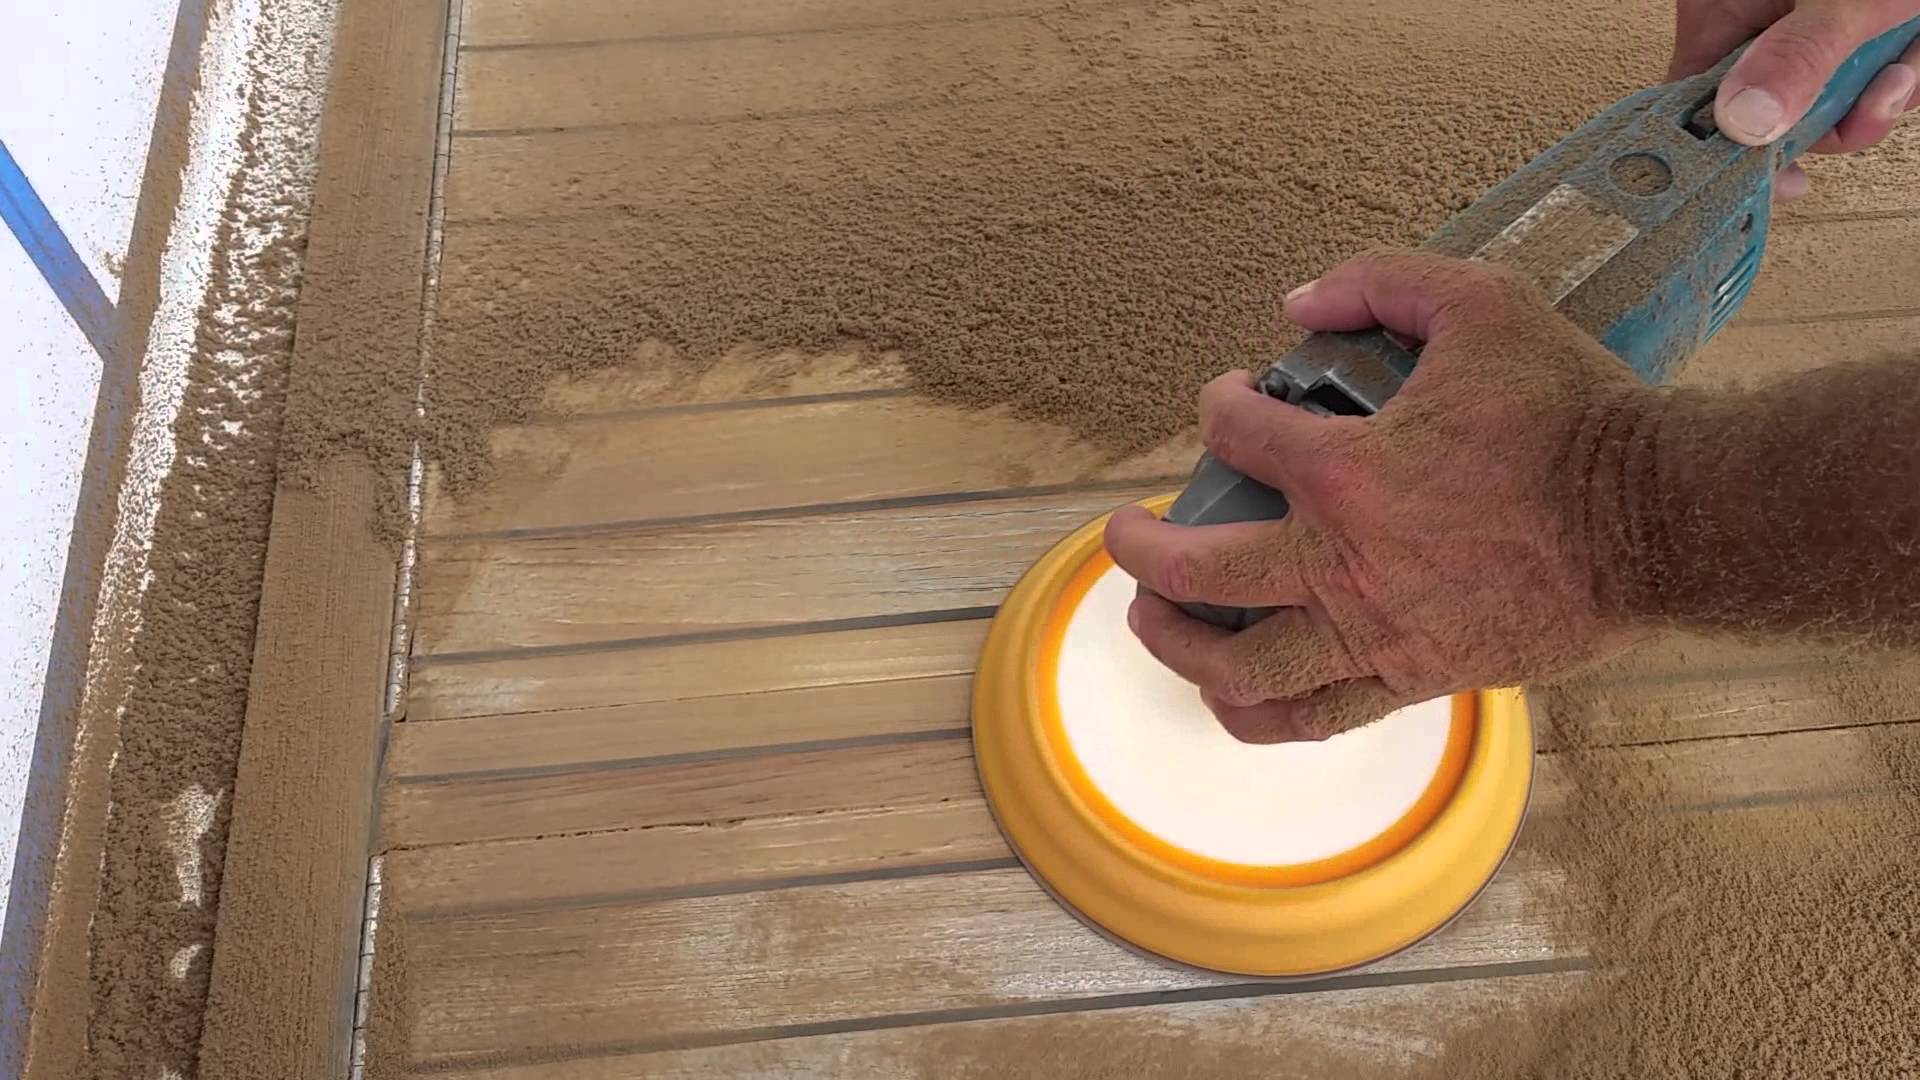
Loose paint should be scraped away with a putty knife, and sandpaper can be used for smoothing rough spots. Once patched, the areas should be sanded smooth to match the surrounding wall texture.
For deeper cracks, using a primer after the patching compound helps ensure better adhesion and durability. Addressing these imperfections creates a seamless surface ready for paint application.
Priming for Perfection
Priming walls is essential to achieving a flawless paint finish. Proper primer selection and application techniques can enhance paint adhesion, cover stains, and create a uniform texture.
Choosing the Right Primer
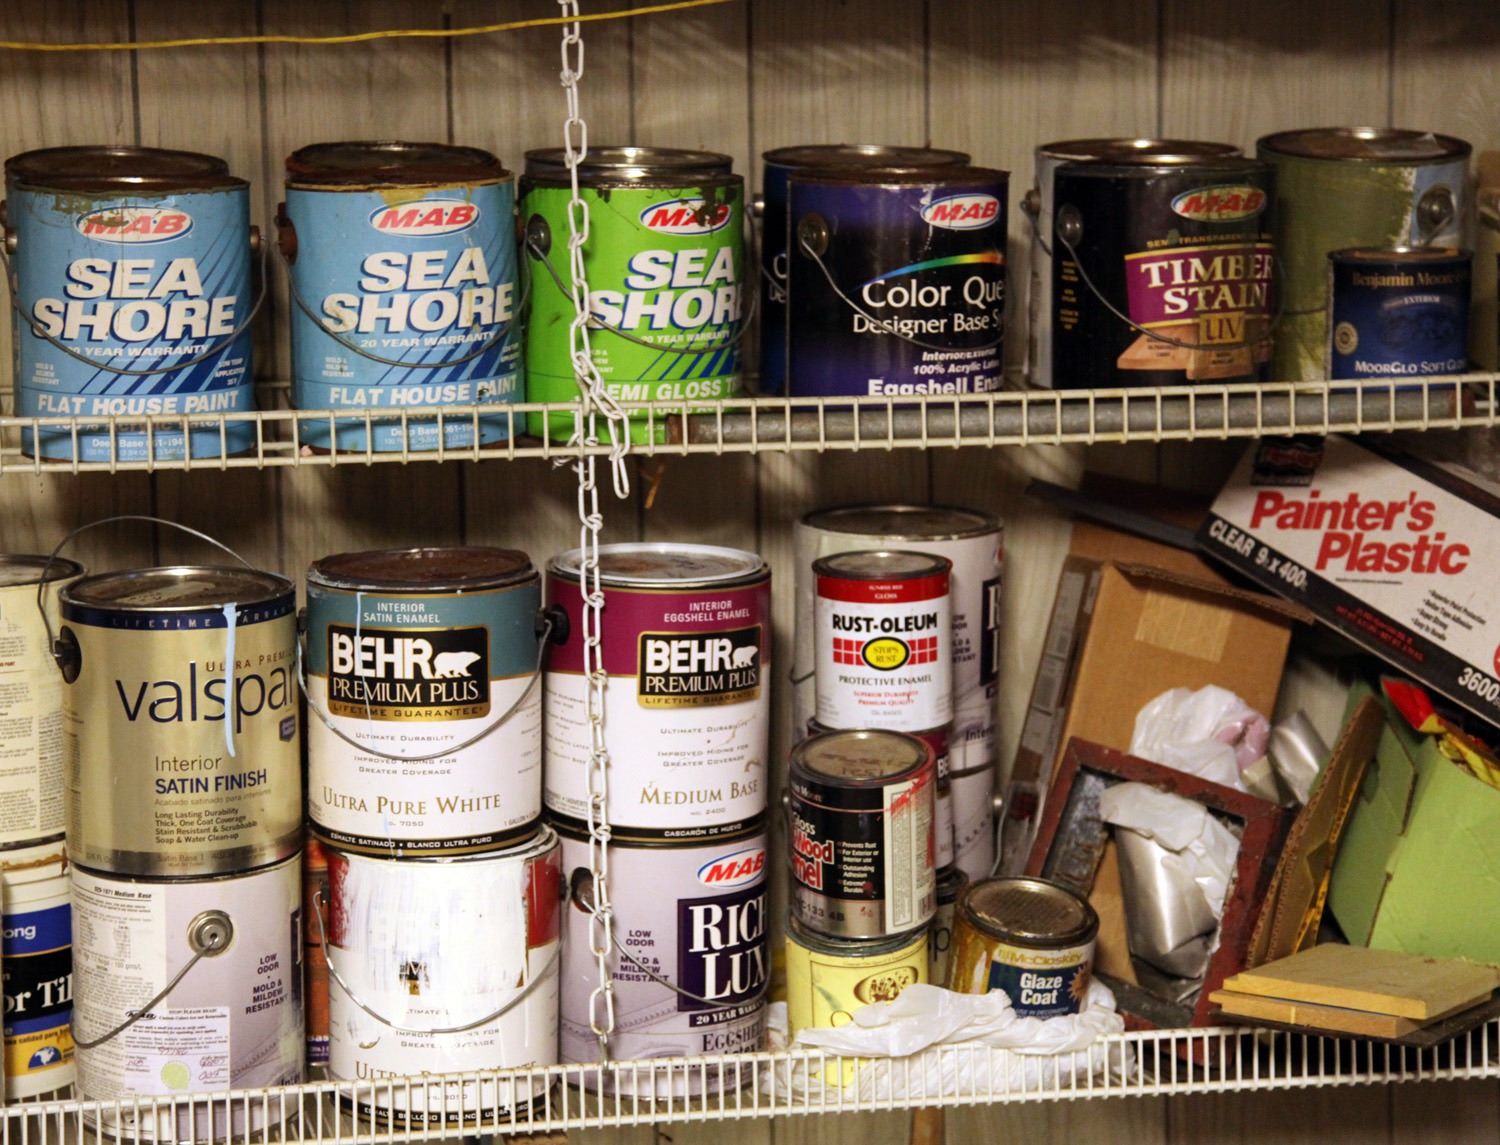
Selecting the right primer depends on the surface you’re working with. For drywall, a latex primer works well to even out the surface. Oil-based primers are suitable for wood and surfaces with stains, as they seal better and prevent tannins from bleeding through. If the walls have been painted before, a bonding primer can ensure proper adhesion.
Consider a tinted primer if you’re applying a dark or vibrant topcoat. This helps in achieving better color coverage with fewer paint coats. Clean walls thoroughly before applying the primer, as dust and grease can hinder its effectiveness. A scratch test on a small patch can determine if the primer bonds well.
Read more: The Ultimate Bathroom Cleaning Checklist
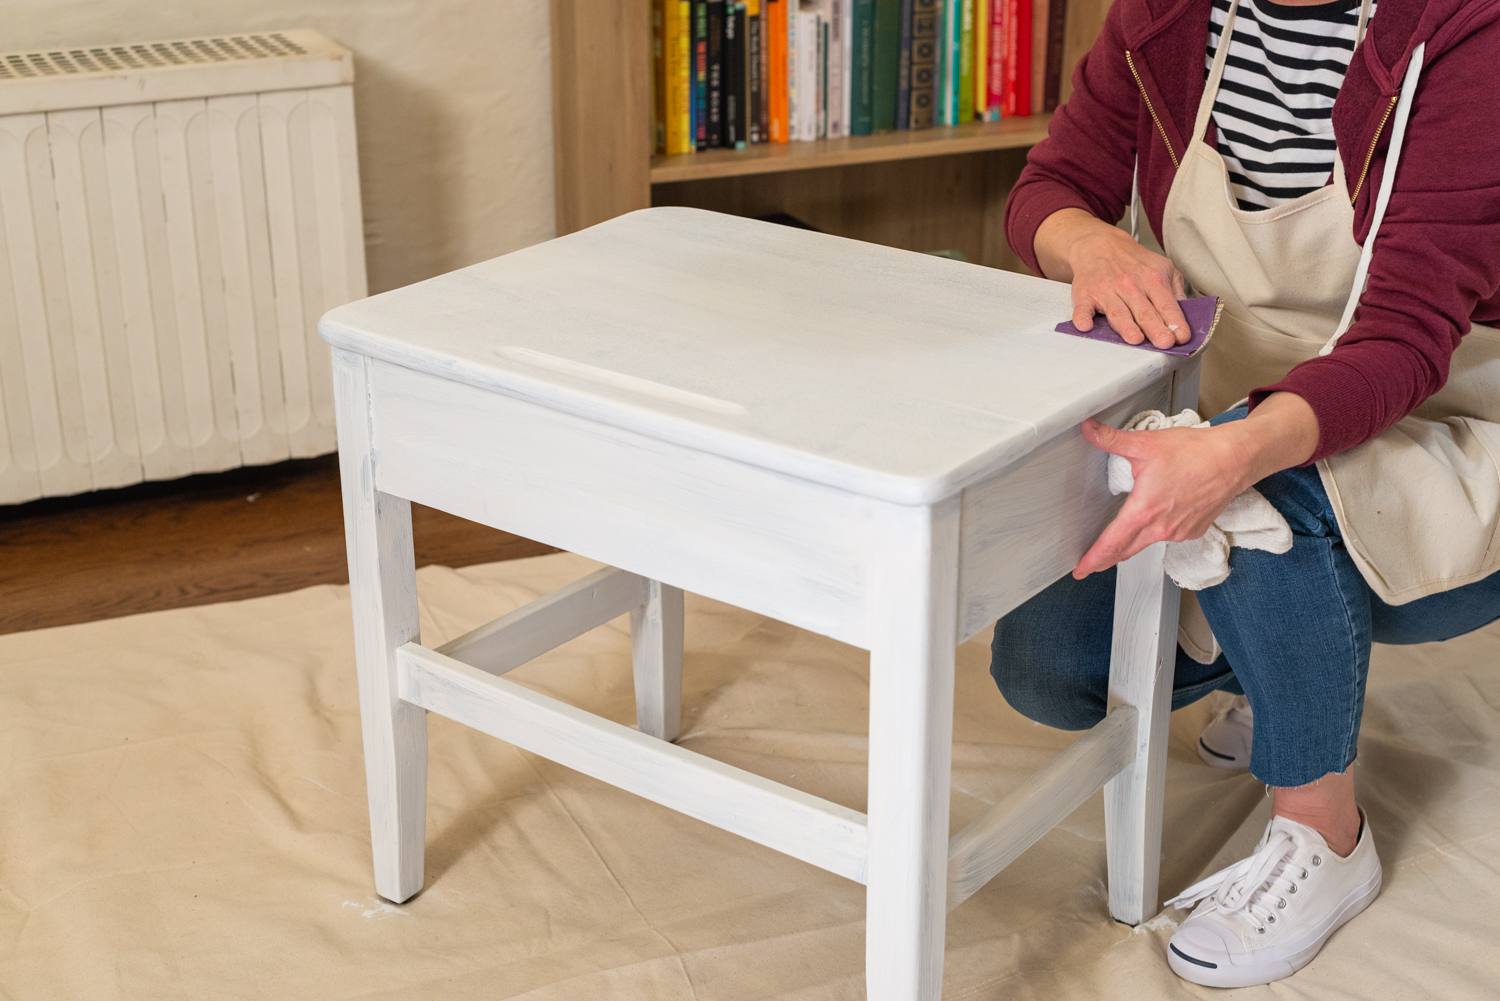
Primer Application Techniques
Effective application ensures a smooth finish. Start by pouring primer into a paint tray. Use a high-quality roller for large areas and a brush for edges and corners. Apply in even, thin coats to avoid drips and uneven texture.
Sand the walls lightly with fine-grit sandpaper between coats if a second coat is required. This helps to smooth out any imperfections. Allow ample drying time as per the manufacturer’s instructions—rushing this step can lead to poor adhesion and patchy finish. It’s affordable to invest time in proper priming to avoid costly repaints.
Proper ventilation is crucial. Wear safety gear like a dust mask and goggles to protect against fumes and particles. These techniques ensure a durable and beautiful paint job, transforming your space with professional-quality results.
Final Preparations and Considerations
Before you start painting, ensure that all surfaces are clean, defects are patched, and everything is properly taped off to avoid any mishaps. Attention to these final details can make a significant difference in the quality of your paint job.
Final Wall Preparation
First, focus on cleaning surfaces. Use a mixture of water and mild detergent to remove dust, dirt, and grease. Pay special attention to high-traffic areas like around light switches and door frames for a clean surface.
Smooth out walls by sanding any uneven patches and filling holes with caulk or patching compound. Remove protruding nails and ensure moulding and trim are set correctly.
Cover windows, trim, and moulding with painter’s tape. Proper taping minimizes paint bleed and ensures sharp lines around edges. Consider taping off the ceiling and floor trim as well.
Patch up any remaining defects. Spot-clean areas with stubborn stains using a gentle cleaner like baking soda or vinegar solution. This ensures that all areas are uniformly clean and ready for painting.
Lastly, make sure all materials and tools are ready and in place. This preparation helps keep the painting process smooth and efficient, saving time and reducing overall cost in both DIY and professional settings.
Frequently Asked Questions
Proper wall preparation is essential for a successful paint job. This section addresses common questions about cleaning, prepping, and priming walls before painting.
Read more: How To Spackle Before Painting
What is the recommended method for cleaning walls prior to painting?
Professional House cleaners from calibre cleaning advise the following: Walls should be cleaned with lukewarm water and mild detergent, gently rubbed in a circular motion. For eco-friendly options, use a mixture of water with vinegar or baking soda for minor stains. Avoid harsh chemicals to prevent damage to the wall’s surface.
What steps are involved in prepping walls before painting?
Start by removing any loose paint and patching holes or cracks. Thoroughly clean the walls and trim to remove dust, grime, and grease. Sand down any rough areas for a smooth finish. Finally, apply primer if necessary to ensure better paint adhesion.
Which cleaners are most effective for wall preparation before painting?
A mild soap solution, lukewarm water, and a sponge are effective for general cleaning. For stubborn grease spots, a more concentrated soap solution may be needed. A solution of one pint household vinegar in one gallon of water can treat textured, porous, or powdery plaster surfaces.
How do you determine if walls need priming before painting?
Priming is necessary if the walls are undergoing a significant color change, if they have never been painted before, or if they have patches and repairs. To check, paint a small test area to see if the surface is absorptive or if imperfections are visible through the paint.
Can you outline the proper sequence of wall preparation before painting?
First, remove loose paint and patch holes. Clean the walls with a mild detergent solution and rinse with clear water. Sand smooth any rough patches. Apply a suitable primer if required. Ensure the surface is completely dry before applying the final coat of paint.
What are the common mistakes to avoid when prepping walls for painting?
Failing to clean the walls thoroughly can lead to poor paint adhesion. Skipping the sanding step can result in a bumpy finish. Not using primer when needed can cause uneven paint absorption. Ensuring adequate drying time between cleaning, priming, and painting steps is crucial to avoid a patchy finish.
Was this page helpful?
At Storables.com, we guarantee accurate and reliable information. Our content, validated by Expert Board Contributors, is crafted following stringent Editorial Policies. We're committed to providing you with well-researched, expert-backed insights for all your informational needs.

0 thoughts on “Prep & Prime: Essential House Cleaning Checklist Before Painting”