Home>Gardening & Outdoor>Outdoor Entertaining>How To Build An Octagon Picnic Table
Outdoor Entertaining
How To Build An Octagon Picnic Table
Modified: February 18, 2024
Learn how to build an octagon picnic table for your outdoor entertaining needs. Step-by-step instructions and tips for a sturdy and stylish addition to your backyard. Ideal for hosting gatherings and enjoying outdoor meals.
(Many of the links in this article redirect to a specific reviewed product. Your purchase of these products through affiliate links helps to generate commission for Storables.com, at no extra cost. Learn more)
Introduction
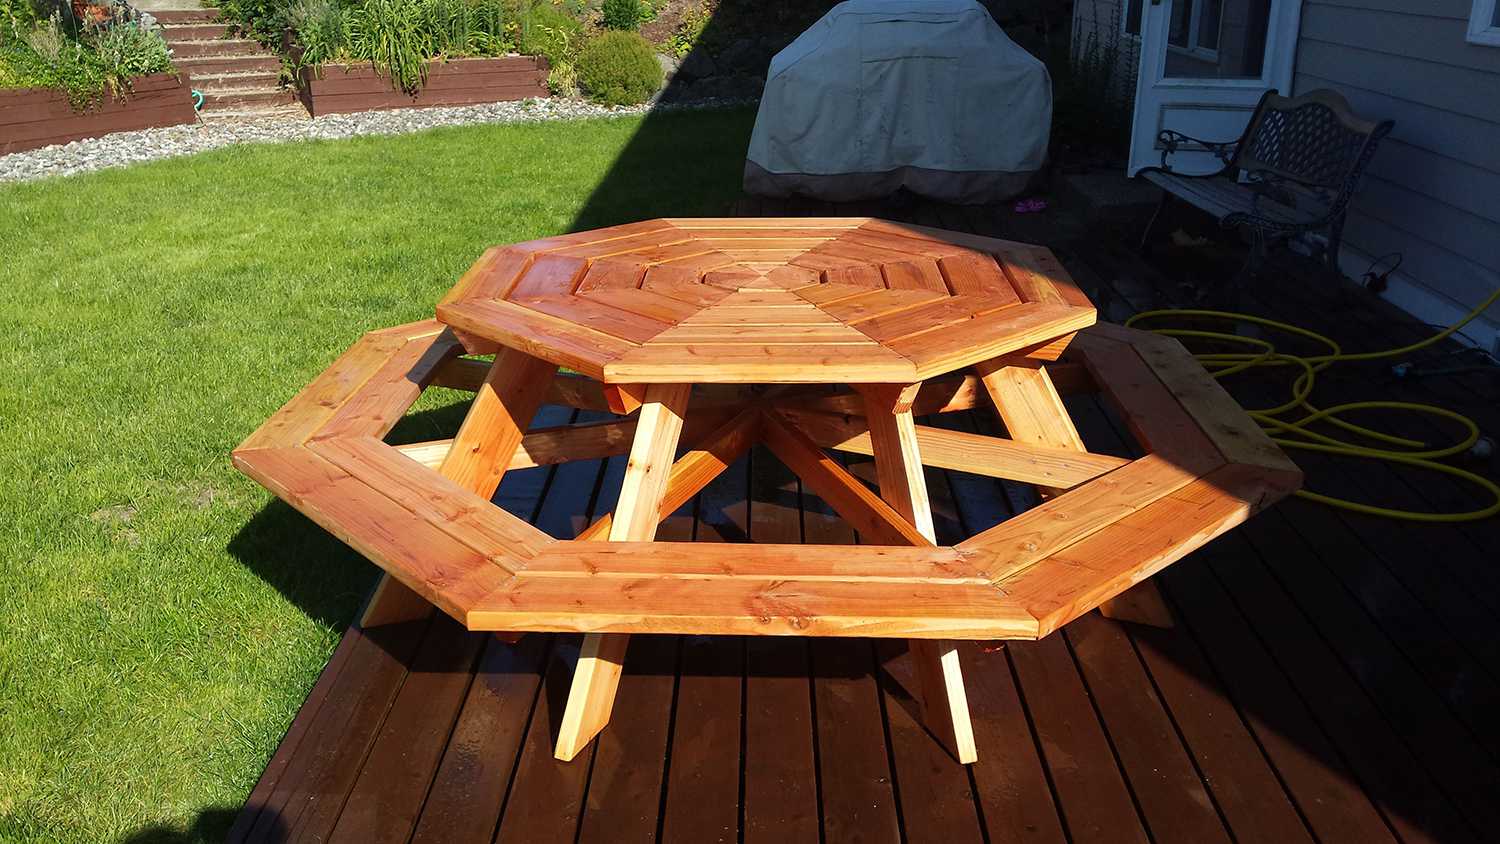
When it comes to outdoor entertaining, a well-crafted picnic table can be the centerpiece of your gatherings. Not only does it provide a sturdy and functional surface for dining and socializing, but it also adds a touch of rustic charm to your outdoor space. While traditional rectangular picnic tables are popular, an octagon-shaped picnic table offers a unique and visually appealing alternative.
Building an octagon picnic table can be a rewarding and enjoyable project for woodworking enthusiasts. Whether you're a seasoned DIYer or a novice looking to hone your skills, this guide will walk you through the process of creating a stunning octagon picnic table from scratch. From selecting the right materials to mastering the art of assembly and finishing, you'll gain the knowledge and confidence to tackle this project with ease.
In this comprehensive guide, we'll delve into the step-by-step process of building an octagon picnic table, covering everything from the essential materials and tools to the intricate woodworking techniques required to bring your vision to life. By the end of this journey, you'll not only have a beautiful and durable picnic table for your outdoor space but also a sense of pride in having crafted it with your own hands.
So, roll up your sleeves, gather your tools, and let's embark on this woodworking adventure together. Whether you're planning to host lively outdoor gatherings or simply create a cozy spot for family meals, the octagon picnic table you're about to build will undoubtedly become a beloved fixture in your outdoor entertaining repertoire.
Key Takeaways:
- Building an octagon picnic table is a rewarding woodworking project that requires precision cutting, meticulous assembly, and careful finishing to create a durable and visually striking centerpiece for outdoor entertaining.
- From selecting high-quality lumber to integrating benches and applying protective finishes, crafting an octagon picnic table is a labor of love that enhances outdoor gatherings and fosters cherished memories for years to come.
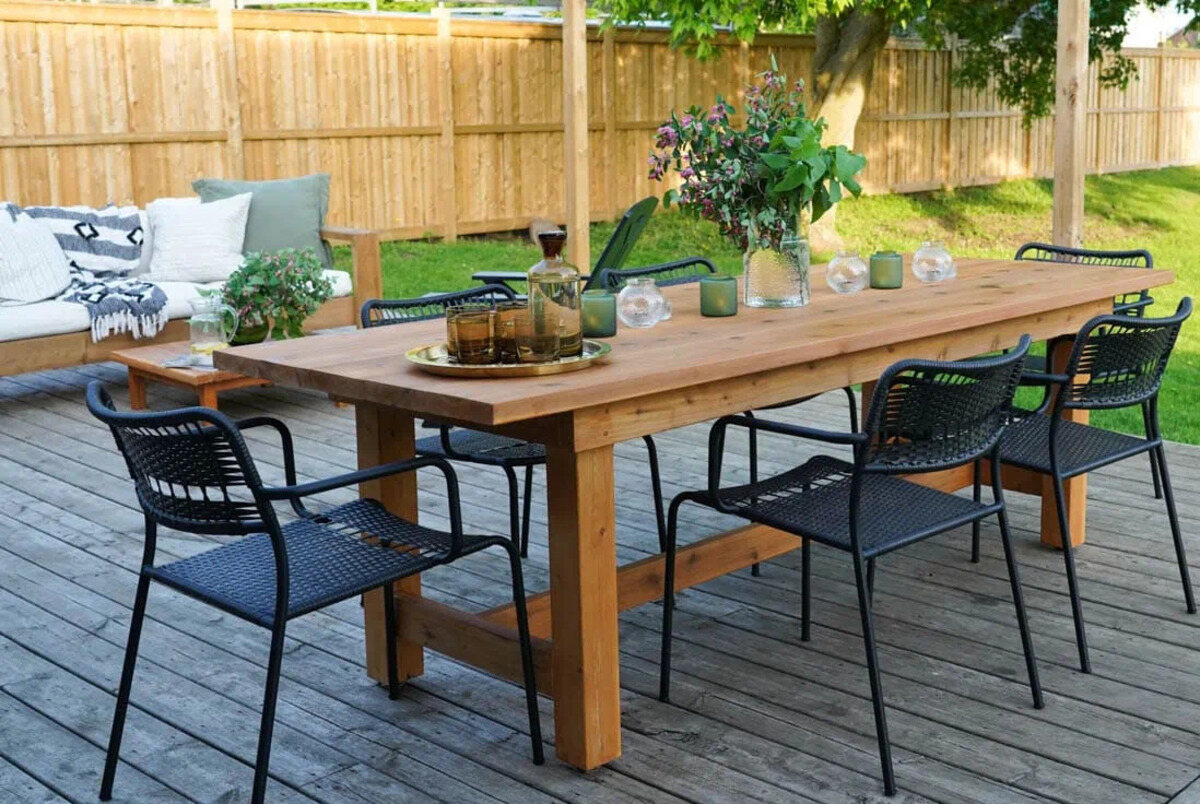
Read more: How To Build A Picnic Style Dining Table
Materials and Tools
Before diving into the construction process, it’s crucial to gather all the necessary materials and tools to ensure a smooth and efficient building experience. Here’s a comprehensive list of what you’ll need:
Materials:
- Pressure-treated lumber: Select high-quality lumber that can withstand outdoor elements, such as pressure-treated pine or cedar. The exact quantity will depend on the size of the table and benches you plan to build.
- Wood screws: Opt for corrosion-resistant screws designed for outdoor use to ensure the structural integrity of the table.
- Wood glue: Choose a weatherproof wood glue to reinforce the joints and enhance the table’s durability.
- Wood stain or paint: Depending on your preference, you can use a weather-resistant wood stain or outdoor paint to protect the table from the elements and enhance its aesthetic appeal.
- Waterproof sealant: To further safeguard the wood against moisture and decay, consider applying a waterproof sealant as a finishing touch.
Tools:
- Measuring tape and pencil: Essential for marking and measuring the wood accurately.
- Circular saw or miter saw: To make precise cuts on the lumber for the tabletop, benches, and framework.
- Drill/driver: Needed for drilling pilot holes and driving screws into the wood.
- Clamps: Useful for securing wood pieces together during assembly.
- Sandpaper and/or electric sander: For smoothing the wood surfaces and achieving a professional finish.
- Paintbrushes or staining pads: To apply wood stain, paint, and sealant evenly.
- Safety gear: Always prioritize safety by wearing protective eyewear, gloves, and a dust mask when working with wood and power tools.
By ensuring that you have all the required materials and tools at your disposal, you’ll be well-prepared to commence the construction of your octagon picnic table. With these foundational elements in place, you can proceed with confidence, knowing that you have everything you need to bring your woodworking vision to fruition.
Cutting the Wood
Once you’ve gathered the necessary materials and tools, the next step in building your octagon picnic table is cutting the wood to the appropriate dimensions. Precision and accuracy during this phase are essential to ensure that the table and benches fit together seamlessly. Here’s a detailed breakdown of the cutting process:
Read more: How To Build An Octagonal Garden Tool Shed
Tabletop and Bench Seats:
Begin by cutting the lumber to create the individual segments of the tabletop and bench seats. For an octagon-shaped table, you’ll need to make eight identical trapezoidal segments that will form the tabletop. Each segment should have two parallel sides of equal length and two non-parallel sides of equal length, with precise angles at the corners to achieve the octagonal shape.
Similarly, the bench seats can be crafted by cutting the lumber into trapezoidal shapes, mirroring the dimensions of the tabletop segments. These components will serve as the foundational elements of the table’s surface and seating areas.
Framework and Support Pieces:
Next, cut the remaining lumber to create the framework and support pieces that will form the base of the table. This involves cutting the wood into segments for the table’s central support structure, as well as the angled pieces that will connect the tabletop to the base. Additionally, you’ll need to cut the lumber to construct the support framework for the benches, ensuring stability and strength.
Bevel Cuts and Angles:
Given the octagonal design of the table, precise bevel cuts and angles are crucial to achieving a snug and secure fit between the tabletop segments. Utilize a miter saw or circular saw with a bevel function to make accurate angled cuts, paying close attention to the specific angles required for each segment. Remember to measure twice and cut once to avoid errors and ensure a flawless assembly process.
By meticulously cutting the wood to the specified dimensions and angles, you’ll lay the groundwork for a structurally sound and visually striking octagon picnic table. With each piece tailored to perfection, you’ll be ready to progress to the next phase of the construction process, bringing you one step closer to enjoying memorable outdoor gatherings around your handcrafted masterpiece.
Assembling the Tabletop
With the wood cut to precision, it’s time to embark on the assembly phase, starting with the creation of the tabletop. This pivotal stage requires attention to detail and a methodical approach to ensure that the individual segments seamlessly come together to form the distinctive octagonal shape. Here’s a step-by-step guide to assembling the tabletop:
Read more: How To Build A Hexagon Picnic Table
Arranging the Segments:
Begin by laying out the trapezoidal tabletop segments in the desired configuration, ensuring that the angles align perfectly to create the octagon. Double-check the measurements and angles to guarantee a symmetrical and balanced layout before proceeding to the next step.
Joining the Segments:
Using weatherproof wood glue and corrosion-resistant screws, carefully join the segments together to form the tabletop. Apply a thin, even layer of wood glue along the adjoining edges of the segments, then secure them in place using the pre-drilled pilot holes and screws. This method ensures a strong and durable bond between the segments, enhancing the overall stability of the tabletop.
Reinforcing the Joints:
To further fortify the tabletop, consider adding wooden support blocks or braces beneath the joined segments. These reinforcements can be strategically positioned to bolster the connections between the segments, minimizing the risk of warping or shifting over time. By meticulously reinforcing the joints, you’ll enhance the longevity and structural integrity of the tabletop.
Smoothing the Surface:
Once the segments are securely joined, use sandpaper or an electric sander to smooth the tabletop’s surface, eliminating any rough edges and imperfections. This crucial step not only enhances the aesthetic appeal of the table but also ensures a comfortable and safe dining experience for anyone using it.
By methodically assembling the tabletop with precision and care, you’ll witness the transformation of individual lumber segments into a cohesive and visually striking centerpiece for your octagon picnic table. With the tabletop taking shape, you’re now ready to transition to the next phase of the construction process, bringing you closer to the completion of your handcrafted outdoor masterpiece.
Read more: How To Build A Picnic Table Bench
Building the Table Base
With the tabletop assembled, the focus now shifts to constructing the sturdy and visually appealing base that will support and elevate your octagon picnic table. The table base serves as the foundation for the entire structure, providing stability and structural integrity. Here’s a detailed guide to building the table base:
Creating the Central Support Structure:
Begin by assembling the central support structure that will form the backbone of the table base. This typically involves joining the central support beams in a crisscross pattern, creating a visually striking and robust foundation for the tabletop. Secure the intersecting beams with wood glue and screws, ensuring a tight and secure fit at each junction to maximize stability.
Attaching the Tabletop Support Arms:
Once the central support structure is in place, attach the tabletop support arms that will connect the tabletop to the base. These angled pieces play a crucial role in supporting the weight of the tabletop while contributing to the overall aesthetic appeal of the table. Carefully position and secure the support arms to the central support structure, ensuring that they are aligned symmetrically to accommodate the octagonal tabletop.
Adding Decorative Elements:
Consider incorporating decorative elements, such as routed edges or ornamental brackets, to enhance the visual allure of the table base. These embellishments not only add a touch of elegance to the structure but also showcase your attention to detail and craftsmanship. Whether you opt for intricate carvings or simple yet refined accents, these decorative touches can elevate the aesthetic appeal of the table base.
Read more: How To Design An Octagon House
Ensuring Stability and Leveling:
Before proceeding further, carefully assess the stability and levelness of the table base. Use a level to confirm that the base is balanced and even, making any necessary adjustments to ensure that the table will stand securely on any surface. This meticulous attention to detail will contribute to the table’s overall functionality and visual appeal.
By methodically constructing the table base with precision and care, you’ll witness the emergence of a robust and visually captivating foundation for your octagon picnic table. With the table base taking shape, you’re now poised to transition to the next phase of the construction process, bringing you closer to the realization of your handcrafted outdoor masterpiece.
Attaching the Benches
As your octagon picnic table nears completion, it’s time to focus on integrating the essential seating elements that will enhance the functionality and comfort of the outdoor dining experience. Attaching the benches to the table’s base requires careful consideration of positioning, stability, and aesthetic harmony. Here’s a comprehensive guide to seamlessly incorporating the benches into your handcrafted masterpiece:
Positioning the Benches:
Begin by determining the optimal placement of the benches around the octagon table. Consider factors such as spacing, accessibility, and visual balance to ensure that the benches complement the table while accommodating a comfortable number of seated guests. Once the ideal positions are identified, proceed to secure the benches to the table base.
Securing the Bench Supports:
Attach the bench supports to the table base, ensuring that they are aligned symmetrically with the tabletop support arms. These supports play a pivotal role in stabilizing the benches and integrating them seamlessly with the overall structure. Utilize wood glue and screws to secure the bench supports firmly to the base, prioritizing structural integrity and longevity.
Read more: How To Build A Picnic Table From Pallets
Mounting the Bench Seats:
With the bench supports securely in place, affix the bench seats to the supports using weather-resistant screws and wood glue. Pay attention to the alignment and spacing of the bench seats, ensuring a consistent and visually appealing arrangement that complements the table and facilitates comfortable seating for your guests.
Reinforcing the Connections:
After mounting the bench seats, reinforce the connections between the benches and the table base to fortify the overall stability and durability of the structure. Double-check the fastenings and joints to confirm that the benches are securely integrated with the table, capable of withstanding regular use and outdoor conditions with ease.
By meticulously attaching the benches to the table base, you’ll complete the functional and inviting ensemble of your octagon picnic table, ready to accommodate memorable gatherings and shared meals in the great outdoors. With the benches seamlessly integrated, you’re now prepared to proceed to the final stages of the construction process, bringing you closer to the realization of your handcrafted outdoor masterpiece.
Sanding and Finishing
As you approach the culmination of your octagon picnic table construction, the sanding and finishing phase becomes pivotal in elevating the visual appeal, tactile comfort, and long-term durability of your handcrafted masterpiece. By meticulously refining the wood surfaces and applying protective finishes, you’ll ensure that your table stands as a testament to both craftsmanship and resilience. Here’s a comprehensive guide to the sanding and finishing process:
Preparing for Sanding:
Before commencing the sanding process, meticulously inspect the entire table, including the tabletop, benches, and base, for any rough spots, splinters, or imperfections. Mark any areas that require attention to ensure a systematic and thorough sanding process. Additionally, ensure that the wood is clean and free of debris to prevent abrasions and blemishes during sanding.
Read more: How To Build A Console Table
Sanding the Wood Surfaces:
Utilize medium-grit sandpaper to begin the sanding process, focusing on smoothing the wood surfaces and eliminating any visible imperfections. Work methodically, following the natural grain of the wood, and gradually progress to finer-grit sandpaper to achieve a consistently smooth and refined texture. Pay particular attention to the edges and corners, ensuring a uniform finish throughout the entire structure.
Applying Wood Stain or Paint:
Depending on your aesthetic preferences, apply a weather-resistant wood stain or outdoor paint to the sanded surfaces, enhancing the table’s visual appeal while safeguarding it from the elements. Choose a stain or paint that complements your outdoor decor and aligns with the desired finish, whether it’s a rich, natural wood tone or a vibrant, customized color palette. Apply multiple coats as needed, allowing adequate drying time between each application.
Sealing the Wood:
Once the stain or paint has dried, consider applying a waterproof sealant to shield the wood from moisture, UV exposure, and general wear and tear. The sealant serves as a protective barrier, prolonging the lifespan of the table and preserving its aesthetic allure. Apply the sealant evenly, ensuring comprehensive coverage across all exposed wood surfaces.
Final Touches and Quality Checks:
After completing the finishing process, conduct a thorough inspection of the table to ensure that the wood surfaces are impeccably finished and that the protective coatings are applied uniformly. Address any touch-up areas as needed, and verify that the table exudes a lustrous and inviting appearance, ready to grace your outdoor gatherings with timeless elegance.
By embracing the sanding and finishing process with meticulous care and attention to detail, you’ll elevate your octagon picnic table into a stunning and enduring centerpiece for outdoor entertaining. With the wood surfaces refined and protected, you’re now primed to revel in the fulfillment of your woodworking journey, celebrating the completion of your handcrafted outdoor masterpiece.
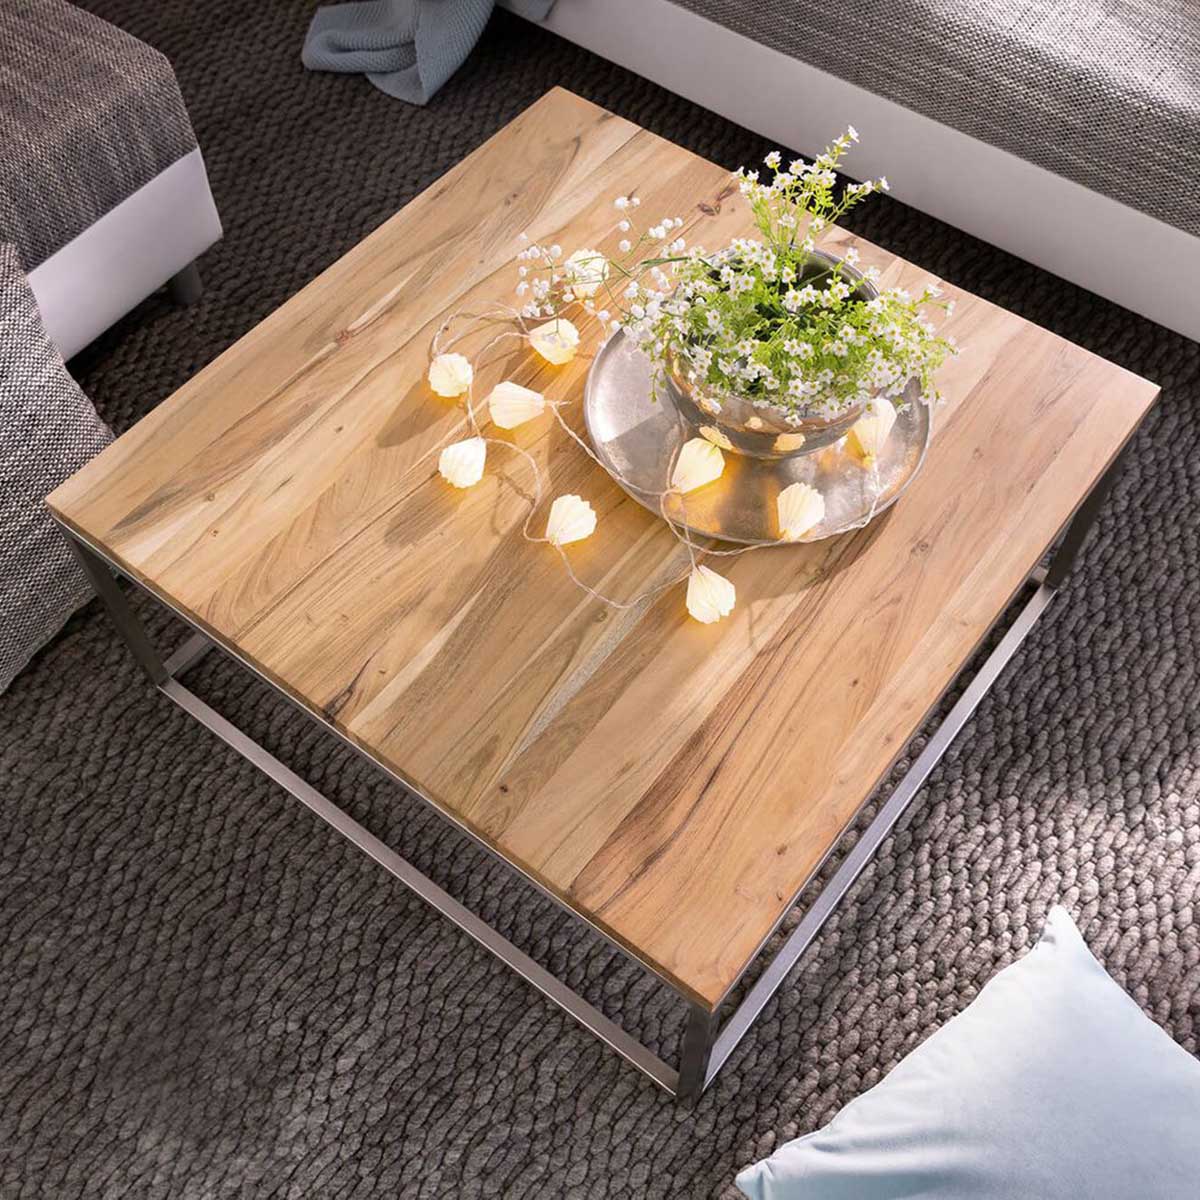
Read more: How To Build A Modern Coffee Table
Conclusion
Congratulations on successfully completing the construction of your octagon picnic table—a testament to your dedication, craftsmanship, and passion for outdoor entertaining. As you stand back and admire the fruits of your labor, it’s evident that this handcrafted masterpiece is more than just a functional piece of furniture; it’s a symbol of shared moments, laughter, and cherished gatherings in the embrace of nature. Let’s recap the journey that has led to the creation of this remarkable outdoor centerpiece:
From the initial selection of high-quality pressure-treated lumber to the meticulous cutting and assembly of the tabletop and benches, you’ve demonstrated unwavering attention to detail and precision. The construction of the robust and visually captivating table base, along with the seamless integration of the benches, has laid the foundation for countless memorable outdoor dining experiences to come.
As you meticulously sanded the wood surfaces and applied protective finishes, you’ve not only enhanced the table’s aesthetic allure but also fortified it against the elements, ensuring that it will stand the test of time with grace and resilience. Each step of the construction process has been imbued with your creativity, expertise, and unwavering commitment to excellence.
Now, as your handcrafted octagon picnic table takes its rightful place in your outdoor space, it stands as a beacon of warmth, hospitality, and the simple joys of shared meals and lively conversations. Whether it’s a leisurely weekend brunch, a festive gathering with family and friends, or a tranquil moment of solitude in nature’s embrace, your table is poised to be the centerpiece of countless cherished memories.
As you bask in the satisfaction of completing this woodworking journey, remember that your octagon picnic table is more than just a physical creation; it’s a conduit for connection, a canvas for creativity, and a testament to the enduring allure of handcrafted artistry. May it continue to enrich your outdoor experiences, foster meaningful connections, and inspire moments of joy and togetherness for years to come.
With your octagon picnic table standing as a tangible expression of your ingenuity and love for outdoor living, you’ve not only crafted a functional piece of furniture but also a cherished legacy that will resonate with all who gather around it. Embrace the pride of your accomplishment, savor the anticipation of future celebrations, and revel in the timeless beauty of your handcrafted outdoor masterpiece.
Frequently Asked Questions about How To Build An Octagon Picnic Table
Was this page helpful?
At Storables.com, we guarantee accurate and reliable information. Our content, validated by Expert Board Contributors, is crafted following stringent Editorial Policies. We're committed to providing you with well-researched, expert-backed insights for all your informational needs.


0 thoughts on “How To Build An Octagon Picnic Table”