Home>Interior Design>How To Install Fabric Walling: The Unique Alternative To Wallpaper
Interior Design
How To Install Fabric Walling: The Unique Alternative To Wallpaper
Modified: November 1, 2024
Learn how to transform your space with fabric walling, the innovative alternative to traditional wallpaper. Discover the latest interior design trends and techniques for installing fabric walling.
(Many of the links in this article redirect to a specific reviewed product. Your purchase of these products through affiliate links helps to generate commission for Storables.com, at no extra cost. Learn more)
Introduction
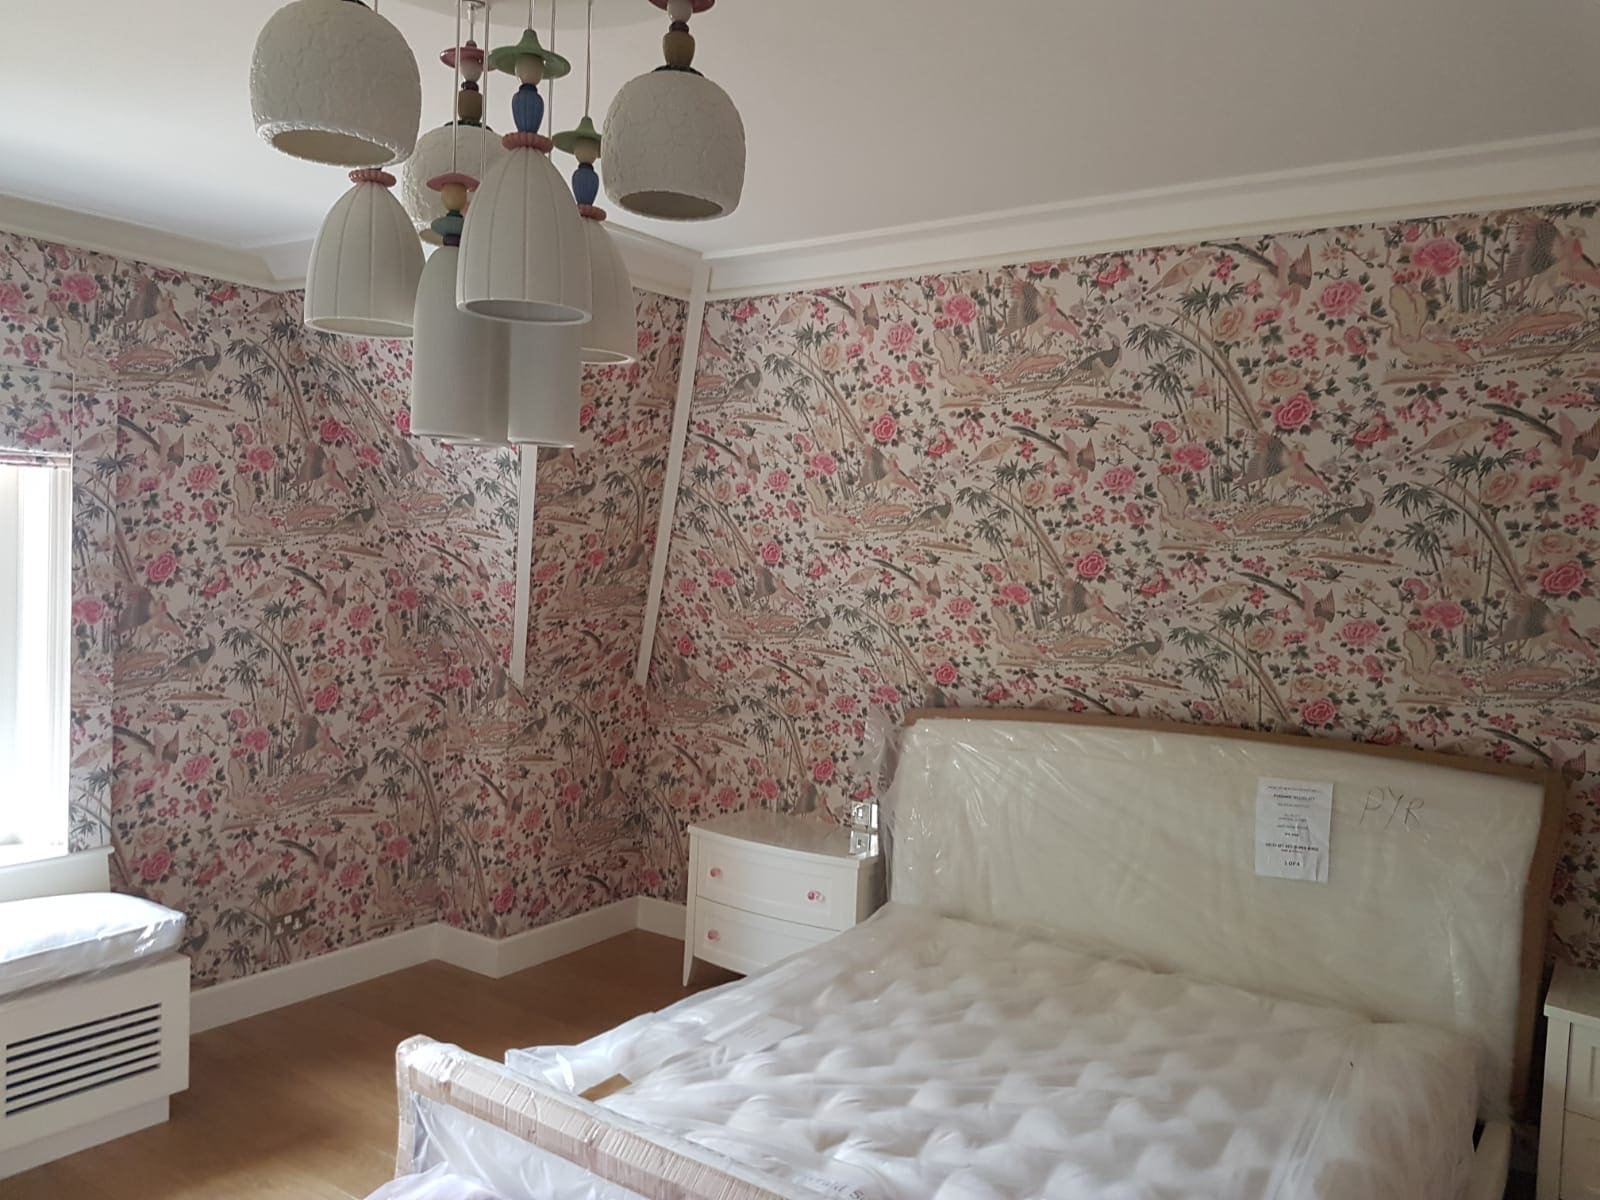
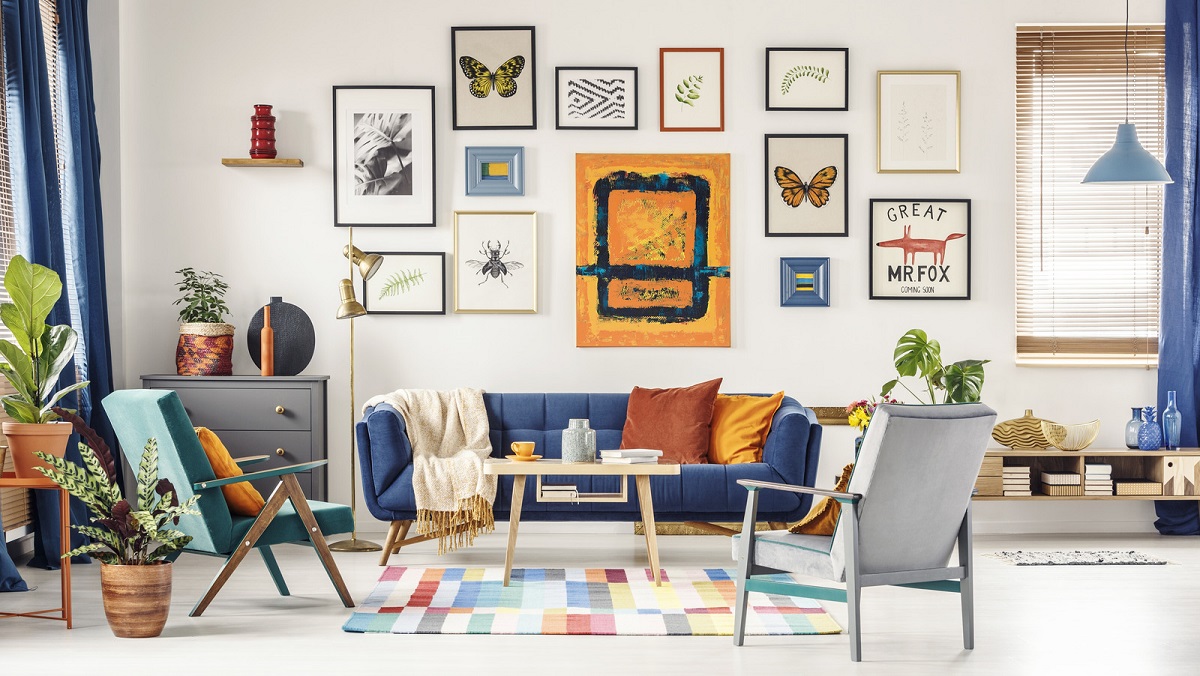
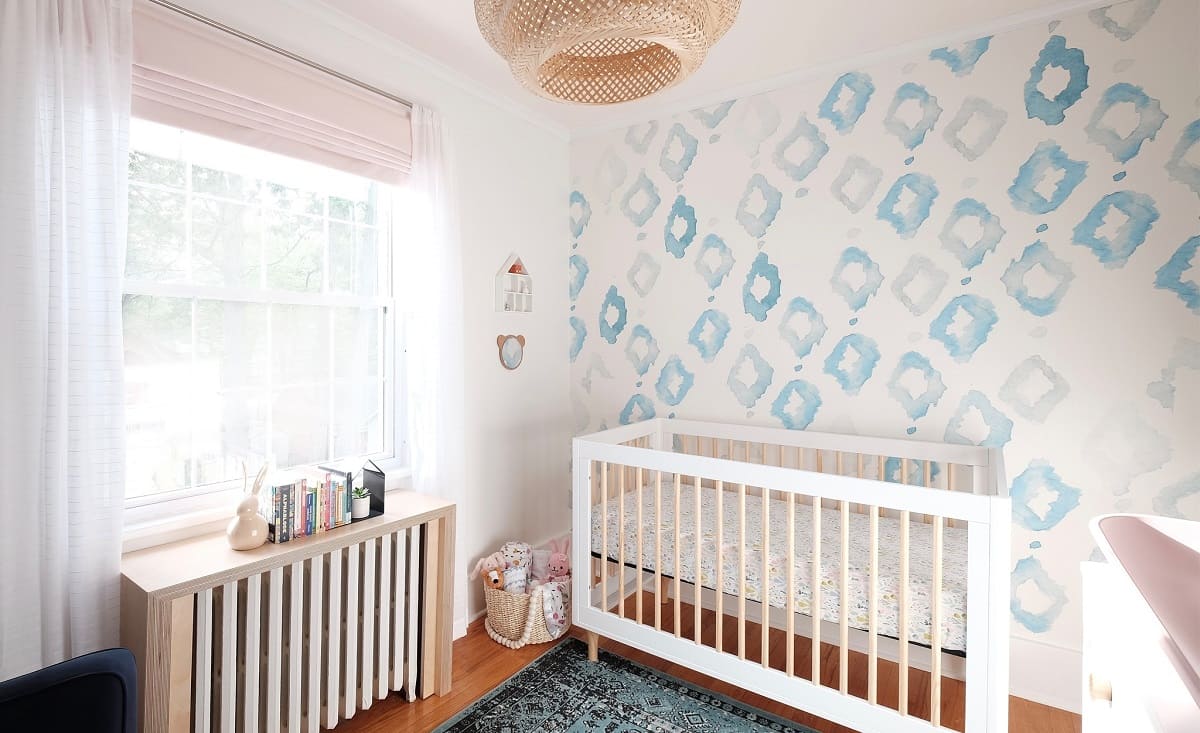
Fabric walling is a unique and creative alternative to traditional wallpaper that has gained popularity in interior design. It involves applying fabric to the walls of your home or office space, creating a visually stunning and textured look. This technique allows for endless customization options, as you can choose from a wide range of fabrics, colors, and patterns to suit your personal style and the overall aesthetic of your space.
Fabric walling not only adds a touch of luxury and sophistication to any room but also offers a range of practical benefits. It can help improve acoustics, insulation, and durability, making it an excellent choice for both residential and commercial spaces. Moreover, fabric walling is a versatile option that can be applied to any type of wall surface, including drywall, plaster, and paneling, allowing you to transform the look of your space with ease.
So, if you’re looking to add a touch of elegance and uniqueness to your walls, consider installing fabric walling. In this article, we will guide you through the process of installing fabric walling, step by step. From preparing the wall to applying the fabric and finishing touches, we will provide you with all the information you need to create a stunning and personalized space.
Key Takeaways:
- Elevate your space with fabric walling, a luxurious alternative to wallpaper. Enjoy improved acoustics, durability, and endless customization options for a unique and personalized design.
- Transform your walls with fabric walling, offering texture, visual interest, and versatility. Follow proper installation and maintenance for a stunning and long-lasting interior design solution.
Read more: Wall Murals: The Throwback Wallpaper Trend
What is fabric walling?
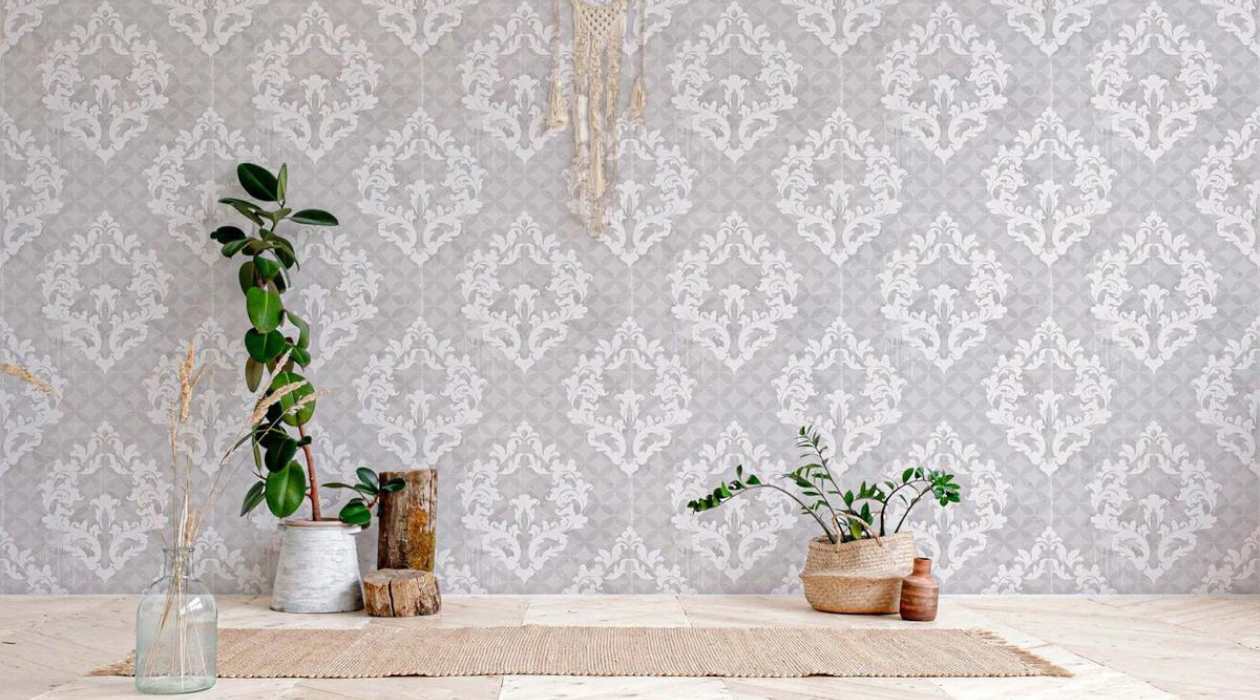
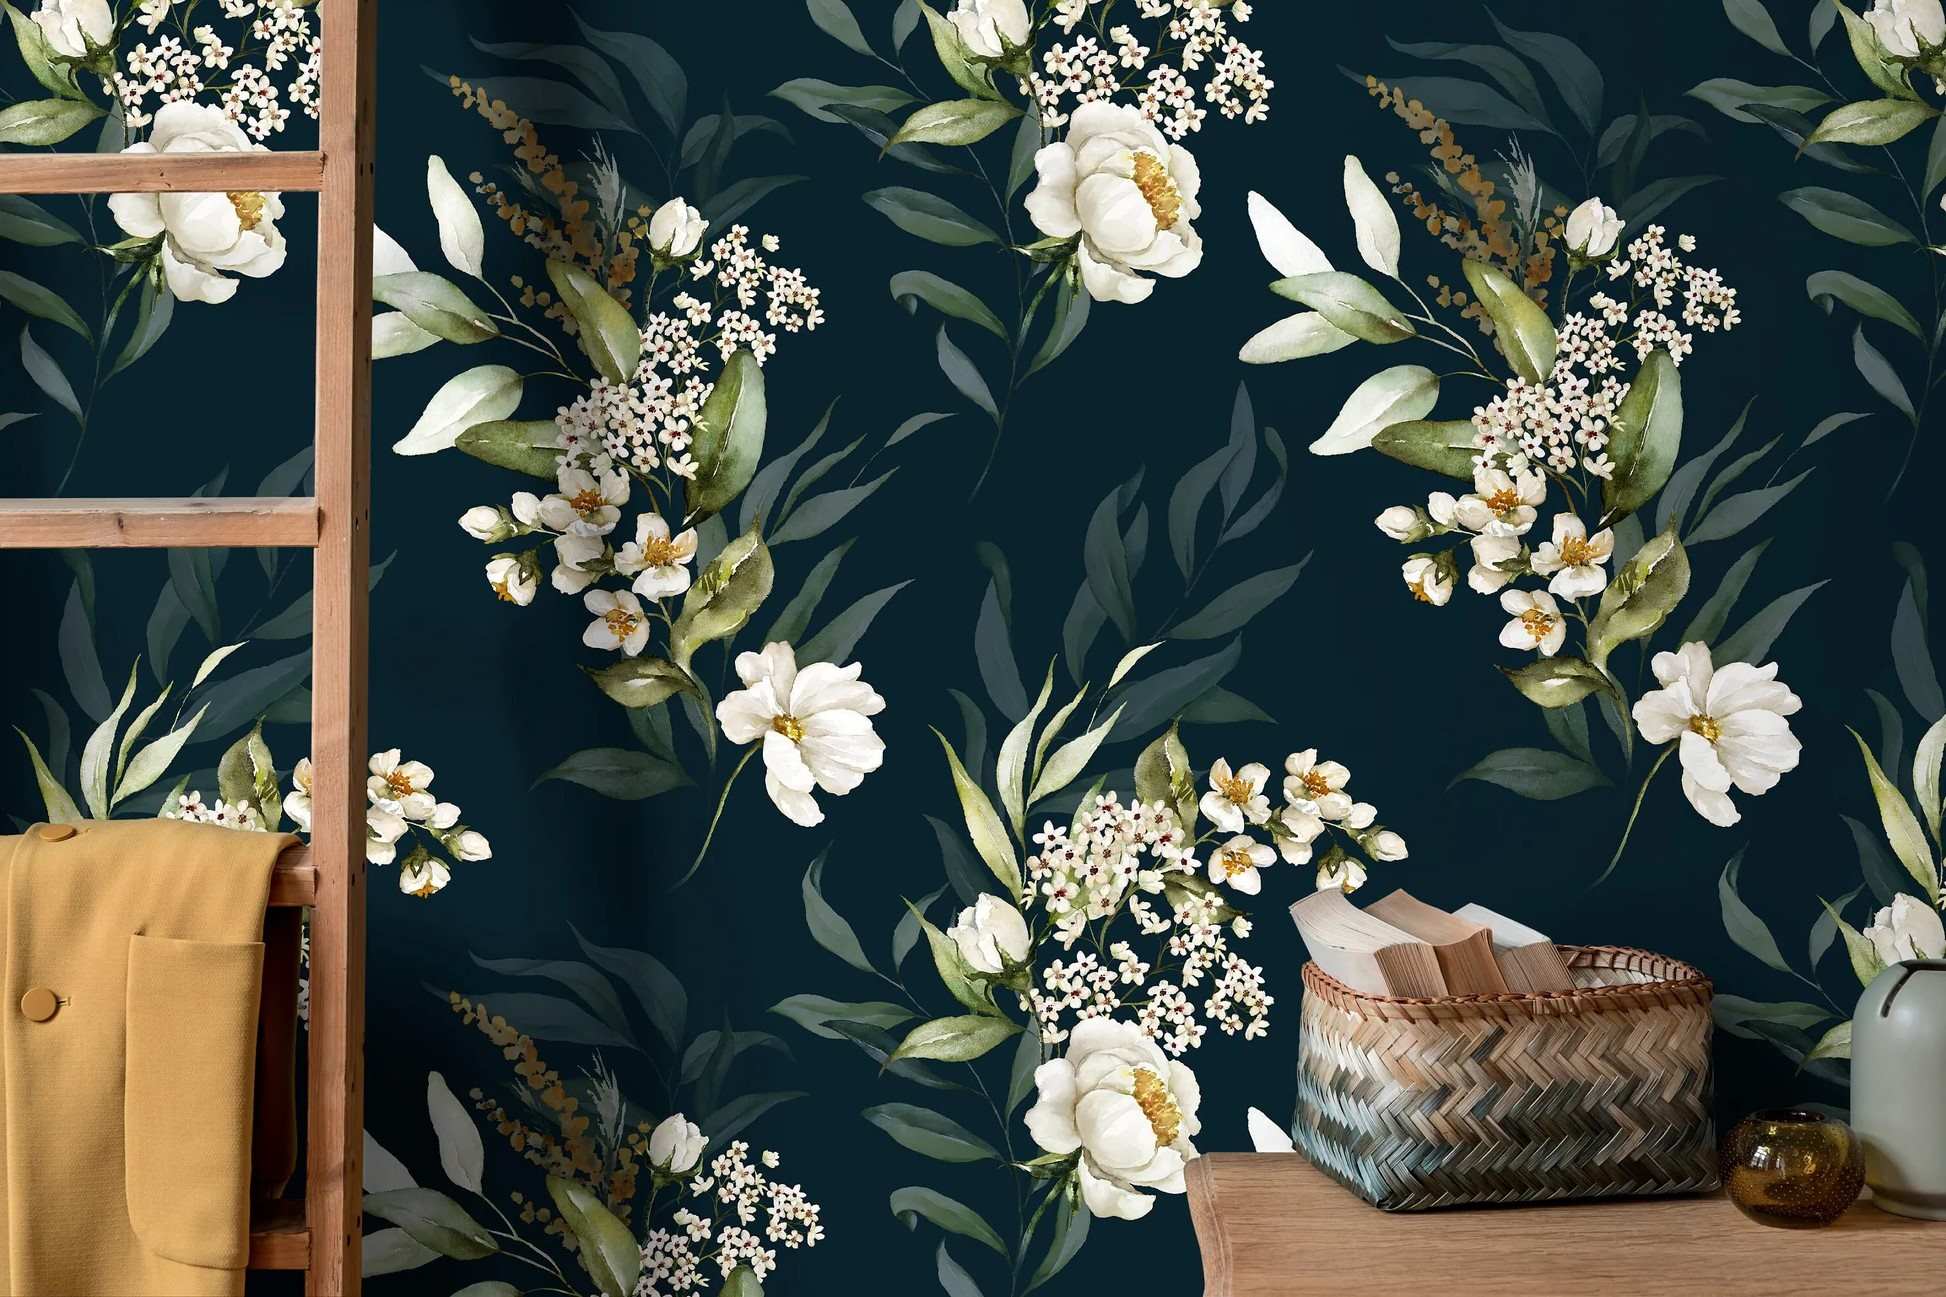
Fabric walling is a technique of covering the walls of a room with luxurious fabrics instead of traditional wallpaper or paint. It transforms the look and feel of a space by adding texture, depth, and visual interest. The fabrics used for walling can range from silk and velvet to linen and cotton, allowing you to achieve a variety of different textures and styles.
This unique approach to wall decor offers countless design possibilities. You can choose from a wide range of fabrics with different patterns, colors, and textures to create a customized look that reflects your personal style and complements the overall aesthetic of your space.
One of the key advantages of fabric walling is its ability to create a sense of warmth and comfort. The softness and texture of the fabric can add a cozy and inviting ambiance to any room. Additionally, fabric walling can also improve the acoustics of a space, reducing echo and noise levels, making it an excellent choice for areas like bedrooms, living rooms, and home offices.
Moreover, fabric walling offers a durable and long-lasting solution for your walls. Unlike wallpaper, which can peel or fade over time, fabric walling is known for its resilience and longevity. The fabric is mounted onto the wall using adhesive, ensuring a secure and permanent installation that will stand the test of time.
Another advantage of fabric walling is its versatility. It can be applied to any type of wall surface, including drywall, plaster, or paneling. This means that whether you have a residential home or a commercial space, fabric walling can be an excellent choice to transform your walls and create a unique atmosphere.
In summary, fabric walling is a distinctive and stylish alternative to traditional wallpaper. It offers a range of benefits, including customization options, improved acoustics, durability, and versatility. If you are looking to elevate the aesthetics of your space and add a touch of luxury, fabric walling may be the perfect choice for you.
Benefits of fabric walling
Fabric walling offers a multitude of benefits that make it a popular choice for interior design. From enhancing the aesthetic appeal of a space to improving functionality, fabric walling provides a unique and versatile solution for your walls. Let’s explore some of the key benefits of fabric walling:
- Customization: One of the primary advantages of fabric walling is the ability to customize the look and feel of your space. With a vast selection of fabrics available in various colors, patterns, and textures, you can create a truly unique and personalized design. Whether you prefer a bold and vibrant statement or a subtle and serene atmosphere, fabric walling allows you to bring your vision to life.
- Improved Acoustics: Fabric walling can help improve the acoustics of a room. The soft and porous texture of the fabric absorbs sound waves, reducing echoes and noise levels in the space. This makes fabric walling an excellent choice for areas where sound quality is essential, such as home theaters, recording studios, or conference rooms.
- Durability: Fabric walling offers exceptional durability compared to traditional wallpaper. The fabric is securely applied to the wall using adhesive, ensuring a long-lasting and stable installation. Unlike wallpaper that can peel, tear, or fade over time, fabric walling retains its beauty and integrity even in high-traffic areas.
- Texture and Visual Interest: Fabric walling introduces texture and visual interest to your walls, creating a unique and luxurious look. Whether you opt for a smooth velvet or a textured linen, the fabric adds depth and dimension to the space. It can create a focal point or accentuate architectural features, enhancing the overall aesthetics of the room.
- Easy Maintenance: Fabric walling is relatively easy to maintain. Most fabrics used for walling are dust-resistant and can be cleaned using a soft brush or vacuum cleaner attachment. In the case of spills or stains, many fabrics are also stain-resistant or can be spot cleaned, ensuring that your walls remain beautiful and pristine for years to come.
- Versatility: Fabric walling can be applied to various types of wall surfaces, including drywall, plaster, or paneling. This makes it a versatile option for both residential and commercial spaces. Whether you are renovating your home, office, or retail store, fabric walling can transform the look and feel of any room.
These are just a few of the benefits that fabric walling offers. From customization to improved acoustics and durability, fabric walling provides a range of advantages that make it an excellent choice for enhancing the aesthetics and functionality of your space.
Tools and materials required
Before you begin the installation process, it’s important to gather all the necessary tools and materials to ensure a smooth and successful fabric walling project. Here is a list of the essential items you will need:
- Fabric: Choose a fabric of your choice that complements your design aesthetic. Consider factors like color, pattern, and texture to achieve the desired look for your walls. Measure the dimensions of your wall to determine the amount of fabric needed.
- Adhesive: Select an adhesive suitable for fabric walling. It’s important to use a strong yet flexible adhesive that is specifically designed for bonding fabric to walls. Make sure to read the instructions on the adhesive packaging for proper usage and application.
- Measuring Tape: A measuring tape is essential for accurately measuring the dimensions of your walls and the fabric during the cutting process. This will ensure a precise fit and minimize wastage.
- Sharp Scissors or Fabric Cutter: You will need sharp scissors or a fabric cutter to cut the fabric according to the measurements of your walls. Make sure the blades are sharp to ensure clean and precise cuts.
- Paint Roller or Brush: A paint roller or brush will be needed to apply the adhesive to the wall surface. Choose a high-quality roller or brush that is suitable for the type of adhesive you are using.
- Spatula or Wall Smoother: A spatula or wall smoother is essential for ensuring that the fabric is properly adhered to the wall, removing any air bubbles or wrinkles during installation.
- Utility Knife: A utility knife will be useful for trimming excess fabric along edges or corners, giving your fabric walling a clean and finished look.
- Drop Cloth or Plastic Sheet: To protect the floor and furniture from adhesive spills or any potential fabric debris, have a drop cloth or plastic sheet on hand to cover the area where you’ll be working.
- Ladder or Step Stool: Depending on the height of your walls, you may need a ladder or step stool to reach upper areas during installation. Ensure that the ladder or step stool is stable and secure before climbing.
- Protective Gear: It’s important to use protective gear to safeguard yourself during the installation process. Wear gloves to protect your hands, and if necessary, use safety goggles and a mask to protect your eyes and respiratory system from adhesive fumes.
By having these tools and materials ready beforehand, you’ll be well-prepared to start your fabric walling project. Double-check that you have everything you need to avoid any unnecessary interruptions during the installation process.
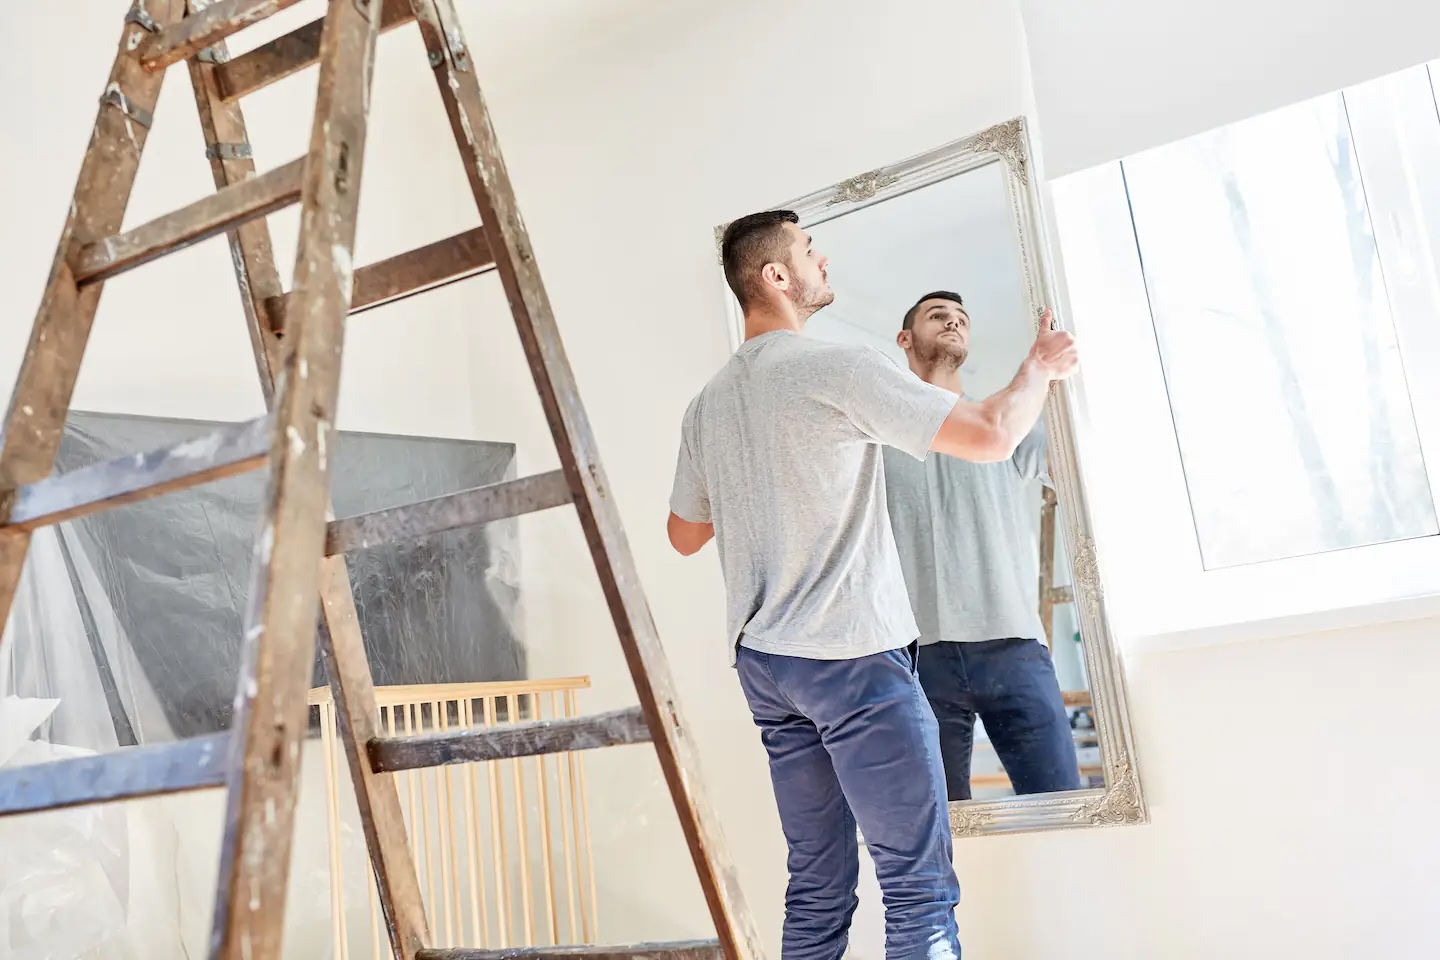
Preparing the wall for installation
Properly preparing the wall before installing fabric walling is crucial for a successful and long-lasting application. By following these steps, you’ll ensure that the fabric adheres securely and achieves a smooth and seamless finish:
- Clean the wall: Begin by thoroughly cleaning the wall surface to remove any dirt, dust, or grease that may hinder the adhesive’s bond. Use a mild cleaner and a sponge or cloth to wipe down the walls, ensuring they are free from any contaminants.
- Repair any damages: Inspect the wall for any cracks, holes, or imperfections and repair them before proceeding with fabric walling. Fill in any holes or crevices with spackle or filler, and sand the patched areas until they are smooth and level.
- Remove fixtures and accessories: Take down any fixtures, electrical outlets, switch covers, or other wall accessories that may interfere with the fabric installation process. It’s easier to remove these items temporarily rather than trying to work around them.
- Prime the wall (if necessary): Depending on the condition of your wall and the type of fabric you are using, it may be necessary to prime the wall. Priming can help create a smooth surface and improve the fabric’s adhesion. Consult the manufacturer’s instructions or consult with a professional to determine if priming is required.
- Protect adjacent surfaces: Cover any adjacent surfaces, such as baseboards, moldings, or adjacent walls, with painter’s tape or plastic sheeting to protect them from adhesive or fabric debris during the installation process.
- Ensure a smooth wall: It’s essential to have a flat and even wall surface for the fabric to adhere properly. Check for any bumps or uneven areas on the wall and sand them until they are smooth. A smooth wall will prevent wrinkles or bubbles from forming in the fabric.
By following these preparation steps, you’ll create an optimal foundation for the fabric walling installation. Taking the time to clean, repair, and prime the wall, while ensuring a smooth surface, will contribute to a flawless and professional-looking finished result.
Measuring and cutting the fabric
Accurate measurements and precise cutting of the fabric are crucial in achieving a seamless and professional-looking fabric walling installation. Follow these steps to measure and cut the fabric:
- Measure the wall: Start by measuring the height and width of the wall you plan to cover with fabric. Measure from floor to ceiling and from corner to corner to ensure accuracy. Add a few extra inches to each measurement to account for any adjustments or trimming that may be required.
- Account for any obstacles: Take into consideration any obstacles on the wall, such as windows, doors, outlets, or switches. Measure around them and mark the fabric accordingly.
- Lay out the fabric: Roll out the fabric on a clean and flat surface, ensuring there are no wrinkles or creases. Align the fabric’s pattern or design as desired.
- Transfer measurements: Use a measuring tape and a pencil or fabric marker to transfer the measurements from the wall onto the fabric. Mark the fabric with the corresponding height and width measurements, including any adjustments for obstacles.
- Cut the fabric: Using sharp scissors or a fabric cutter, carefully cut along the marked lines to create individual pieces of fabric that match the measurements of your wall. Take your time to ensure clean and precise cuts.
- Label the fabric: To keep track of the fabric pieces, label each cut piece with a number or a corresponding label indicating where it will be placed on the wall. This will make the installation process smoother and more organized.
- Continuity of patterns: If your fabric has a pattern, pay attention to the continuity of the pattern as you cut and label the pieces. Ensure that when the fabric pieces are placed on the wall, the pattern aligns seamlessly.
Remember to double-check your measurements and cut the fabric with care. It’s always better to cut the fabric slightly larger than the measurements rather than cutting it too small, as you can trim the excess fabric during the installation process. Taking the time to measure accurately and cut precisely will result in a flawless and professional-looking fabric walling installation.
When installing fabric walling, make sure to properly prepare the wall surface by cleaning and smoothing it before applying the adhesive. This will ensure a smooth and professional finish.
Applying adhesive to the wall
Before applying the fabric to the wall, it’s essential to properly prepare the adhesive and ensure an even application. Follow the steps below to apply the adhesive:
- Read the instructions: Start by carefully reading and following the instructions provided by the adhesive manufacturer. This will ensure that you apply the adhesive correctly and achieve the best results.
- Protect adjacent surfaces: Use painter’s tape or plastic sheeting to cover any adjacent surfaces, such as baseboards or adjacent walls, to protect them from adhesive drips or smudges.
- Mix the adhesive (if necessary): Some adhesives may need to be mixed with water or a specific solvent before application. Follow the instructions provided to prepare the adhesive mixture.
- Pour the adhesive: Pour the adhesive into a paint tray or a suitable container for easy access during the application process.
- Dip the roller or brush: Dip a high-quality paint roller or brush into the adhesive, ensuring that it is evenly coated but not overloaded.
- Apply the adhesive: Starting from the top corner of the wall, begin applying the adhesive evenly in a vertical motion. Work in small sections to prevent the adhesive from drying out before the fabric is applied.
- Spread the adhesive: Use the roller or brush to spread the adhesive evenly across the wall, ensuring that it covers the entire area where the fabric will be placed. Be thorough and make sure there are no missed spots.
- Work in manageable sections: As you progress, work in manageable sections, applying the adhesive and spreading it before moving on to the next section. This will allow you sufficient time to position the fabric while the adhesive is still wet.
- Smooth out any air bubbles: As you apply the adhesive, keep an eye out for air bubbles or wrinkles in the adhesive. Smooth them out immediately using a spatula or a wall smoother. This will ensure a flat and seamless application of the fabric.
- Clean up any excess adhesive: Wipe off any excess adhesive with a damp cloth or sponge before it dries. This will prevent it from drying onto the fabric or leaving visible marks on the surface.
Remember to work efficiently but carefully when applying the adhesive. It’s crucial to follow the instructions provided by the adhesive manufacturer and apply the adhesive evenly to create a strong and secure bond between the fabric and the wall.
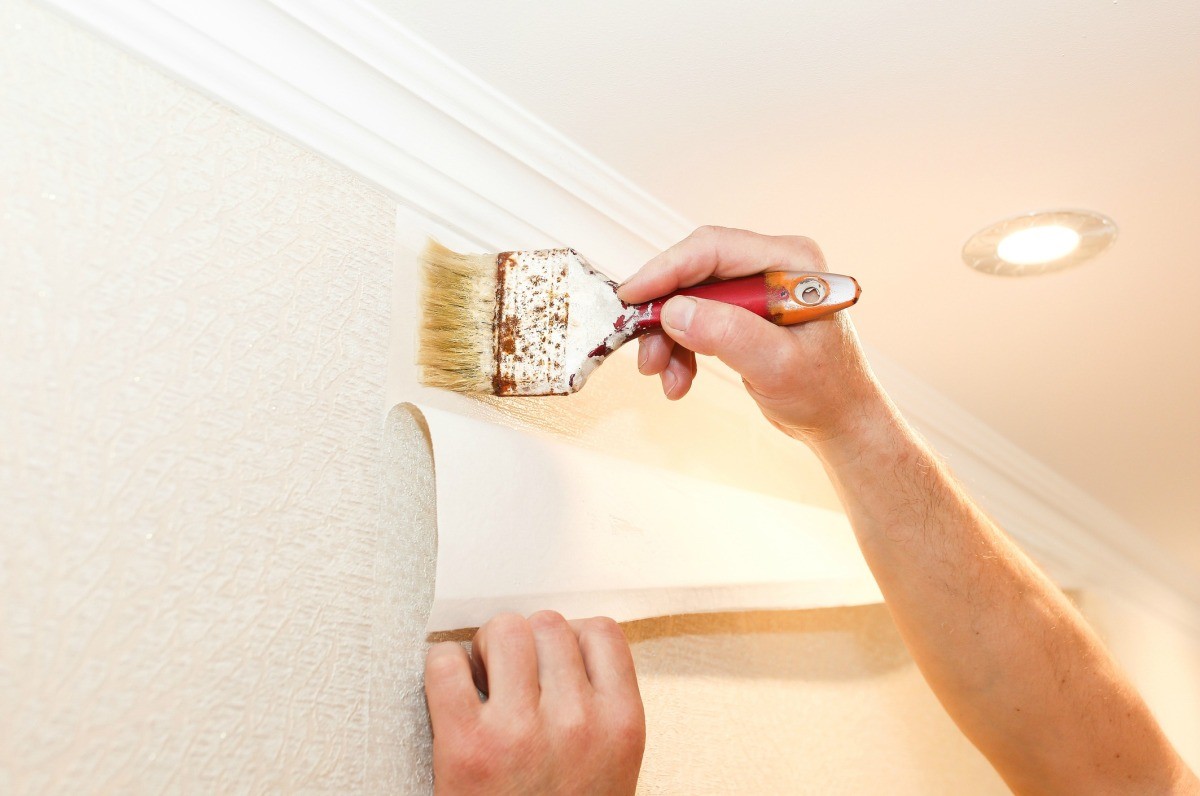
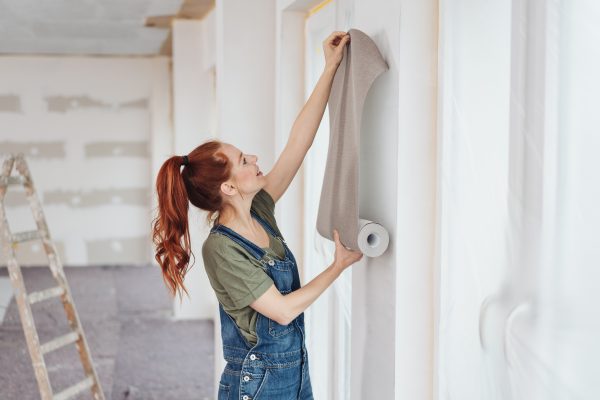
Applying the fabric to the wall
Once the adhesive is applied to the wall, it’s time to carefully and precisely apply the fabric. Follow these steps to ensure a smooth and seamless installation:
- Start from the top: Begin at the top corner of the wall and align the top edge of the fabric with the ceiling or crown molding. Make sure the fabric is straight and properly positioned before proceeding.
- Smooth out the fabric: Gently lay the fabric onto the adhesive, starting from the top and moving downward. Use a spatula or wall smoother to slowly smooth out the fabric, working from the center towards the edges. This will help remove any air bubbles or wrinkles and ensure a flat and even application.
- Work in small sections: Divide the wall into manageable sections and continue to apply the fabric, smoothing it out as you go. Take your time and ensure that the fabric is flat and well-adhered to the wall.
- Align pattern or design: If your fabric has a pattern or design, pay close attention to aligning it correctly as you work. This will ensure a cohesive and visually pleasing result.
- Trim excess fabric: As you move along, trim any excess fabric using a utility knife. Cut along the edges or corners, ensuring a clean and precise cut. Be careful not to cut into the wall or damage the fabric.
- Overlap or butt fabric seams (if applicable): If your wall requires multiple pieces of fabric, carefully butt or overlap the seams, depending on the instructions provided by the fabric manufacturer. Use a roller or brush to ensure that the seams are securely pressed onto the adhesive.
- Smooth out any wrinkles or bubbles: If you notice any wrinkles or bubbles forming in the fabric, gently lift the fabric and smooth it out using a spatula or wall smoother. Work carefully to ensure a smooth and seamless appearance.
- Continue until complete: Repeat the process until you have applied the fabric to the entire wall, working in small sections at a time. Take breaks if needed, but try to maintain a consistent application to ensure a cohesive look.
- Allow the fabric to set: Once the fabric is applied to the wall, allow it to set and dry according to the adhesive manufacturer’s instructions. This will ensure a strong bond between the fabric and the wall.
By following these steps, you can achieve a professional and visually appealing fabric walling installation. Take your time, work methodically, and ensure that the fabric is applied smoothly and securely for the best results.
Trimming and finishing touches
After applying the fabric to the wall, it’s time to trim any excess fabric and add finishing touches to complete the installation. Follow these steps for a polished and professional-looking fabric walling:
- Trim excess fabric: Carefully inspect the edges and corners of the fabric to identify any areas that require trimming. Use a utility knife to trim off any excess fabric, ensuring clean and precise cuts. Take your time and work carefully to achieve a neat and finished look.
- Smooth out edges: Use a spatula or a wall smoother to gently press and smooth out the edges of the fabric along the wall. This will help the fabric to adhere securely and give a seamless appearance.
- Inspect for any loose areas: After trimming, inspect the fabric installation for any loose areas or edges that may require additional adhesive. If you notice any, apply a small amount of adhesive behind the loose fabric and press it firmly onto the wall.
- Check for wrinkles or bubbles: Inspect the fabric walling for any wrinkles or bubbles that may have formed during the installation process. Use a spatula or a wall smoother to gently smooth out any imperfections, working from the center towards the edges.
- Touch up with paint (if necessary): In some cases, the fabric walling may require touch-ups with paint, especially near the edges or seams. Use a small brush or roller to carefully apply matching paint to blend in the fabric with the surrounding walls. This will create a seamless transition between the fabric and the painted surfaces.
- Clean up any adhesive residue: Use a damp cloth or sponge to clean up any adhesive residue that may have dripped onto the fabric or surrounding surfaces during the installation process. Wipe gently and avoid rubbing too harshly to prevent damaging the fabric.
- Inspect and make final adjustments: Take a step back and inspect the entire fabric walling installation. Look for any areas that may require additional attention or adjustments. Smooth out any remaining wrinkles or bubbles, and ensure that the fabric is securely adhered to the wall.
- Allow the fabric walling to fully set: Finally, allow the fabric walling to fully set and dry according to the adhesive manufacturer’s instructions. This will ensure a strong and durable bond between the fabric and the wall, as well as give you the opportunity to appreciate the finished look.
By following these trimming and finishing touch steps, you can ensure that your fabric walling installation is clean, smooth, and visually appealing. Attention to detail and careful inspection will help create a polished and professional result that enhances the overall appeal of your space.
Read also: 12 Superior Unique Wall Clock for 2025
Maintenance and cleaning
Proper maintenance and regular cleaning will help preserve the beauty and longevity of your fabric walling. Follow these guidelines to ensure your fabric walls remain in excellent condition:
- Dust regularly: Dust the fabric walls regularly using a soft brush or a vacuum cleaner with a soft brush attachment. This will help prevent the buildup of dirt and particles on the fabric surface.
- Spot clean as needed: Attend to spills or stains immediately to prevent them from setting into the fabric. Use a mild fabric cleaner or a mixture of water and mild detergent to gently blot the affected area. Avoid rubbing vigorously, as this can damage the fabric.
- Test cleaning products: Before using any cleaning products or solutions on the fabric, it’s essential to test them in an inconspicuous area. This will ensure that the product does not cause any discoloration or damage to the fabric.
- Avoid moisture: Fabric walling is not suitable for areas with high moisture levels, such as bathrooms or kitchens. Excessive moisture can damage the fabric and cause it to sag or peel off the wall. Ensure proper ventilation in these areas to prevent moisture-related issues.
- Protect from direct sunlight: Prolonged exposure to direct sunlight can cause the fabric to fade over time. Use window coverings or UV-protective films to minimize the impact of sunlight on the fabric walls. This will help maintain their vibrant colors and pristine appearance.
- Avoid abrasive cleaning tools: Do not use harsh scrub brushes, abrasive sponges, or abrasive cleaning agents on the fabric walls, as they can damage the fabric’s surface. Stick to soft brushes and mild cleaning solutions for gentle cleaning.
- Professional cleaning: Consider professional cleaning for fabric walls, especially for larger or hard-to-reach areas. Professional cleaners have the expertise and tools to clean fabric walls effectively without causing any damage.
- Inspect for damage: Regularly inspect the fabric walls for any signs of damage, such as loose fabric, tears, or fraying. Address any issues promptly to prevent further damage and ensure that the fabric remains securely adhered to the wall.
- Consult manufacturer guidelines: Consult the fabric manufacturer’s guidelines for specific care instructions, as different fabrics may have unique care requirements. Follow their recommendations to maintain the fabric’s integrity and prolong its lifespan.
By following these maintenance and cleaning practices, you can extend the lifespan of your fabric walls and keep them looking fresh and appealing for years to come. Regular care will help to preserve the beauty and functionality of your fabric walling investment.
Conclusion
Fabric walling is a unique and creative alternative to traditional wallpaper that can transform the look and feel of any space. From adding texture and visual interest to improving acoustics and customization options, fabric walling offers numerous benefits that make it a popular choice in interior design.
By following the proper installation process, from preparing the wall to applying the fabric and adding finishing touches, you can achieve a stunning and professional fabric walling installation. Take the time to measure and cut the fabric accurately, apply the adhesive evenly, and ensure a seamless application of the fabric to create a visually appealing result.
To maintain the beauty and longevity of your fabric walls, it is important to practice regular maintenance and cleaning. Dusting regularly, spot cleaning as needed, and protecting the walls from direct sunlight and moisture will help preserve the fabric’s appearance and extend its lifespan.
Whether you’re looking to add a touch of luxury to your living room, create a cozy ambiance in the bedroom, or elevate the aesthetics of your workspace, fabric walling can provide a unique and personalized solution. With its versatility in design options and its ability to improve the functionality of a space, fabric walling offers endless possibilities for enhancing your interior design.
So, if you’re ready to embark on a creative journey and transform your walls, consider the beauty and uniqueness that fabric walling can bring to your space. With proper installation and maintenance, fabric walling can be a long-lasting and visually striking addition to any room.
Frequently Asked Questions about How To Install Fabric Walling: The Unique Alternative To Wallpaper
Was this page helpful?
At Storables.com, we guarantee accurate and reliable information. Our content, validated by Expert Board Contributors, is crafted following stringent Editorial Policies. We're committed to providing you with well-researched, expert-backed insights for all your informational needs.
0 thoughts on “How To Install Fabric Walling: The Unique Alternative To Wallpaper”