Articles
How To Make A Template For Woodworking
Modified: December 7, 2023
Discover how to create a woodworking template with our informative articles. Enhance your woodworking skills with our step-by-step guides and expert tips.
(Many of the links in this article redirect to a specific reviewed product. Your purchase of these products through affiliate links helps to generate commission for Storables.com, at no extra cost. Learn more)
Introduction
Woodworking is a rewarding hobby that allows you to unleash your creativity and create beautiful and functional pieces. Whether you’re a beginner or a seasoned woodworker, having a template can greatly simplify your projects. A template serves as a guide, providing precise measurements and outlines for various woodworking tasks, such as cutting, shaping, and drilling.
In this article, we will guide you on how to make a template for woodworking. We will walk you through the steps, from designing the template to testing and adjusting it for optimal results. So, grab your materials and tools, and let’s get started!
Key Takeaways:
- Precision and Efficiency: Creating a woodworking template involves meticulous design, preparation, and testing. By prioritizing accuracy and attention to detail, you can enhance your woodworking projects with consistent and reliable results.
- Customization and Optimization: Through careful measurements, markings, and adjustments, a woodworking template can be tailored to fit specific project requirements. Testing and refining the template ensures its functionality and reliability in guiding your woodworking tasks.
Read more: How To Make A Tumbler Quilt Template
Materials and Tools Needed
Before diving into the process of making a template for woodworking, it’s important to gather all the necessary materials and tools. Here’s what you’ll need:
- Wood: Choose a sturdy and durable wood material, such as plywood or MDF (medium-density fiberboard), that is suitable for your project.
- Pencil: You’ll need a pencil for sketching and marking the template.
- Ruler or Tape Measure: A ruler or tape measure will help you accurately measure and mark the dimensions of your template.
- Compass: A compass is essential for drawing curved lines and circles on the template.
- Saw: Depending on the complexity of your template design, you may need a handsaw, jigsaw, or band saw to cut the wood.
- Sandpaper: Sandpaper of various grits will be needed for smoothing and refining the template’s edges and surfaces.
- Clamps: Clamps are useful for securing the wood pieces during cutting and shaping.
- Drill and Bits: If your template requires holes or slots, a drill with appropriate drill bits will be necessary.
- Safety Gear: Always prioritize safety when working with tools and materials. Wear safety goggles, gloves, and a dust mask to protect yourself.
Having these materials and tools ready will ensure a smooth and efficient template-making process. Now that you’re all set, let’s move on to the next step: designing the template.
Step 1: Designing the Template
The first step in making a template for woodworking is designing it. The design phase is crucial as it sets the foundation for the accuracy and functionality of the template. Here’s how to approach it:
- Identify the Purpose: Determine the purpose of your template. Is it for creating repetitive shapes, like curves or angles, or for specific measurements and markings?
- Measurements and Dimensions: Based on your project requirements, measure and determine the dimensions of the template. Use a ruler or tape measure to ensure precise measurements.
- Sketch it Out: With the measurements in mind, sketch out your template design on the wood using a pencil. Start with simple shapes and gradually add more complexity if needed.
- Consider Tolerances: Keep in mind any tolerances or allowances that may be required. For instance, if the template needs to fit tightly, you may have to account for the width of the cutting tool.
- Test and Refine: Once you have the initial design sketched, test it out on a scrap piece of wood or paper. This will help you identify any flaws or areas for improvement.
Remember, the goal of designing a template is to create a precise and accurate guide for your woodworking project. Take your time in the design phase and make adjustments as needed. Once you’re satisfied with the design, you can move on to the next step: preparing the wood.
Step 2: Preparing the Wood
After finalizing the design of your template, it’s time to prepare the wood that will serve as the base for your template. Follow these steps to ensure the wood is ready for the template-making process:
- Cut the Wood to Size: Using a saw appropriate for your project, carefully cut the wood to the desired dimensions. Make sure to measure twice and cut once to avoid any mistakes.
- Smooth the Edges: Use sandpaper to smooth any rough edges on the wood. This will prevent splinters and create a clean surface for your template.
- Choose the Grain Direction: Consider the grain direction of the wood. For stability, it’s generally recommended to align the grain parallel to the longest side of the template.
- Secure the Wood: If you’re working with multiple pieces of wood to create your template, use clamps to securely join them together. This will ensure stability and accuracy during the template-making process.
- Double Check the Measurements: Before proceeding to the next step, double-check the measurements of the wood to ensure they align with your design. Any discrepancies could impact the accuracy of the template.
By properly preparing the wood, you’ll have a solid foundation to create your template. It’s essential to take your time in this step to achieve the best results. Once the wood is prepared, you can move on to cutting and shaping the template in the next step.
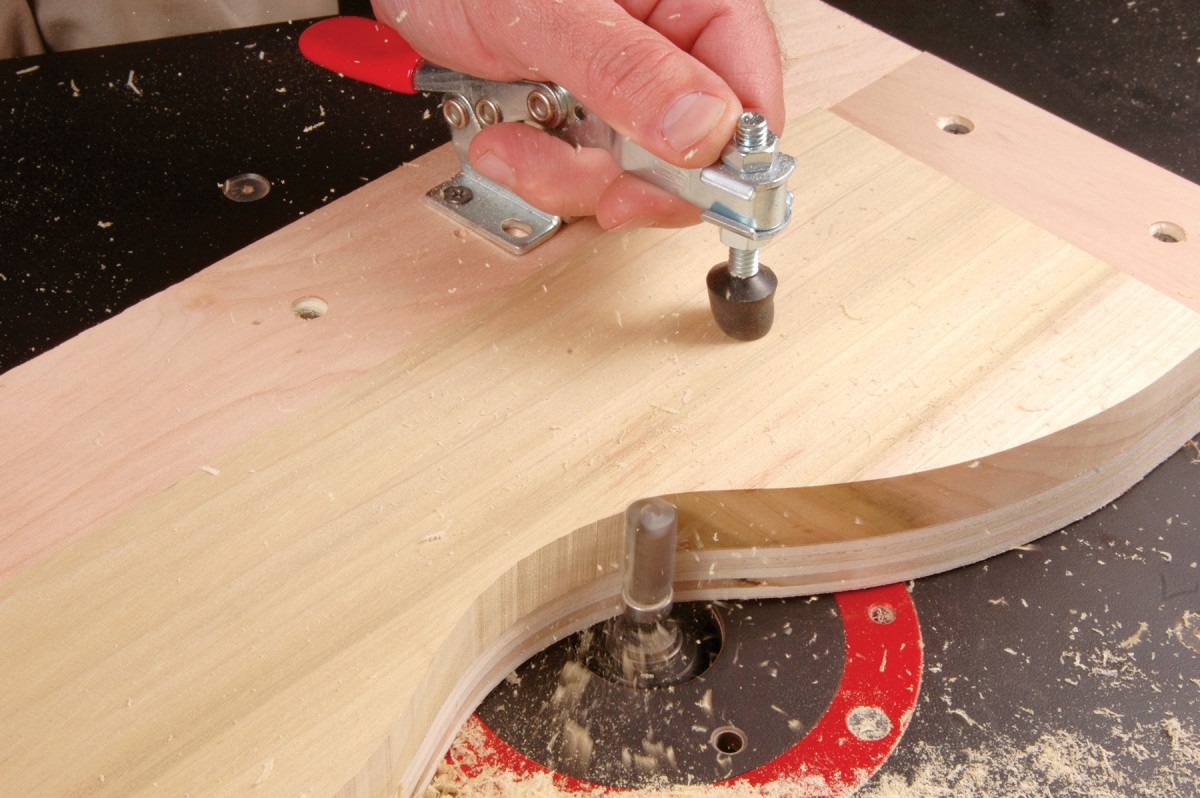
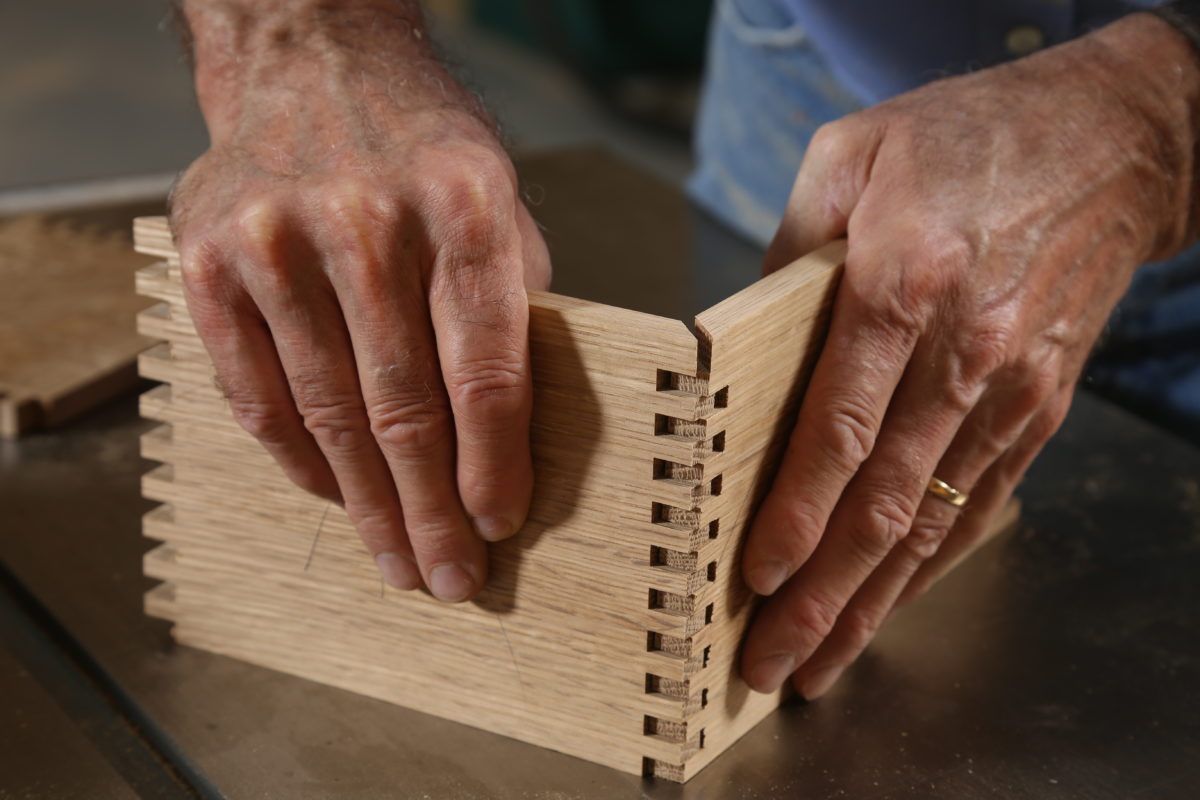
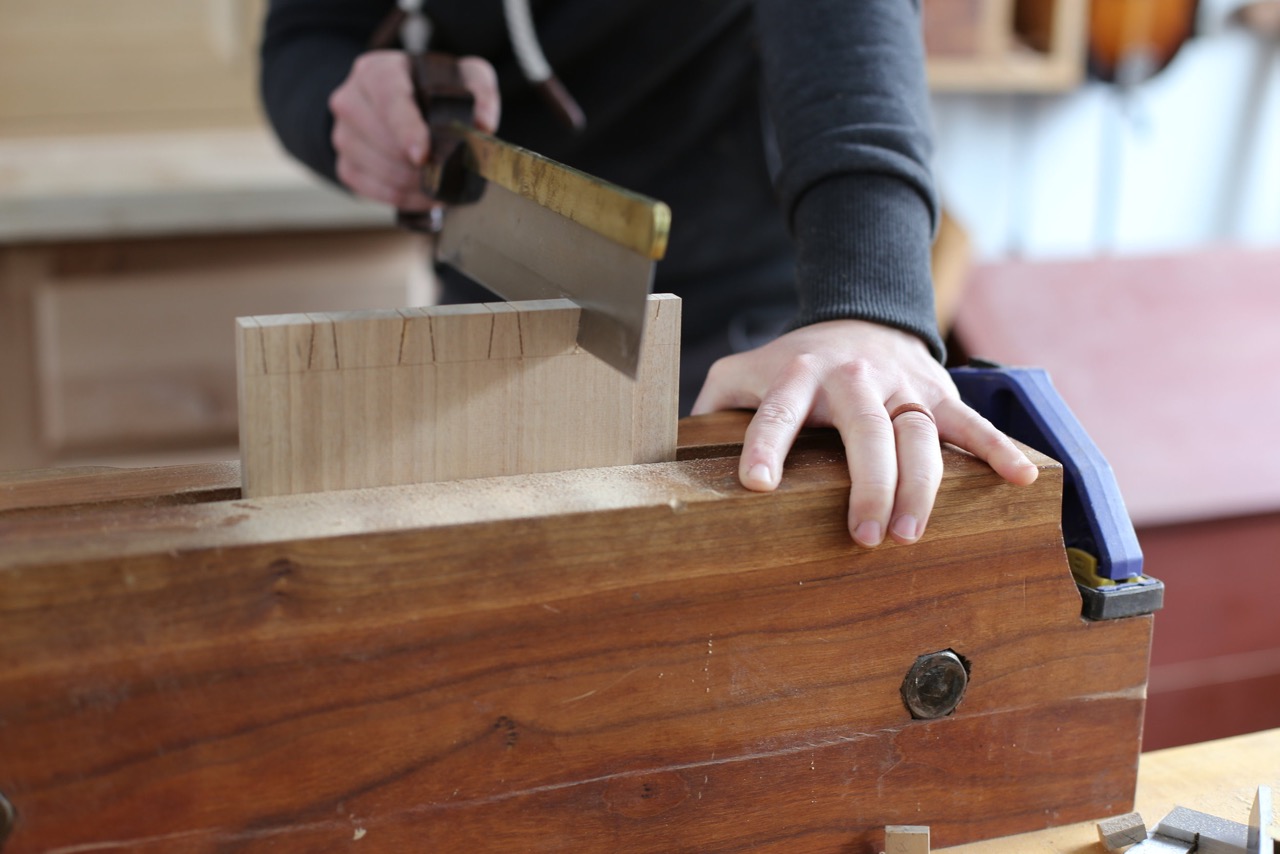
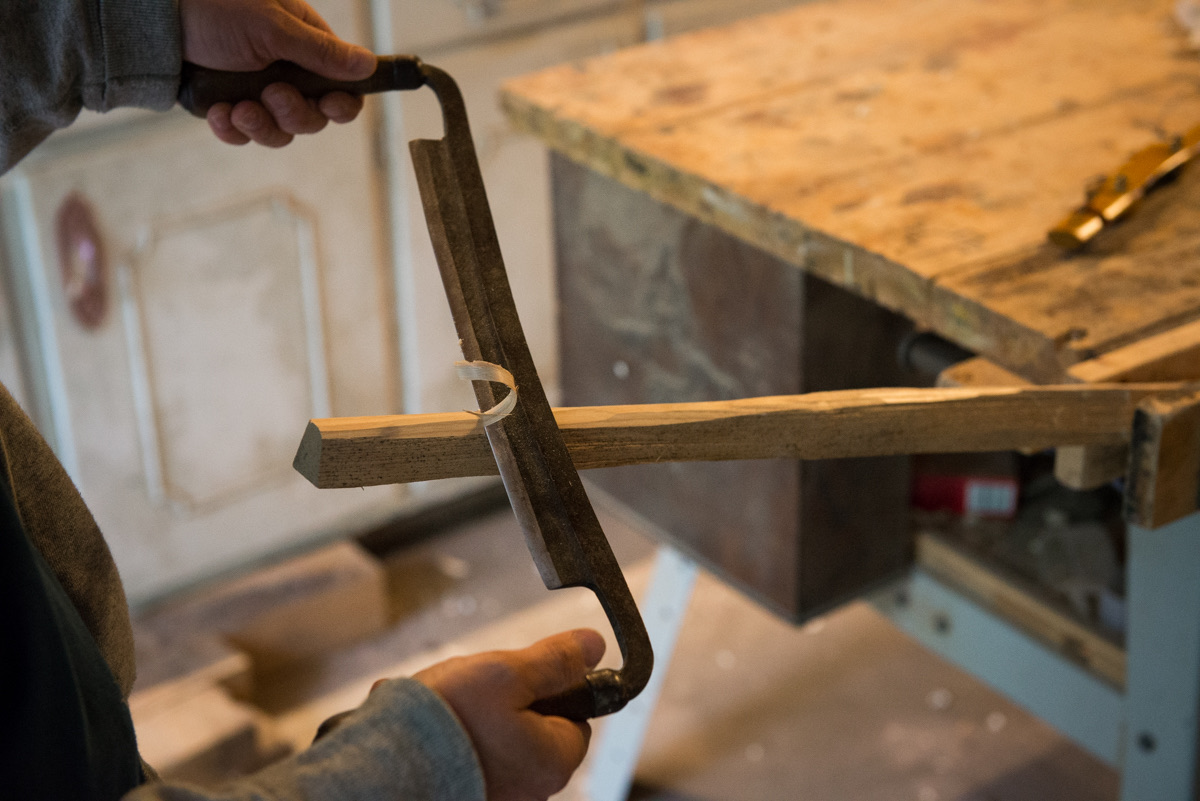
Step 3: Cutting and Shaping the Template
Now that you have your wood prepared, it’s time to cut and shape it according to your template design. Follow these steps to accurately shape your template:
- Trace the Design: Place your template design on the prepared wood and use a pencil to trace the outline of the template onto the wood. This will serve as your cutting guide.
- Cut the Wood: Using a saw appropriate for your project, carefully cut along the traced lines to shape the template. Take your time and make precise cuts to ensure the template’s accuracy.
- Smooth the Edges: After cutting, use sandpaper to smooth the edges of the template. This will remove any roughness or imperfections left from the cutting process.
- Refine the Shape: If necessary, use additional tools such as a file or chisel to further refine the shape of the template. This step is especially important if your design requires intricate details or curved edges.
- Test for Accuracy: Once the template is cut and shaped, test it against your project requirements. Ensure that it accurately matches the desired shape and measurements.
Take your time in this step and pay attention to the details. The more precise and accurate your template is, the better results you will achieve in your woodworking projects. Once you’re satisfied with the shape of the template, you can move on to the next step: adding measurements and markings.
When making a template for woodworking, use a sturdy material like MDF or plywood. Ensure precise measurements and smooth edges for accurate and clean cuts.
Read more: How To Use Quilt Templates
Step 4: Adding Measurements and Markings
Adding measurements and markings to your template is crucial for ensuring accuracy and precision in your woodworking projects. Follow these steps to incorporate the necessary measurements and markings:
- Refer to Your Design: Look at your template design and identify the specific areas where measurements and markings need to be added. This may include dimensions, angles, reference points, or any other relevant details.
- Use a Ruler or Tape Measure: Use a ruler or tape measure to accurately measure and mark the desired measurements on the template. Ensure that the markings are clear and easy to read.
- Consider Visibility: When adding markings, consider their visibility during the woodworking process. It’s important to make the markings easily visible so you can follow them accurately.
- Label and Indicate: If your template requires multiple measurements or markings, use labels or indicators to differentiate and identify them. This will prevent any confusion during your woodworking projects.
- Double Check for Accuracy: Before proceeding, double-check all the measurements and markings on the template to ensure they align with your project requirements. Any inaccuracies could impact the final outcome of your woodworking project.
By adding precise measurements and markings, your template becomes a reliable tool for guiding your woodworking projects. Take your time in this step to ensure accuracy, as it will greatly influence the success of your future woodworking endeavors. Once you have added the necessary measurements and markings, you can move on to the next step: sanding and finishing the template.
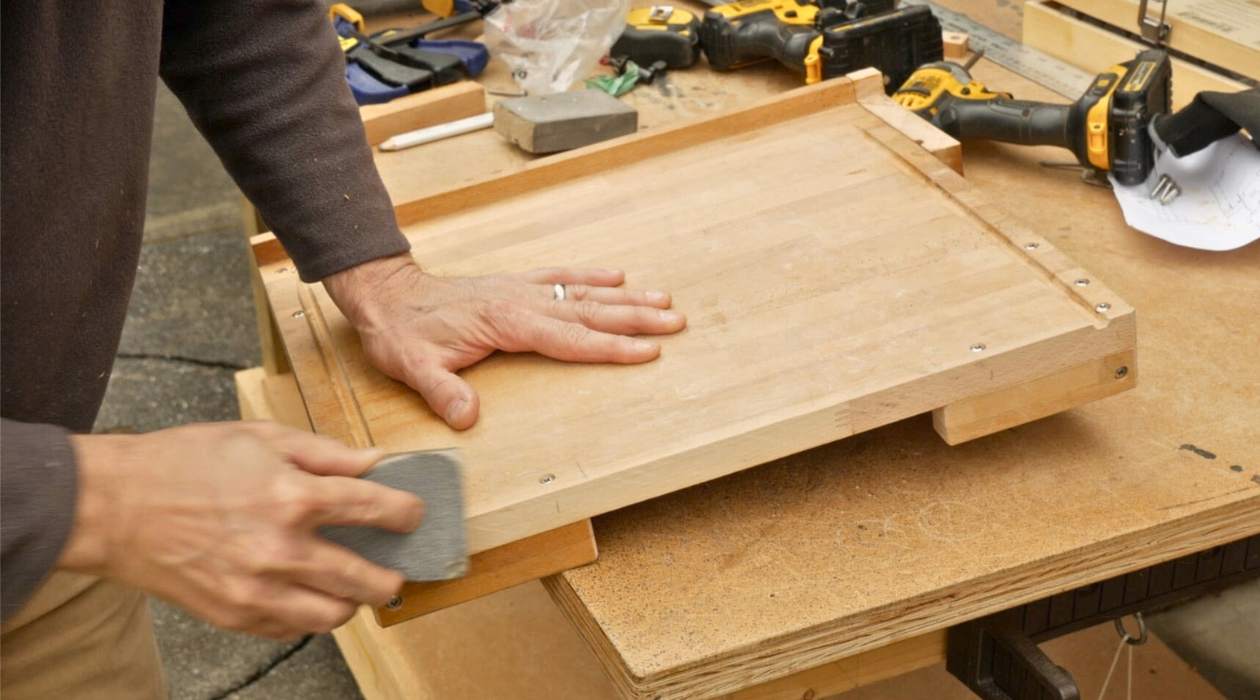
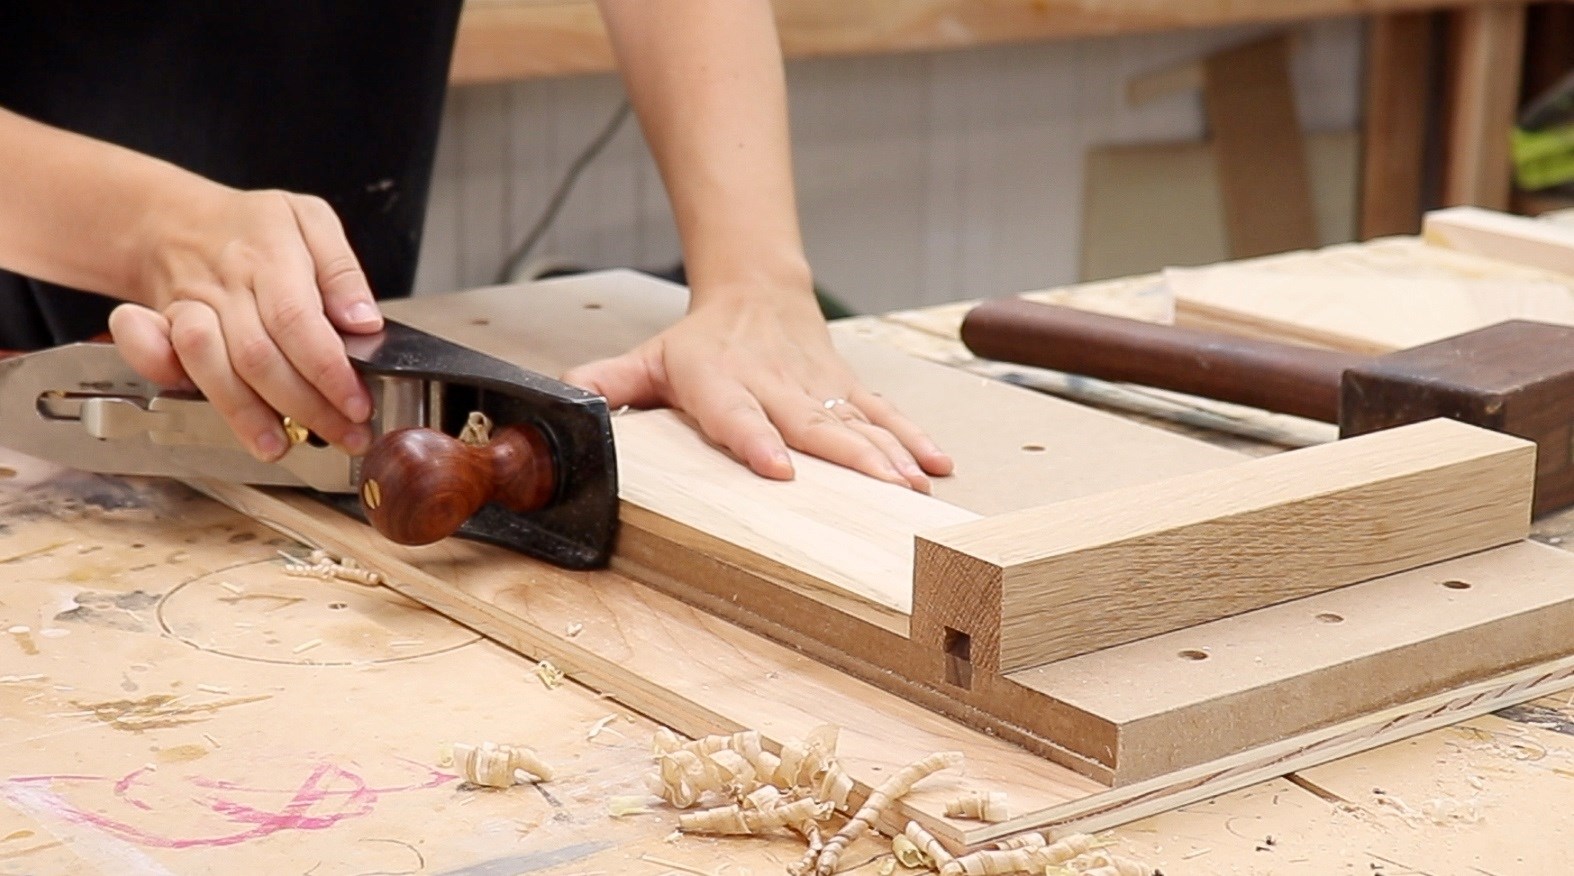
Step 5: Sanding and Finishing the Template
After adding measurements and markings to your template, it’s time to sand and finish the wood to create a smooth and polished surface. Follow these steps to achieve a professional-looking template:
- Start with Coarse Grit Sandpaper: Begin by using coarse-grit sandpaper (around 80 to 120 grit) to remove any rough surfaces, imperfections, or uneven areas on the template. Sand in the direction of the wood grain for optimal results.
- Progress to Fine Grit Sandpaper: Once the rough surfaces are smoothed out, switch to a finer grit sandpaper (around 180 to 220 grit) to further refine the template. This will create a smoother finish.
- Sand the Edges and Corners: Pay special attention to sanding the edges and corners of the template. This will ensure that they are smooth and free from any sharp edges that could affect the accuracy of your woodworking projects.
- Clean and Remove Dust: After sanding, thoroughly clean the template to remove any dust or debris. You can use a brush or a damp cloth to wipe away the particles, ensuring a clean surface for the next step.
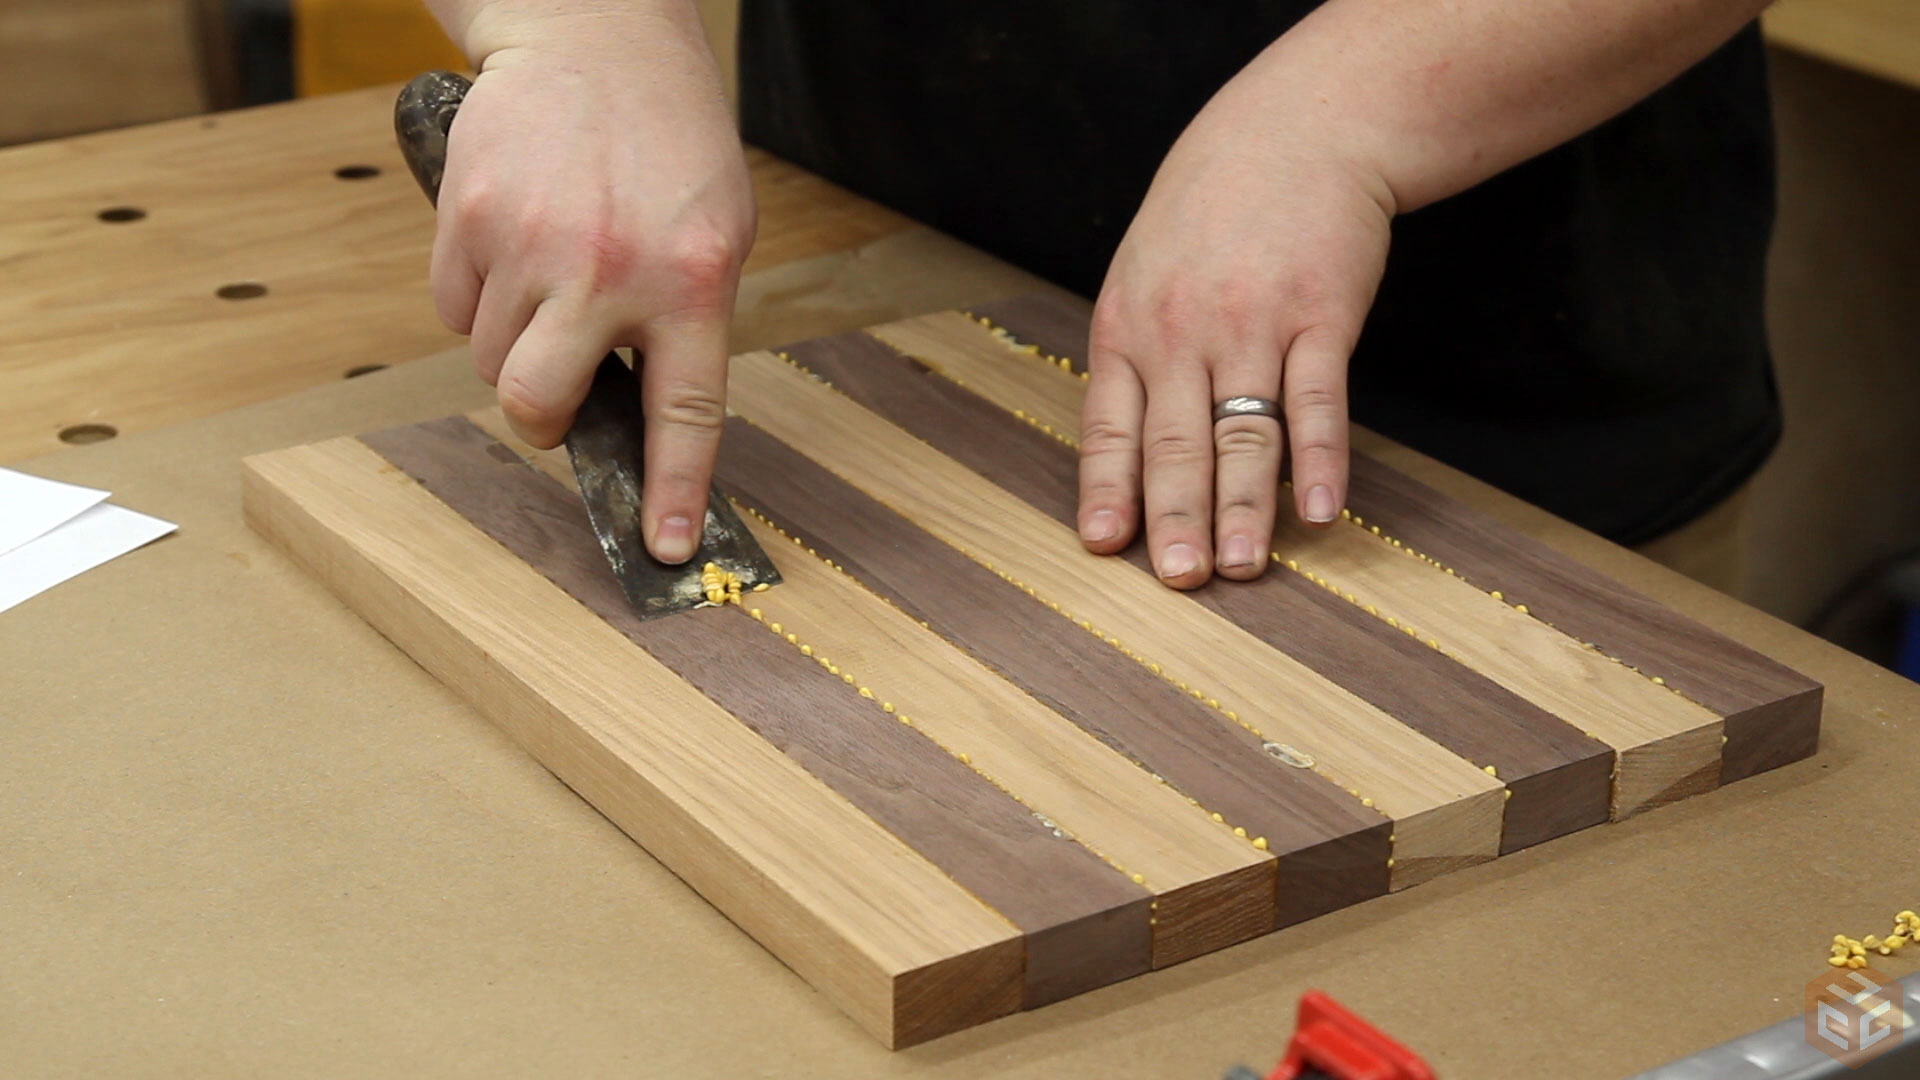
- Apply a Finish (Optional): Depending on personal preference, you may choose to apply a finish to the template. Finishes such as varnish or oil can enhance the appearance and durability of the wood. Follow the manufacturer’s instructions for proper application.
- Allow for Drying Time: If you have applied a finish, allow sufficient time for it to dry and cure. This will ensure that the template is ready for use without any sticky or tacky residue.
Sanding and finishing the template not only improves its appearance but also ensures smooth and accurate results in your woodworking projects. By following these steps, you’ll have a professionally finished template that’s ready for use. With the sanding and finishing complete, it’s time to move on to the next step: testing and adjusting the template.
Step 6: Testing and Adjusting the Template
Once you’ve completed the previous steps and have a fully prepared and finished template, it’s time to put it to the test. This final step involves testing the template’s accuracy and making any necessary adjustments to ensure optimal performance. Here’s how to proceed:
- Select a Test Material: Choose a test material that is similar to the one you will be using for your actual woodworking project. This will allow you to gauge the template’s accuracy and functionality in a realistic setting.
- Align the Template: Position the template over the test material and align it according to your project requirements. Make sure that the measurements and markings on the template are in line with the desired outcomes.
- Check for Precision: Use measuring tools such as a ruler or caliper to meticulously measure and compare the template’s dimensions with the desired dimensions. Look for any discrepancies or deviations that may need to be addressed.
- Test Cutting and Shaping: Based on the design of your template, perform test cuts and shapes on the test material. Pay close attention to how accurately the template guides your cutting and shaping process.
- Assess the Results: Evaluate the results of your test cuts and shapes. Look for any areas where the template may be slightly off or if adjustments need to be made to enhance precision.
- Make Adjustments: If you find any inaccuracies or areas for improvement, make the necessary adjustments to the template. This might involve fine-tuning measurements, modifying shapes, or repositioning markings.
- Repeat the Testing: Once you make adjustments, repeat the testing process to assess the effectiveness of the changes. Continuously refine and adjust the template until it consistently produces the desired results.
Testing and adjusting the template is an essential step in ensuring its reliability and performance in your woodworking projects. By thoroughly evaluating the template and making necessary modifications, you can have confidence in its ability to guide your woodworking tasks accurately. With this step complete, you’ve successfully created and optimized your woodworking template!
Conclusion
Congratulations! You have now learned how to create a template for woodworking. By following the step-by-step process outlined in this article, you have taken a significant stride towards enhancing your woodworking projects with precision and efficiency.
A well-designed and accurately crafted template can be an invaluable tool in your woodworking endeavors. It provides a reliable guide for cutting, shaping, and marking, ensuring consistent results and saving you time and effort.
Remember, the key to creating a successful woodworking template lies in careful planning, attention to detail, and testing for accuracy. Take your time during the design phase, prepare the wood meticulously, and refine the template to perfection. The process of testing and adjusting is crucial to fine-tune the template’s functionality and ensure its reliability.
By incorporating measurements and markings, you can customize your template to match your specific project requirements. The sanding and finishing steps not only enhance the appearance but also contribute to the smooth operation of the template.
Always remember to prioritize safety when working with tools and materials. Use appropriate protective gear and follow safety guidelines to prevent any accidents or injuries.
Now, armed with your newly created woodworking template, you can embark on your future projects with confidence and precision. Have fun exploring the endless possibilities that woodworking offers, and may your templates become invaluable assets in your creative journey!
Frequently Asked Questions about How To Make A Template For Woodworking
Was this page helpful?
At Storables.com, we guarantee accurate and reliable information. Our content, validated by Expert Board Contributors, is crafted following stringent Editorial Policies. We're committed to providing you with well-researched, expert-backed insights for all your informational needs.


0 thoughts on “How To Make A Template For Woodworking”