
Furniture
How To Make A Pipe Lamp
Modified: August 26, 2024
Learn how to make a creative and unique pipe lamp with our step-by-step guide. Upgrade your furniture and add an industrial touch to any room.
(Many of the links in this article redirect to a specific reviewed product. Your purchase of these products through affiliate links helps to generate commission for Storables.com, at no extra cost. Learn more)
Introduction
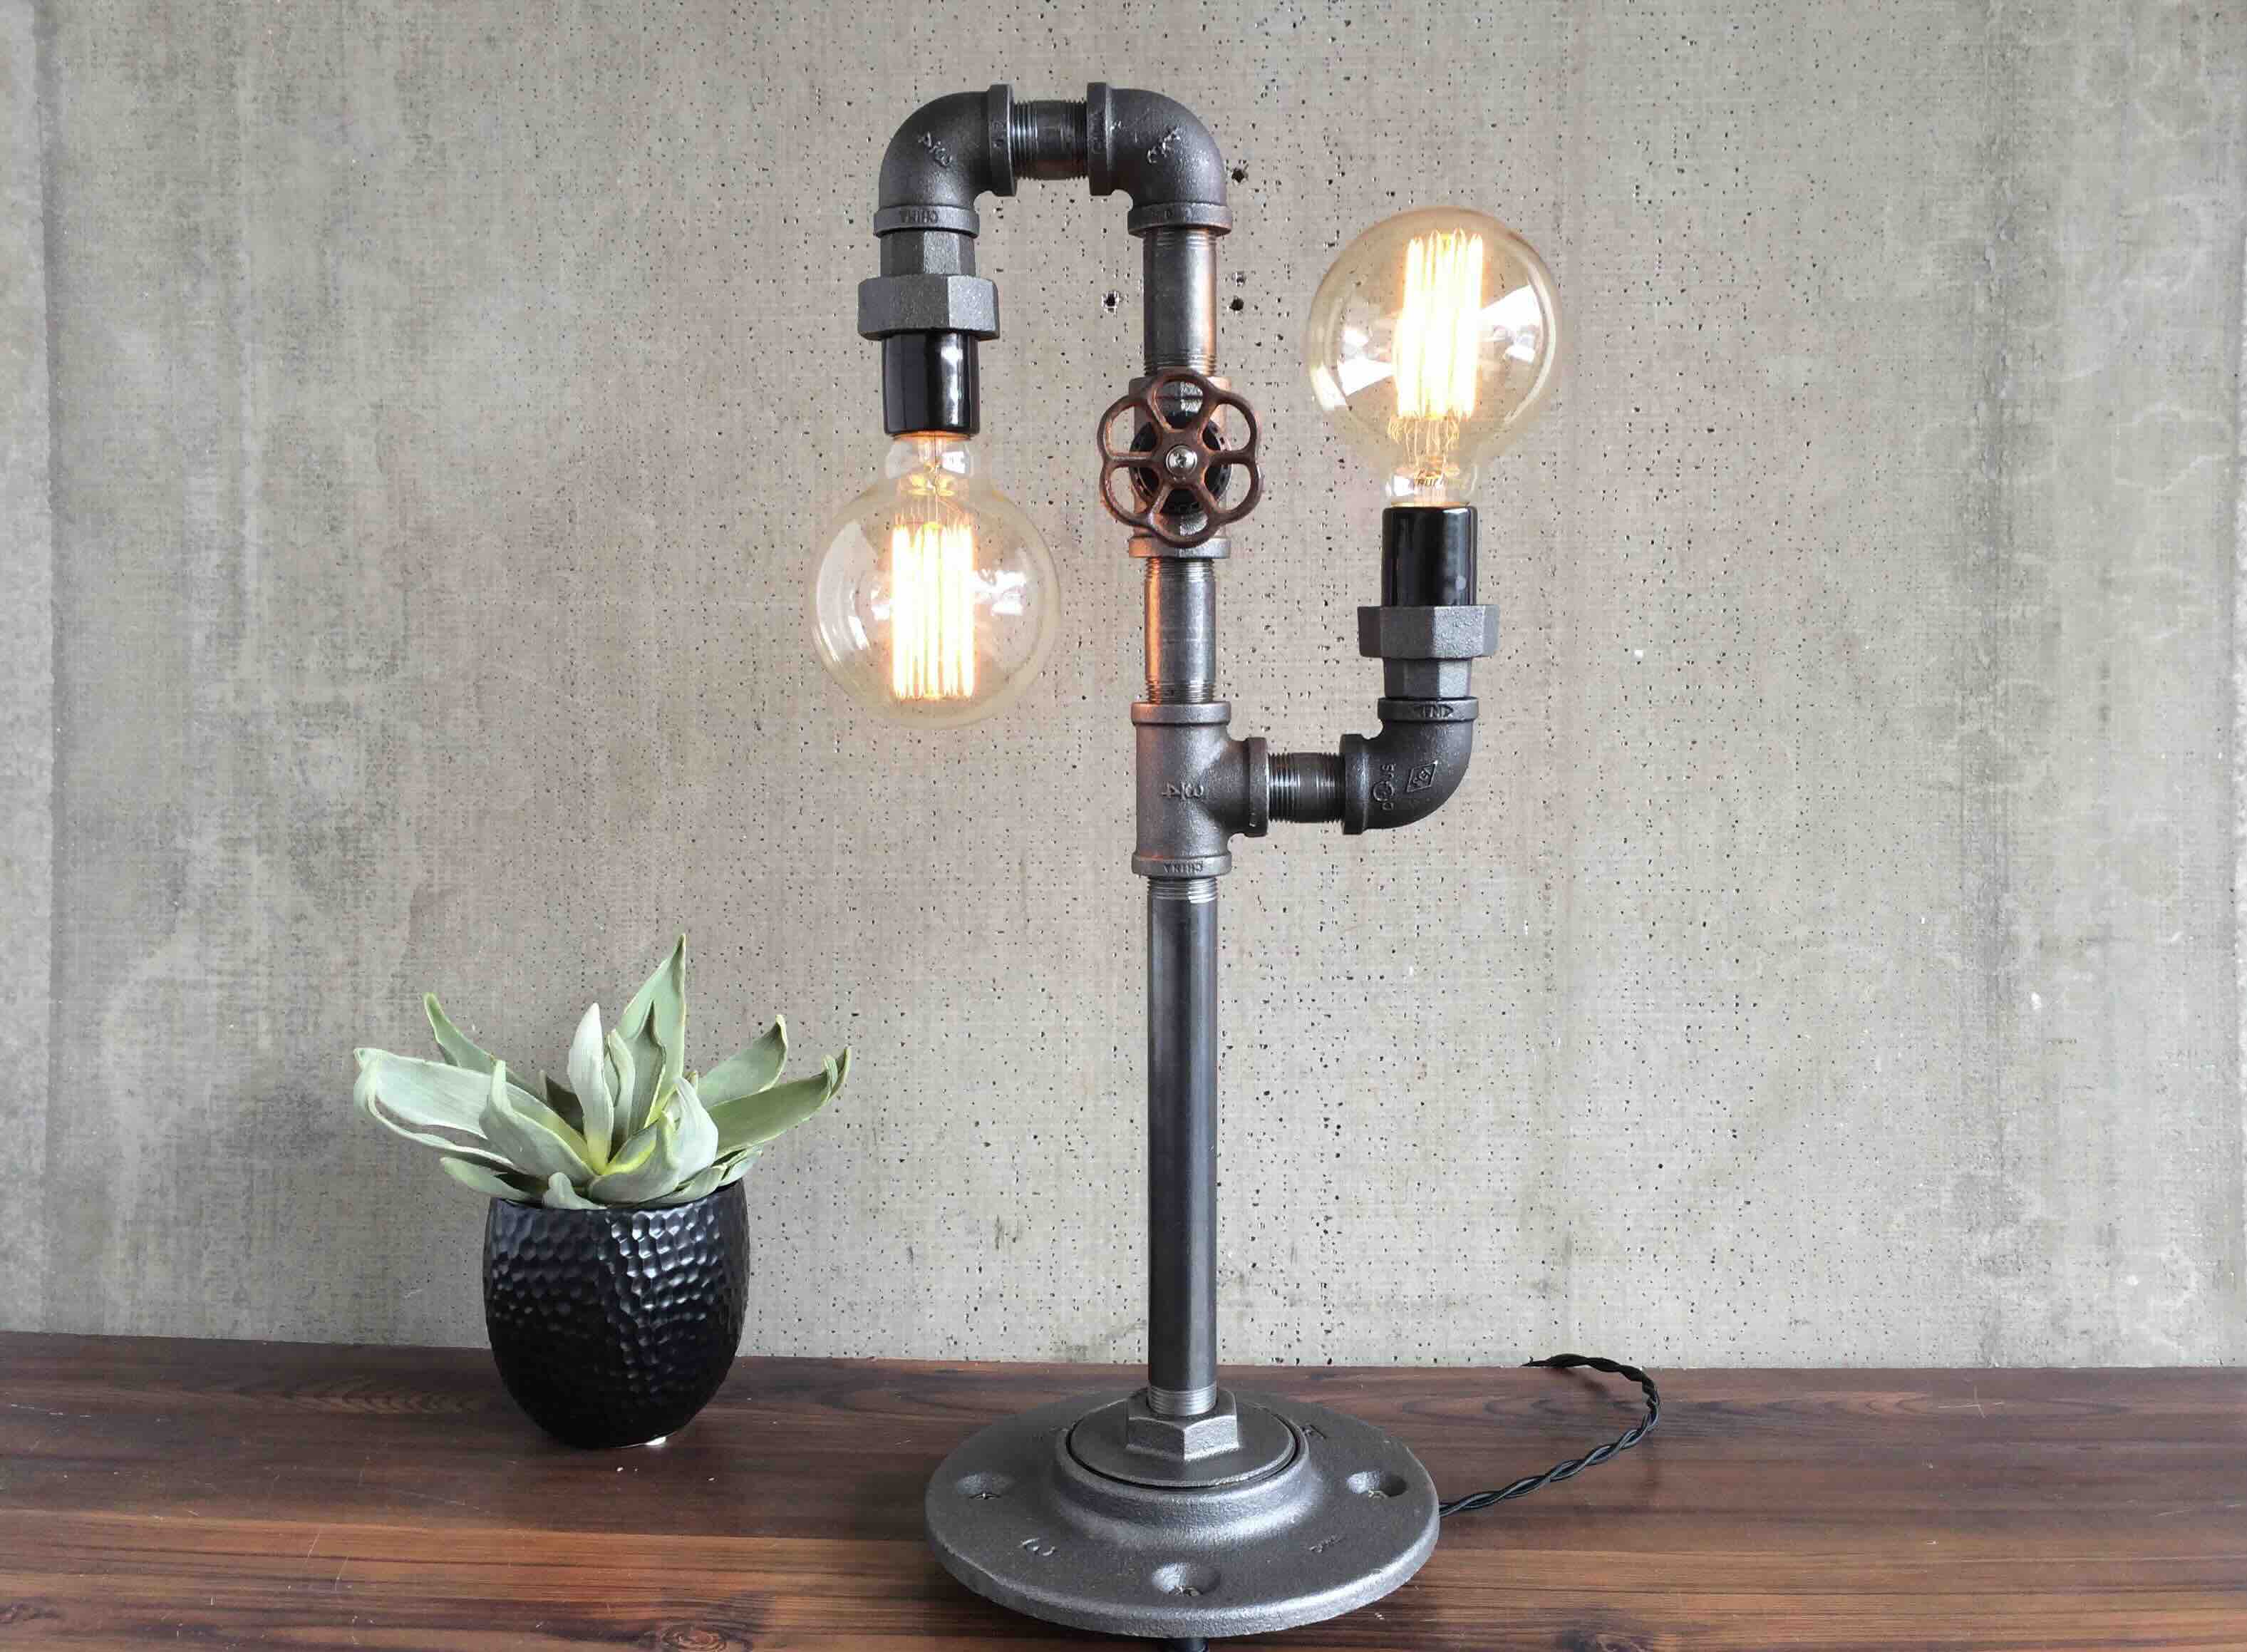
Have you ever looked at a pipe and thought, “Hey, that would make a really cool lamp?” If so, you’re in luck! In this article, we’ll guide you through the process of creating your very own pipe lamp. This unique and eye-catching piece of furniture not only provides functional lighting but also adds a touch of industrial charm to any space.
Creating a pipe lamp may seem like a daunting task, but rest assured, it’s easier than you might think. With a few basic materials and some simple tools, you can bring your pipe lamp vision to life. Plus, the best part is that you can customize it to suit your personal style and taste.
Before we dive into the nitty-gritty of how to make a pipe lamp, let’s take a moment to explore the appeal of this trendy lighting option. The industrial aesthetic has become increasingly popular in interior design, and a pipe lamp perfectly encapsulates that rustic, vintage look. It adds character and uniqueness to any room, whether it’s a living space, bedroom, study, or even a commercial establishment.
Another advantage of a pipe lamp is its versatility. The pipes and fittings used can be easily assembled and disassembled, allowing you to modify and reconfigure your lamp whenever you please. This makes it a fun and interactive DIY project that you can enjoy over and over again.
The materials needed for a pipe lamp can be found at your local hardware store or online. The key components include pipes, fittings, a lamp socket, wiring, and a lampshade. The beauty of making a pipe lamp is that you can mix and match different pipe lengths, fittings, and finishes to create a unique piece that reflects your personal style.
In the following sections, we’ll guide you through the step-by-step process of making a pipe lamp. We’ll cover everything from gathering the supplies to assembling the base, preparing the pipe, mounting the lamp socket, wiring the lamp, attaching the lampshade, and finally testing and making any necessary adjustments.
So, grab your tools and let’s get started on this exciting DIY project. By the end, you’ll have a stunning pipe lamp that will be the envy of all your friends and family.
Key Takeaways:
- Create a unique industrial charm with a DIY pipe lamp, showcasing your creativity and style while adding character and warmth to any space. Enjoy the process of personalization and customization to reflect your individuality.
- Transform ordinary materials into a captivating piece of furniture with a DIY pipe lamp, adding a functional lighting source and a focal point that sparks conversation and creates a cozy, inviting atmosphere.
Read more: How To Make Cushions With Piping
Materials Needed
Before you begin the process of making a pipe lamp, it’s important to gather all the necessary materials. Here’s a list of the key components you’ll need:
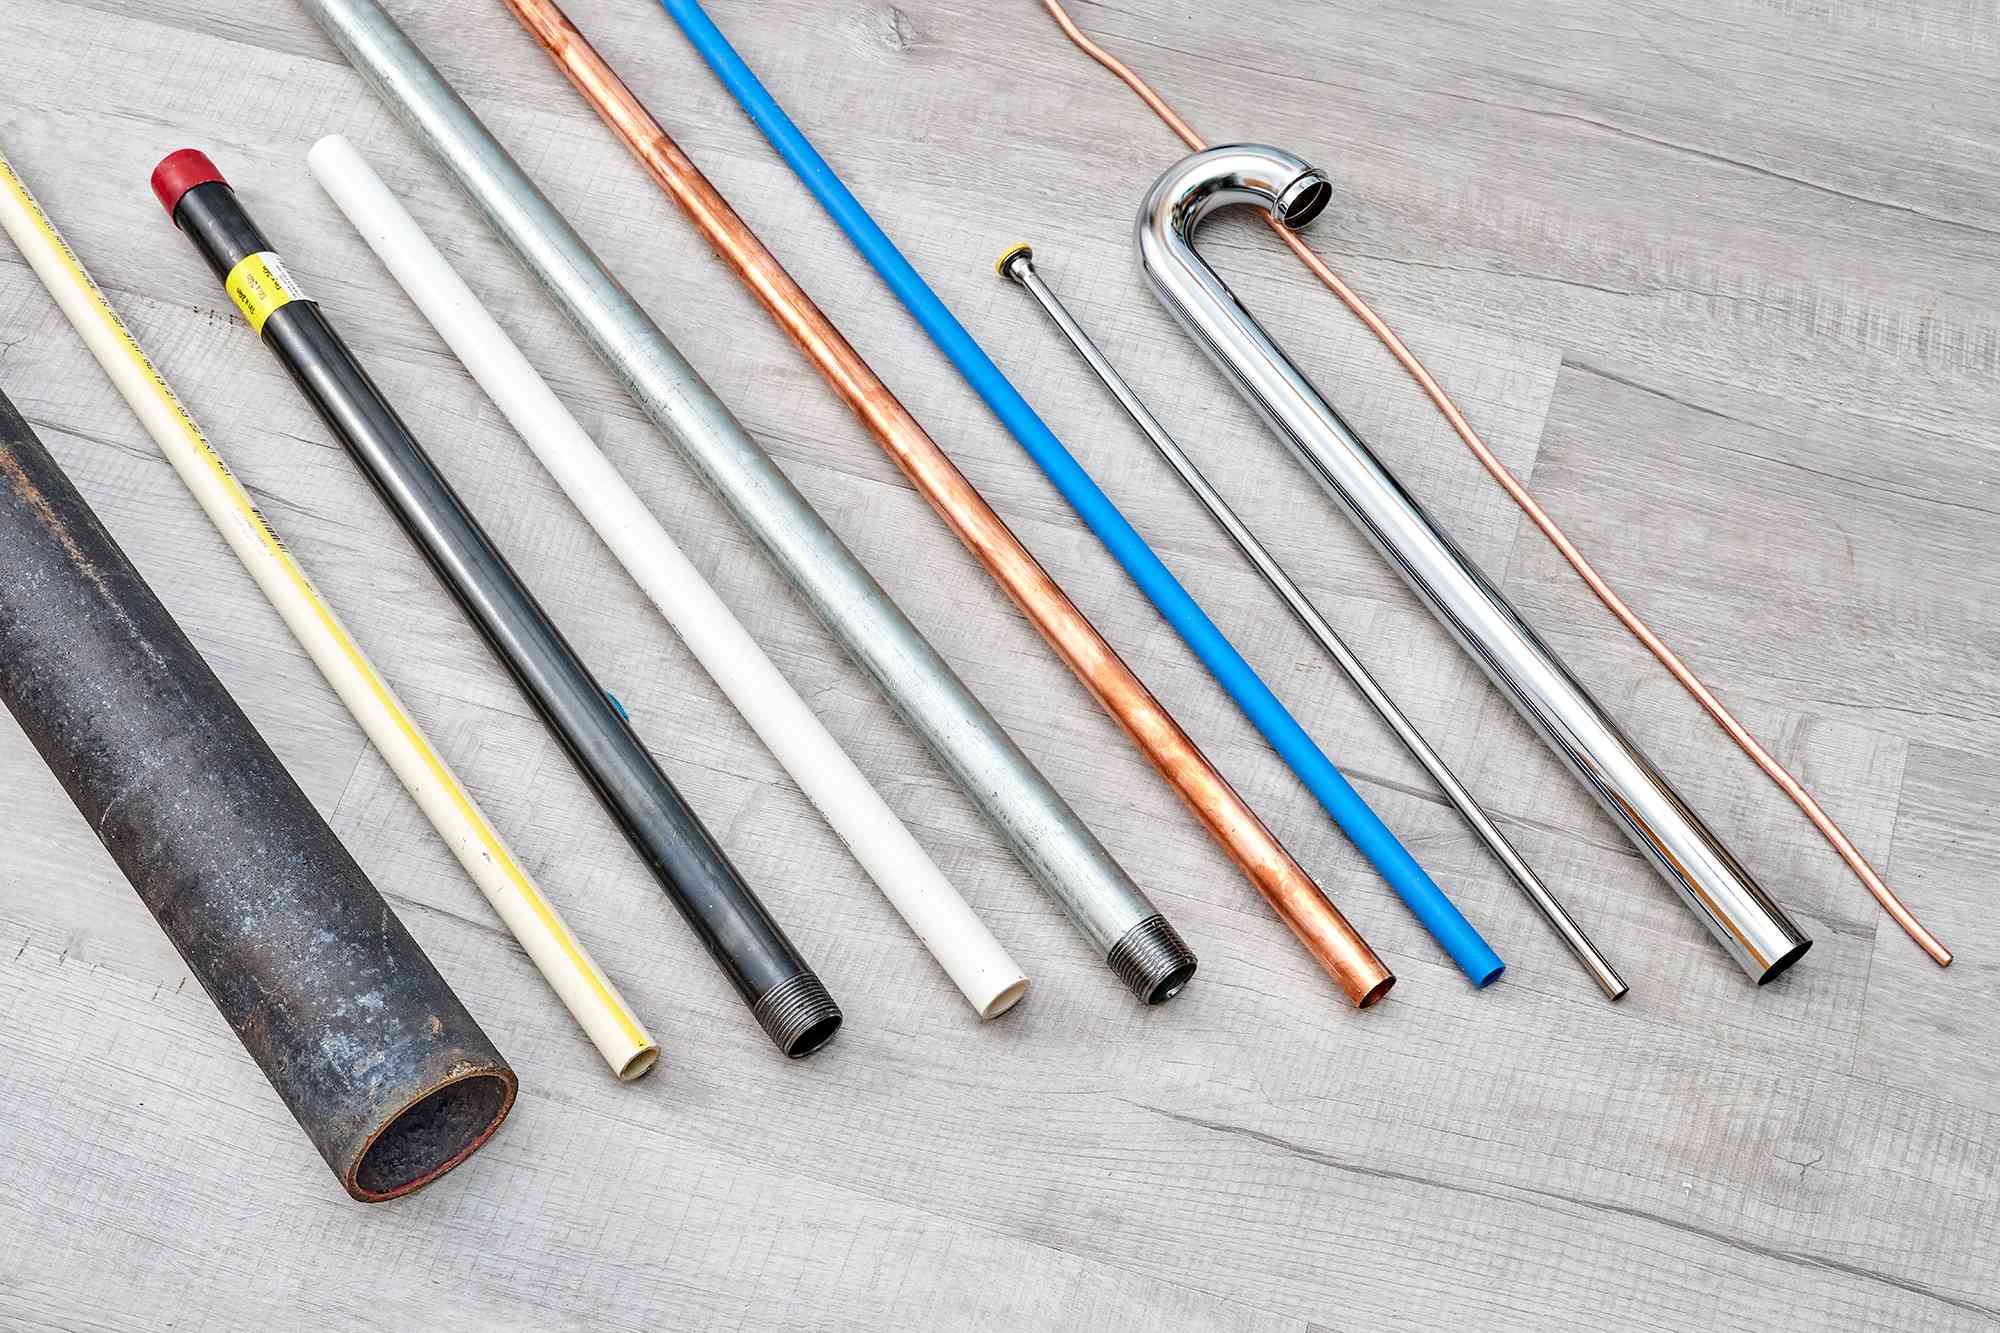
- Pipes: Choose pipes in various lengths and diameters to create the desired shape and height for your lamp. Common options include black iron pipes or galvanized steel pipes.
- Fittings: These connectors allow you to join the pipes together. Examples include elbows, tees, flanges, and couplings. Make sure to select fittings that fit the diameter of your pipes.
- Lamp Socket: This is the part of the lamp that holds the light bulb. Look for a socket that fits your chosen bulb size and meets safety standards. Consider options like a vintage-style socket for added aesthetic appeal.
- Wiring: Choose a lamp cord that is suitable for the wattage of your bulb. Make sure it is long enough to reach a power outlet. Additionally, you will need a plug to connect the lamp to the electrical source.
- Lampshade: Select a lampshade that complements the style and size of your pipe lamp. Options range from fabric shades to metal cages or even DIY shades made from unconventional materials.
- Light Bulb: Choose a bulb that suits your lighting needs and personal taste. Consider the ambiance you want to create with your lamp, whether it’s warm and cozy or bright and focused.
- Tools: Gather the appropriate tools for the project, including a pipe cutter or hacksaw to cut the pipes to size, a wrench for tightening fittings, electrical tape for securing wire connections, and a screwdriver for mounting the socket.
It’s important to mention that the specific materials and measurements may vary depending on the design and size of your pipe lamp. Feel free to get creative and adapt the materials list to suit your vision and requirements.
Now that you have a clear understanding of the materials needed, you’re ready to start assembling your pipe lamp. In the next section, we’ll go over the step-by-step process of creating the base for your lamp.
Step 1: Gathering the Supplies
Before you dive into the exciting process of creating your pipe lamp, it’s important to gather all the necessary supplies. Being prepared and having everything you need on hand will ensure a smooth and efficient DIY experience. Here’s a breakdown of the supplies you’ll need for your pipe lamp project:
- Pipes: Select pipes in different lengths and diameters to build your lamp’s structure. Common options include black iron pipes or galvanized steel pipes. Consider the desired height and shape of your lamp when choosing the pipe lengths.
- Fittings: These connectors allow you to join the pipes together and create the desired configuration. Examples of fittings include elbows, tees, flanges, and couplings. Make sure to select fittings that fit the diameter of your pipes.
- Lamp Socket: This crucial component holds the light bulb in place. Choose a socket that fits your desired bulb size and meets safety standards. You may opt for a traditional socket or a vintage-style one to add a unique touch to your lamp.
- Wiring: Select a lamp cord that matches the wattage of your chosen bulb. Ensure that the cord is long enough to reach a power outlet without being too short or too long. Additionally, you’ll need a plug to connect the lamp to the electrical source.
- Lampshade: The lampshade adds the finishing touch to your pipe lamp and helps diffuse the light. Choose a shade that complements the style and size of your lamp. Options range from fabric shades to metal cages or even DIY shades made from unconventional materials.
- Light Bulb: Select a light bulb that suits your desired level of brightness and ambiance. Consider factors such as wattage, color temperature, and bulb type to achieve the desired lighting effect.
- Tools: Gather the necessary tools for the construction process. These may include a pipe cutter or hacksaw to cut the pipes to the desired length, a wrench for tightening fittings, electrical tape for securing wire connections, and a screwdriver for mounting the socket.
Once you have collected all the supplies, you’re ready to move on to the next step: assembling the base of your pipe lamp. Keep in mind that the specific materials and measurements may vary depending on your design preferences. Feel free to experiment and customize your pipe lamp to reflect your unique style and taste.
In the next section, we will walk you through the process of assembling the base of your pipe lamp, bringing you one step closer to owning a stylish and functional lighting piece.
Step 2: Assembling the Base
With all the necessary supplies gathered, it’s time to start assembling the base of your pipe lamp. The base serves as the foundation and structural support for the lamp, giving it stability and balance. Follow these steps to create a sturdy and aesthetically pleasing base for your pipe lamp:
- Layout: Lay out all the pipes and fittings on a flat surface to visualize the design and ensure you have all the necessary components.
- Design: Determine the desired height and shape of your lamp. This will help you choose the right lengths of pipes and fittings. Get creative with the design and experiment with different arrangements until you find the perfect configuration.
- Measure: Use a tape measure to mark the desired lengths on the pipes. Double-check your measurements to ensure accuracy before cutting.
- Cut: Using a pipe cutter or hacksaw, carefully cut the pipes to the desired lengths based on your measurements. Take caution and wear appropriate safety gear during this step.
- Thread: If your pipes have threaded ends, you can simply screw the fittings onto them. If the ends are not threaded, you may need to use pipe compound or Teflon tape to create a secure connection between the pipe and fitting.
- Assemble: Begin by attaching the fittings to the pipes according to your design. Use a wrench to tighten the connections firmly, ensuring that they are stable and secure.
- Test: Once the base is assembled, test its stability by gently shaking it. If any joints feel loose, use the wrench to tighten them further. It’s important to have a sturdy base to ensure the safety and durability of your pipe lamp.
During the assembly process, don’t hesitate to make adjustments or try different configurations until you achieve the desired look. Remember, the beauty of a pipe lamp is its versatility and ability to be customized according to your personal style.
After you’ve successfully assembled the base, you’re ready to move on to the next step: preparing the pipes for mounting the lamp socket. In the following section, we’ll guide you through the process of preparing the pipes and ensuring they’re ready for the next stage of the construction process.
Step 3: Preparing the Pipe
Now that you have assembled the base of your pipe lamp, it’s time to prepare the pipes for mounting the lamp socket. This step involves cleaning, priming, and painting the pipes, ensuring they are in optimal condition for the final stages of the lamp assembly. Follow these steps to prepare the pipes for your pipe lamp:
- Cleaning: Start by thoroughly cleaning the pipes to remove any dirt, grease, or debris. You can use soap and water or a degreaser to ensure they are free from any contaminants. Dry the pipes completely before proceeding to the next step.
- Priming: Depending on the type of pipes you’re using, it may be necessary to apply a primer coat. This will help the paint adhere better and provide a smoother finish. Choose a primer that is compatible with the material of your pipes, such as a metal primer for steel pipes.
- Painting: Once the primer is dry, it’s time to paint the pipes. Select a paint color that complements your overall design and desired aesthetic. Consider using spray paint for a quick and even application. Apply multiple thin coats of paint, allowing each coat to dry completely before applying the next.
- Optional Finishing: If you prefer a more distressed or weathered look, you can consider adding additional finishes to the painted pipes. Techniques such as sanding, distressing, or applying a patina can create an aged or rustic appearance. Experiment with different techniques to achieve the desired effect.
It’s important to note that if you are using pre-painted or pre-finished pipes, you may skip the priming and painting steps and proceed directly to the next stage of the lamp assembly. However, painting the pipes can add a personal touch and ensure that they seamlessly blend with the overall design of your pipe lamp.
Once you have prepared the pipes, take a moment to admire your work. The painted pipes will add a polished and cohesive look to your pipe lamp. Now, you’re ready to move on to the next step: mounting the lamp socket. In the following section, we’ll guide you through the process of securely attaching the lamp socket to the pipes.
When making a pipe lamp, be sure to use the appropriate size and type of pipe fittings to ensure a secure and stable structure. Double check all connections to prevent any potential leaks or hazards.
Read more: How To Make A Glass Pipe For Smoking
Step 4: Mounting the Lamp Socket
With the pipes prepared and painted, it’s time to move on to mounting the lamp socket. The lamp socket is a critical component that holds the light bulb and ensures the safe and proper functioning of your pipe lamp. Follow these steps to securely attach the lamp socket to the pipes:
- Determine Placement: Decide where on the pipes you want to mount the lamp socket. Consider the overall design and height of your lamp, as well as the desired direction of the light emitted from the bulb.
- Mark the Position: Use a pencil or marker to make a small mark on the pipe where you intend to mount the lamp socket. Double-check the positioning to make sure it aligns with your vision.
- Pre-drill if Needed: Depending on the material of your pipes and the lamp socket mounting bracket, you may need to pre-drill a small hole at the marked position. This will ensure a secure attachment and prevent the pipe from cracking or splitting.
- Secure the Lamp Socket: Place the lamp socket mounting bracket over the marked position or pre-drilled hole. Align the screw holes on the bracket with the holes on the pipe. Insert screws provided with the lamp socket into the holes and tighten using a screwdriver.
- Wire Connection: Follow the manufacturer’s instructions to properly connect the wiring of the lamp socket. This typically involves attaching the neutral wire (usually ribbed or identified by a stripe) to the silver screw terminal and the hot wire (usually smooth or identified by a solid color) to the brass screw terminal. Use wire connectors or electrical tape to secure the connections.
- Secure the Socket: Once the wiring is connected, gently push the lamp socket into the mounting bracket until it is secure. Make sure it fits snugly and doesn’t wobble or move.
- Test the Socket: Before proceeding to the next step, plug in the lamp cord and insert a light bulb into the socket. Turn on the lamp to ensure that the socket and wiring are functioning properly. If the light bulb doesn’t illuminate, double-check the wiring connections or seek professional assistance.
Once you have successfully mounted the lamp socket, take a moment to appreciate your progress. The lamp socket not only provides a functional element to the lamp but also adds to its overall aesthetic. Now, you’re ready to move on to the next step: wiring the lamp. In the following section, we’ll guide you through the process of safely and correctly wiring your pipe lamp.
Step 5: Wiring the Lamp
Now that you have securely mounted the lamp socket, it’s time to wire your pipe lamp. Proper wiring is crucial for the safe functioning of the lamp and ensuring that it can be powered on and off easily. Follow these steps to wire your pipe lamp correctly:
- Prepare the Lamp Cord: Begin by preparing the lamp cord for connection. Strip about an inch of insulation from the end of the cord to expose the inner wires. If necessary, separate the two wires by gently pulling them apart.
- Connect the Lamp Cord: Take the end of the lamp cord and separate the two wires further. Most lamp cords will have one ribbed or identified wire, which is the neutral wire, and one smooth or solid-colored wire, which is the hot wire. Connect the ribbed wire to the silver screw terminal on the lamp socket and the smooth wire to the brass screw terminal. Tighten the screws to secure the connections.
- Secure the Wiring: Once the connections are made, use wire connectors or electrical tape to securely cover and insulate the exposed wire connections. This will ensure the safety of the wiring and prevent any accidental contact.
- Thread the Lamp Cord: Guide the lamp cord through the pipes and fittings, starting from the lamp socket and working your way down to the base. Position the cord in a way that it is not visible or causing any obstruction. Ensure that the cord is securely threaded through the assembled pipes.
- Attach the Plug: At the end of the lamp cord, attach a suitable plug that matches your country’s electrical standards. Follow the manufacturer’s instructions for properly connecting the wires to the plug terminals. If in doubt, consult an electrician to ensure the correct wiring and safety of the plug connection.
- Test the Wiring: It’s essential to test the wiring before proceeding to the next step. Plug in the lamp cord and insert a light bulb into the lamp socket. Switch on the lamp and ensure that it illuminates properly. If the lamp does not light up, double-check the wiring connections, make any necessary adjustments, or seek professional assistance.
Wiring your pipe lamp may seem like a daunting task, but by following these steps carefully and ensuring proper connections, you can successfully wire your lamp. As always, safety is paramount, so exercise caution when working with electrical components and consider consulting an electrician if you have any concerns or doubts.
With the lamp wired and functioning, you’re now ready to move on to the next step: attaching the lampshade. In the following section, we’ll guide you through the process of selecting and affixing the perfect lampshade to complete your pipe lamp.
Step 6: Attaching the Lampshade
With the base and wiring of your pipe lamp complete, it’s time to add the final touch – the lampshade. The lampshade not only diffuses the light but also adds a decorative element to your pipe lamp. Follow these steps to securely attach the lampshade to your lamp:
- Select the Lampshade: Choose a lampshade that complements the style and size of your pipe lamp. Consider factors such as shape, material, and color to ensure the lampshade enhances the overall aesthetic.
- Position the Lampshade: Place the lampshade on top of the lamp socket, ensuring that it fits snugly and covers the bulb completely. Adjust the position until you are satisfied with the appearance.
- Use a Shade Ring: Some lampshades come with a built-in ring that attaches directly to the lamp socket. If your lampshade has this feature, follow the manufacturer’s instructions to secure the shade ring in place. This typically involves screwing the ring onto the threaded socket.
- Use a Harp and Finial: If your lampshade does not have a built-in ring, you can use a harp and finial to secure it. Attach the harp to the threaded socket by twisting it onto the lamp’s underside. The harp is a metal loop with two prongs that hold the shade in place. Once the harp is attached, position the lampshade over the harp and secure it in place by tightening the finial on top of the lampshade.
- Adjust and Verify Stability: Ensure that the lampshade is level and stable. Make any necessary adjustments to the position, harp, or finial to achieve the desired look. Gently tap the lampshade to ensure it is securely attached and does not wobble or move.
- Test the Shade: Turn on the lamp and observe the lighting effect through the lampshade. Ensure that the shade provides the desired level of light diffusion and ambiance. Adjust the position or style of the shade if necessary to achieve the desired lighting effect.
Attaching the lampshade is the final step to complete your pipe lamp. Take a moment to admire your creation and see how the lampshade transforms the overall look and feel of the lamp. Now, it’s time for the last step: testing the lamp and making any final adjustments.
Step 7: Testing and Final Adjustments
Congratulations on reaching the final step of creating your pipe lamp! In this step, you will test the lamp to ensure it functions properly and make any final adjustments necessary to perfect its appearance and performance. Follow these steps to complete the testing and adjustment process:
- Clear the Area: Before testing the lamp, make sure the surrounding area is clear of any flammable materials or obstructions. This will ensure a safe environment for testing and prevent any accidents.
- Turn on the Lamp: Plug in the lamp cord and turn on the lamp using the switch or button on the lamp socket. Check that the light bulb is illuminating properly and emitting the desired level of light.
- Inspect for Stability: Examine the lamp to ensure that it is stable and sturdy. Gently shake the lamp to check for any wobbling or movement. If you notice any instability, tighten any loose fittings or connections to secure them in place.
- Check Wire Connections: Verify that all wire connections are securely fastened and properly insulated. Ensure that there are no exposed wires or loose connections that could pose a safety hazard. If needed, use electrical tape or wire connectors to reinforce any weak points.
- Make Final Adjustments: Take a step back and look at the lamp as a whole. Assess its overall appearance and make any final adjustments or refinements. This could involve tweaking the position of the lampshade, straightening the pipes, or adding decorative elements to enhance the visual appeal.
- Test the Switch: If your lamp has a switch, test it to ensure it turns the lamp on and off smoothly. If the switch feels stiff or not functioning properly, double-check the wiring connections or consult a professional electrician for assistance.
- Enjoy Your Pipe Lamp: Once you’re satisfied with the appearance, stability, and functionality of your pipe lamp, it’s time to sit back, relax, and enjoy the warm and inviting glow it brings to your space. Admire the unique industrial charm that your DIY creation adds to your home or office.
Testing and making any final adjustments ensures that your pipe lamp is in optimal condition for long-term use. Remember to periodically check the lamp for any signs of wear or loose connections and address them promptly to maintain the lamp’s safety and performance.
With the testing and adjustment process complete, you have successfully completed your pipe lamp project! Give yourself a pat on the back for your DIY skills and creativity. Your pipe lamp is now ready to be a stunning and functional addition to your living space.
Read more: How To Make Piping For Throw Pillows
Conclusion
Congratulations on successfully creating your very own pipe lamp! Through gathering the necessary supplies, assembling the base, preparing the pipes, mounting the lamp socket, wiring the lamp, attaching the lampshade, and making final adjustments, you have transformed ordinary materials into a unique and captivating piece of furniture.
The process of making a pipe lamp allows for personalization and customization, giving you the opportunity to showcase your creativity and style. Whether you prefer a vintage-inspired design, a modern industrial look, or something entirely unique, your pipe lamp reflects your individuality and adds character to any room.
Not only does a pipe lamp serve as a functional lighting source, but it also creates a focal point and conversation starter in your space. The combination of rugged pipes and fittings with the soft glow of a light bulb adds a touch of warmth and ambiance to your environment, contributing to a cozy and inviting atmosphere.
As you continue to enjoy your pipe lamp, don’t forget to periodically check for any signs of wear, loose connections, or electrical issues. Maintaining your lamp’s safety and functionality ensures it will continue to inspire and illuminate for years to come.
Remember, this is just one example of what you can do with pipes and creativity. Feel free to experiment with different designs, finishes, and materials to create your own unique pipe lamp. The possibilities are virtually endless, and with each project, you’ll gain more experience and refine your DIY skills.
We hope you’ve enjoyed this journey of creating your pipe lamp and that it has sparked your passion for DIY projects and interior design. Thank you for joining us on this creative adventure, and we wish you all the best as you continue to bring your unique vision to life through your furniture and decor projects!
Frequently Asked Questions about How To Make A Pipe Lamp
Was this page helpful?
At Storables.com, we guarantee accurate and reliable information. Our content, validated by Expert Board Contributors, is crafted following stringent Editorial Policies. We're committed to providing you with well-researched, expert-backed insights for all your informational needs.
