Home>Gardening & Outdoor>Outdoor Structures>How To Put Felt On A Shed Roof
Outdoor Structures
How To Put Felt On A Shed Roof
Modified: August 27, 2024
Learn the best way to put felt on a shed roof with our expert guide. Protect your outdoor structures with this step-by-step process.
(Many of the links in this article redirect to a specific reviewed product. Your purchase of these products through affiliate links helps to generate commission for Storables.com, at no extra cost. Learn more)
Introduction
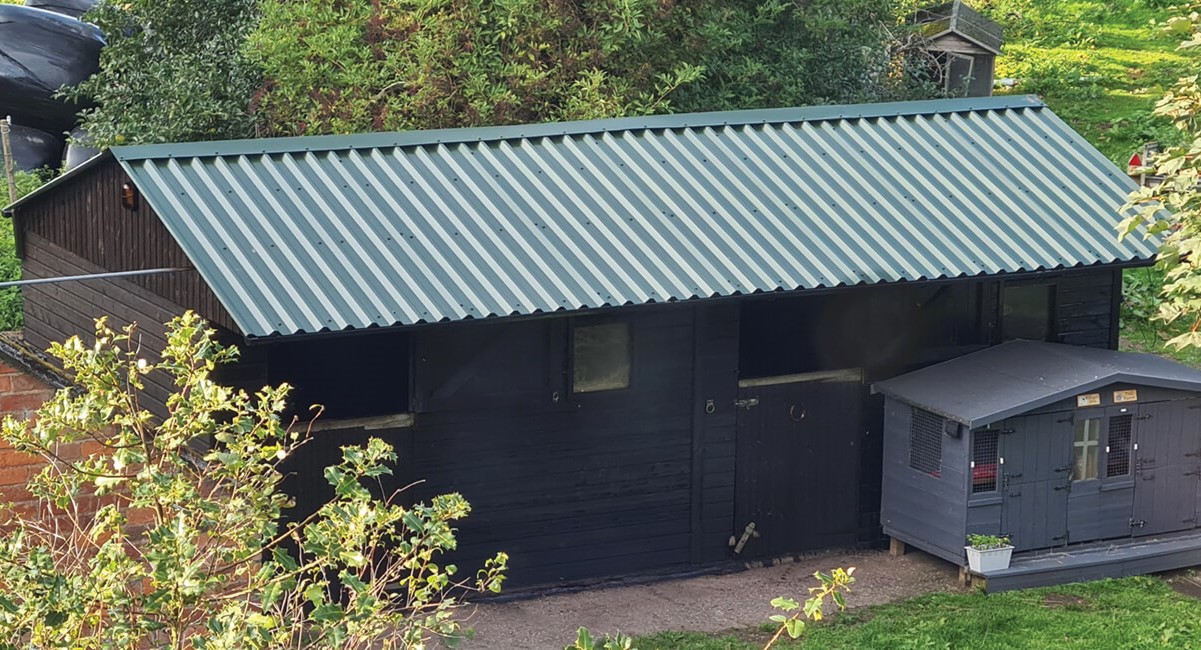
Welcome to the world of outdoor structures, where sheds stand as a testament to our dedication to organization and storage. Whether you are a seasoned DIY enthusiast or a novice looking to embark on your first shed project, understanding how to properly put felt on a shed roof is a crucial skill. Not only does it provide protection against the elements, but it also adds an aesthetic touch to your outdoor space.
In this comprehensive guide, we will walk you through the step-by-step process of applying felt to a shed roof. From gathering the necessary materials to the final touches, you will gain valuable insights that will empower you to tackle this task with confidence.
So, roll up your sleeves, grab your tools, and let’s dive into the world of shed roofing!
Key Takeaways:
- Protect your shed from the elements and add a stylish touch by learning how to apply roofing felt. Follow the step-by-step guide to ensure a durable and visually appealing shed roof.
- Ensure the longevity of your shed roof by properly securing the roofing felt and adding final touches for both functionality and aesthetic appeal. Celebrate your achievement and enjoy your enhanced outdoor space!
Read more: How To Put On A Metal Roof On A Shed
Materials Needed
Before you begin the process of putting felt on a shed roof, it’s essential to gather all the necessary materials. Here’s a comprehensive list of what you’ll need:
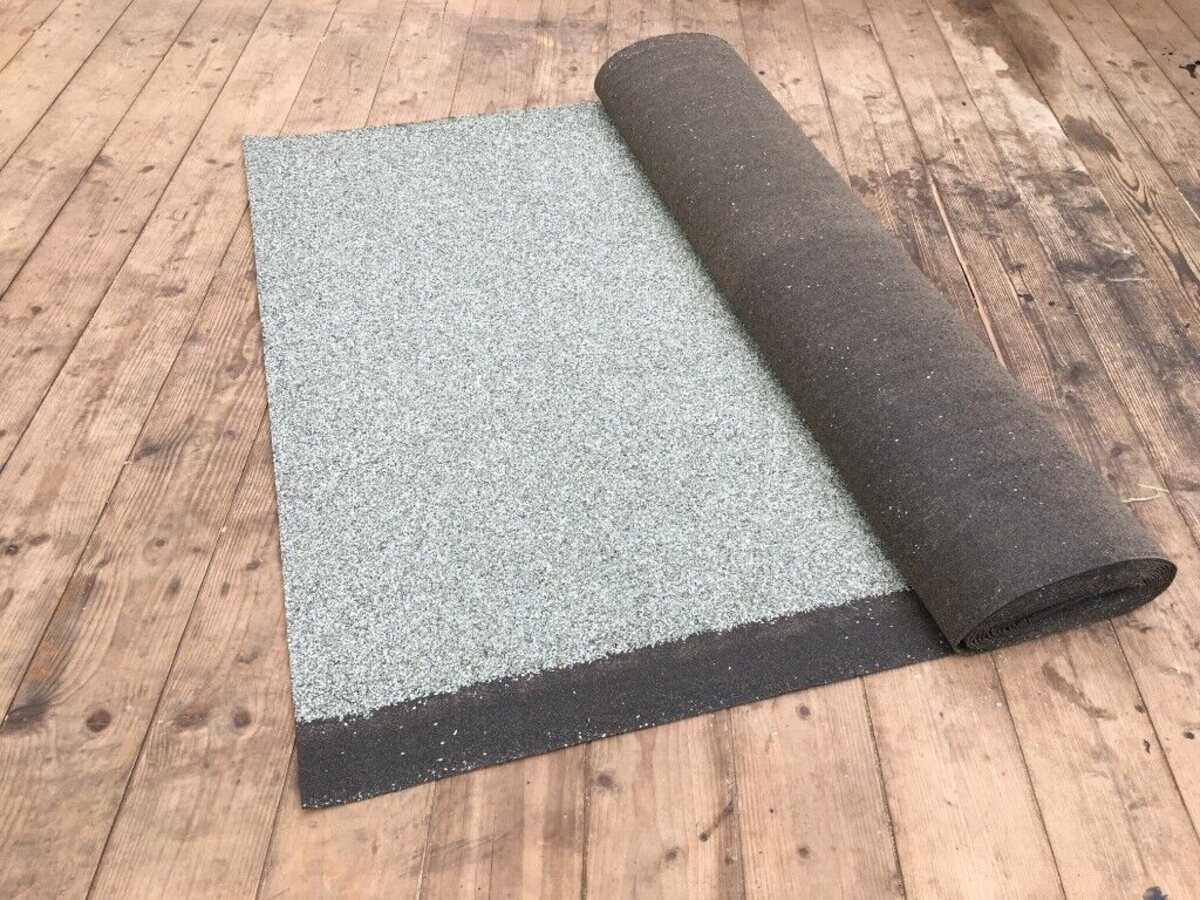
- Roofing felt
- Hammer
- Nails
- Tape measure
- Utility knife
- Staple gun
- Roofing adhesive
- Ladder
- Safety goggles
- Gloves
- Dust mask
- Broom
- Dustpan
It’s crucial to ensure that you have all the materials on hand before you begin the process. This will help streamline the installation and minimize interruptions.
Preparation
Before diving into the process of applying felt to your shed roof, it’s important to prepare the area and ensure that you have a solid foundation for the task ahead. Here’s a step-by-step guide to the preparation phase:
- Clean the Roof: Start by clearing the roof of any debris, dirt, or leaves. Use a broom and dustpan to sweep the surface clean. This step is crucial as it ensures that the felt will adhere properly to the roof.
- Inspect for Damage: Take the time to inspect the roof for any signs of damage, such as cracks or rot. Address any issues before proceeding with the felt installation to prevent future problems.
- Measure the Roof: Use a tape measure to determine the dimensions of the roof. This will help you cut the felt to the appropriate size and ensure a precise fit.
- Put on Safety Gear: Prioritize safety by wearing goggles, gloves, and a dust mask to protect yourself from potential hazards during the installation process.
- Set Up the Ladder: Position a sturdy ladder securely against the shed to provide safe and easy access to the roof. Ensure that the ladder is on stable ground and at the correct angle for safe climbing.
By thoroughly preparing the area and taking the necessary precautions, you set the stage for a smooth and efficient felt application process. Now that the groundwork is laid, it’s time to move on to the next phase of the installation.
When putting felt on a shed roof, make sure to start at the bottom and work your way up, overlapping each layer to prevent leaks. Use roofing nails to secure the felt in place, and trim any excess material for a clean finish.
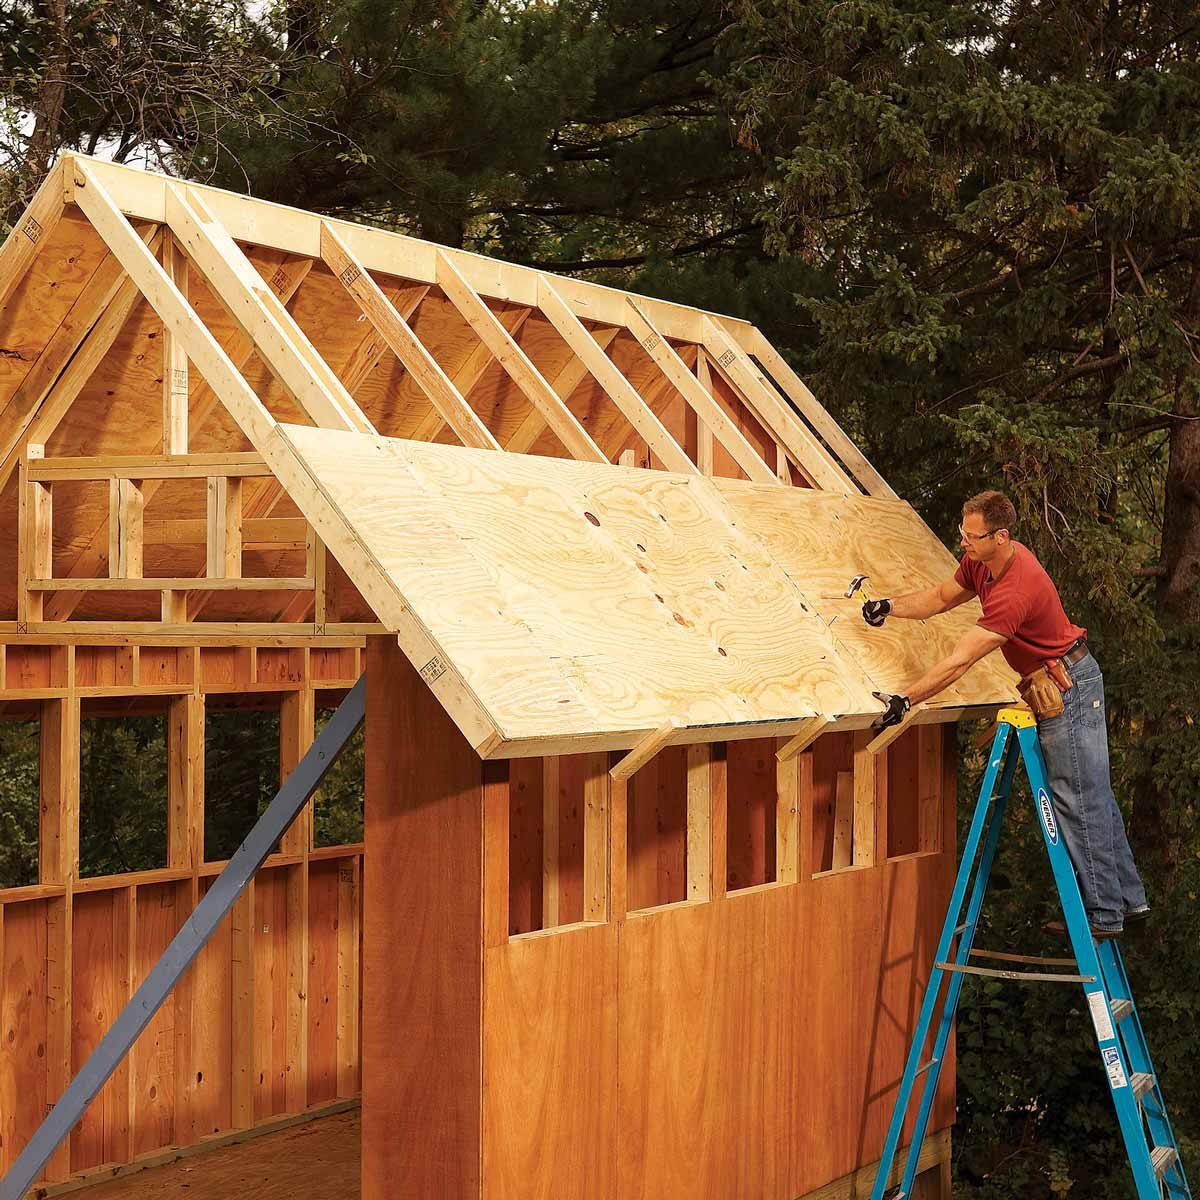
Applying the Felt
With the preparation phase complete, it’s time to move on to the exciting step of applying the felt to your shed roof. This process requires precision and attention to detail to ensure that the felt provides optimal protection and durability. Follow these steps to effectively apply the felt:
- Unroll the Felt: Begin by unrolling the roofing felt across the length of the shed roof. Ensure that the felt overlaps the edges by a few inches to provide comprehensive coverage.
- Cut the Felt: Use a utility knife to carefully cut the felt to fit the dimensions of the roof. Take your time to achieve clean and precise cuts, allowing for a seamless installation.
- Position the Felt: Once the felt is cut to size, position it on the roof, ensuring that it aligns evenly and smoothly. Take care to avoid wrinkles or creases that could compromise the integrity of the installation.
- Smooth Out the Felt: Use a broom or squeegee to gently smooth out the felt, removing any air pockets or imperfections. This step is crucial for ensuring a tight and secure fit.
- Overlap Seams: If multiple pieces of felt are required to cover the entire roof, be sure to overlap the seams by several inches. This overlap provides an extra layer of protection against moisture infiltration.
By following these steps with precision and care, you will effectively apply the roofing felt to your shed, setting the stage for enhanced durability and weather resistance. With the felt securely in place, the next phase focuses on securing it to the roof for long-lasting performance.
Securing the Felt
Securing the roofing felt to the shed roof is a critical step that ensures its longevity and ability to withstand various weather conditions. Properly securing the felt prevents it from shifting or becoming damaged, providing peace of mind and long-term protection for your shed. Here’s how to effectively secure the felt:
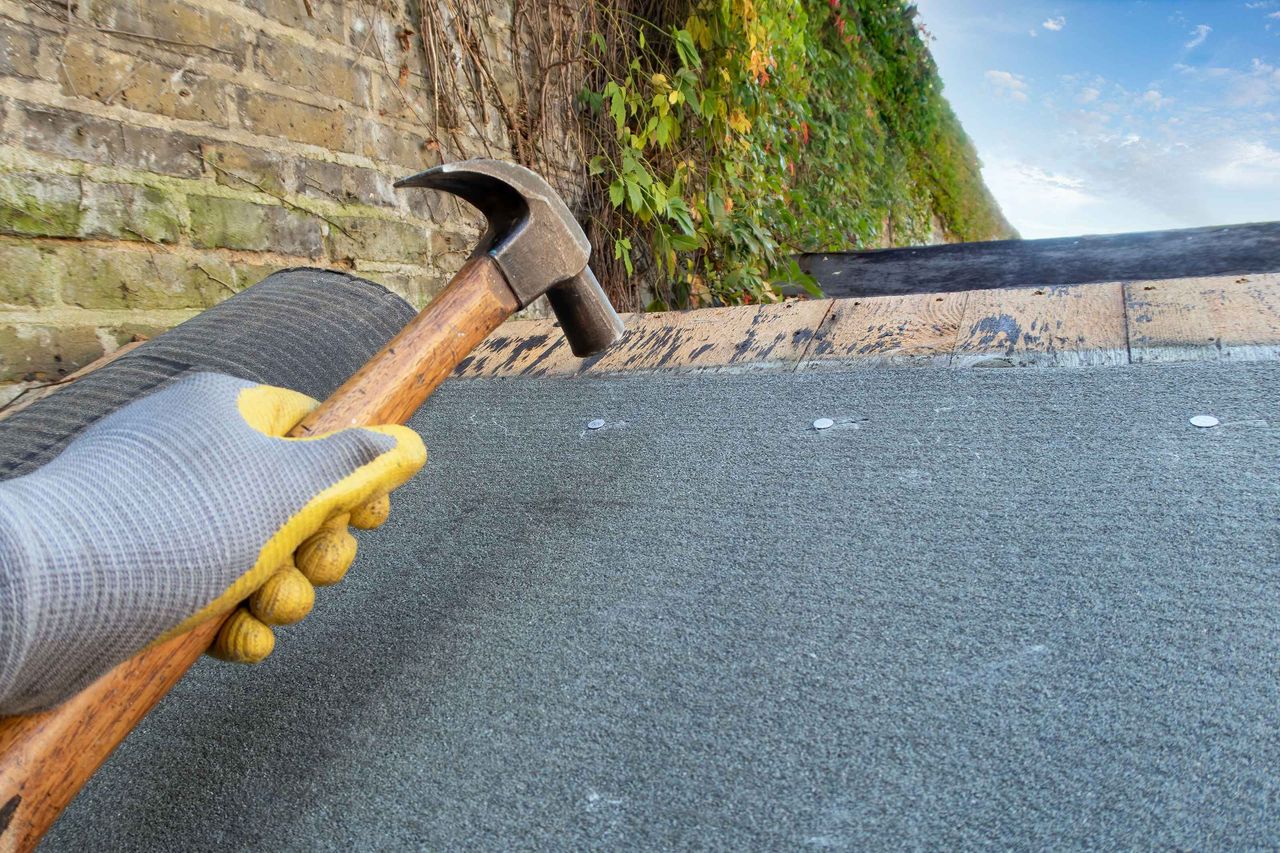
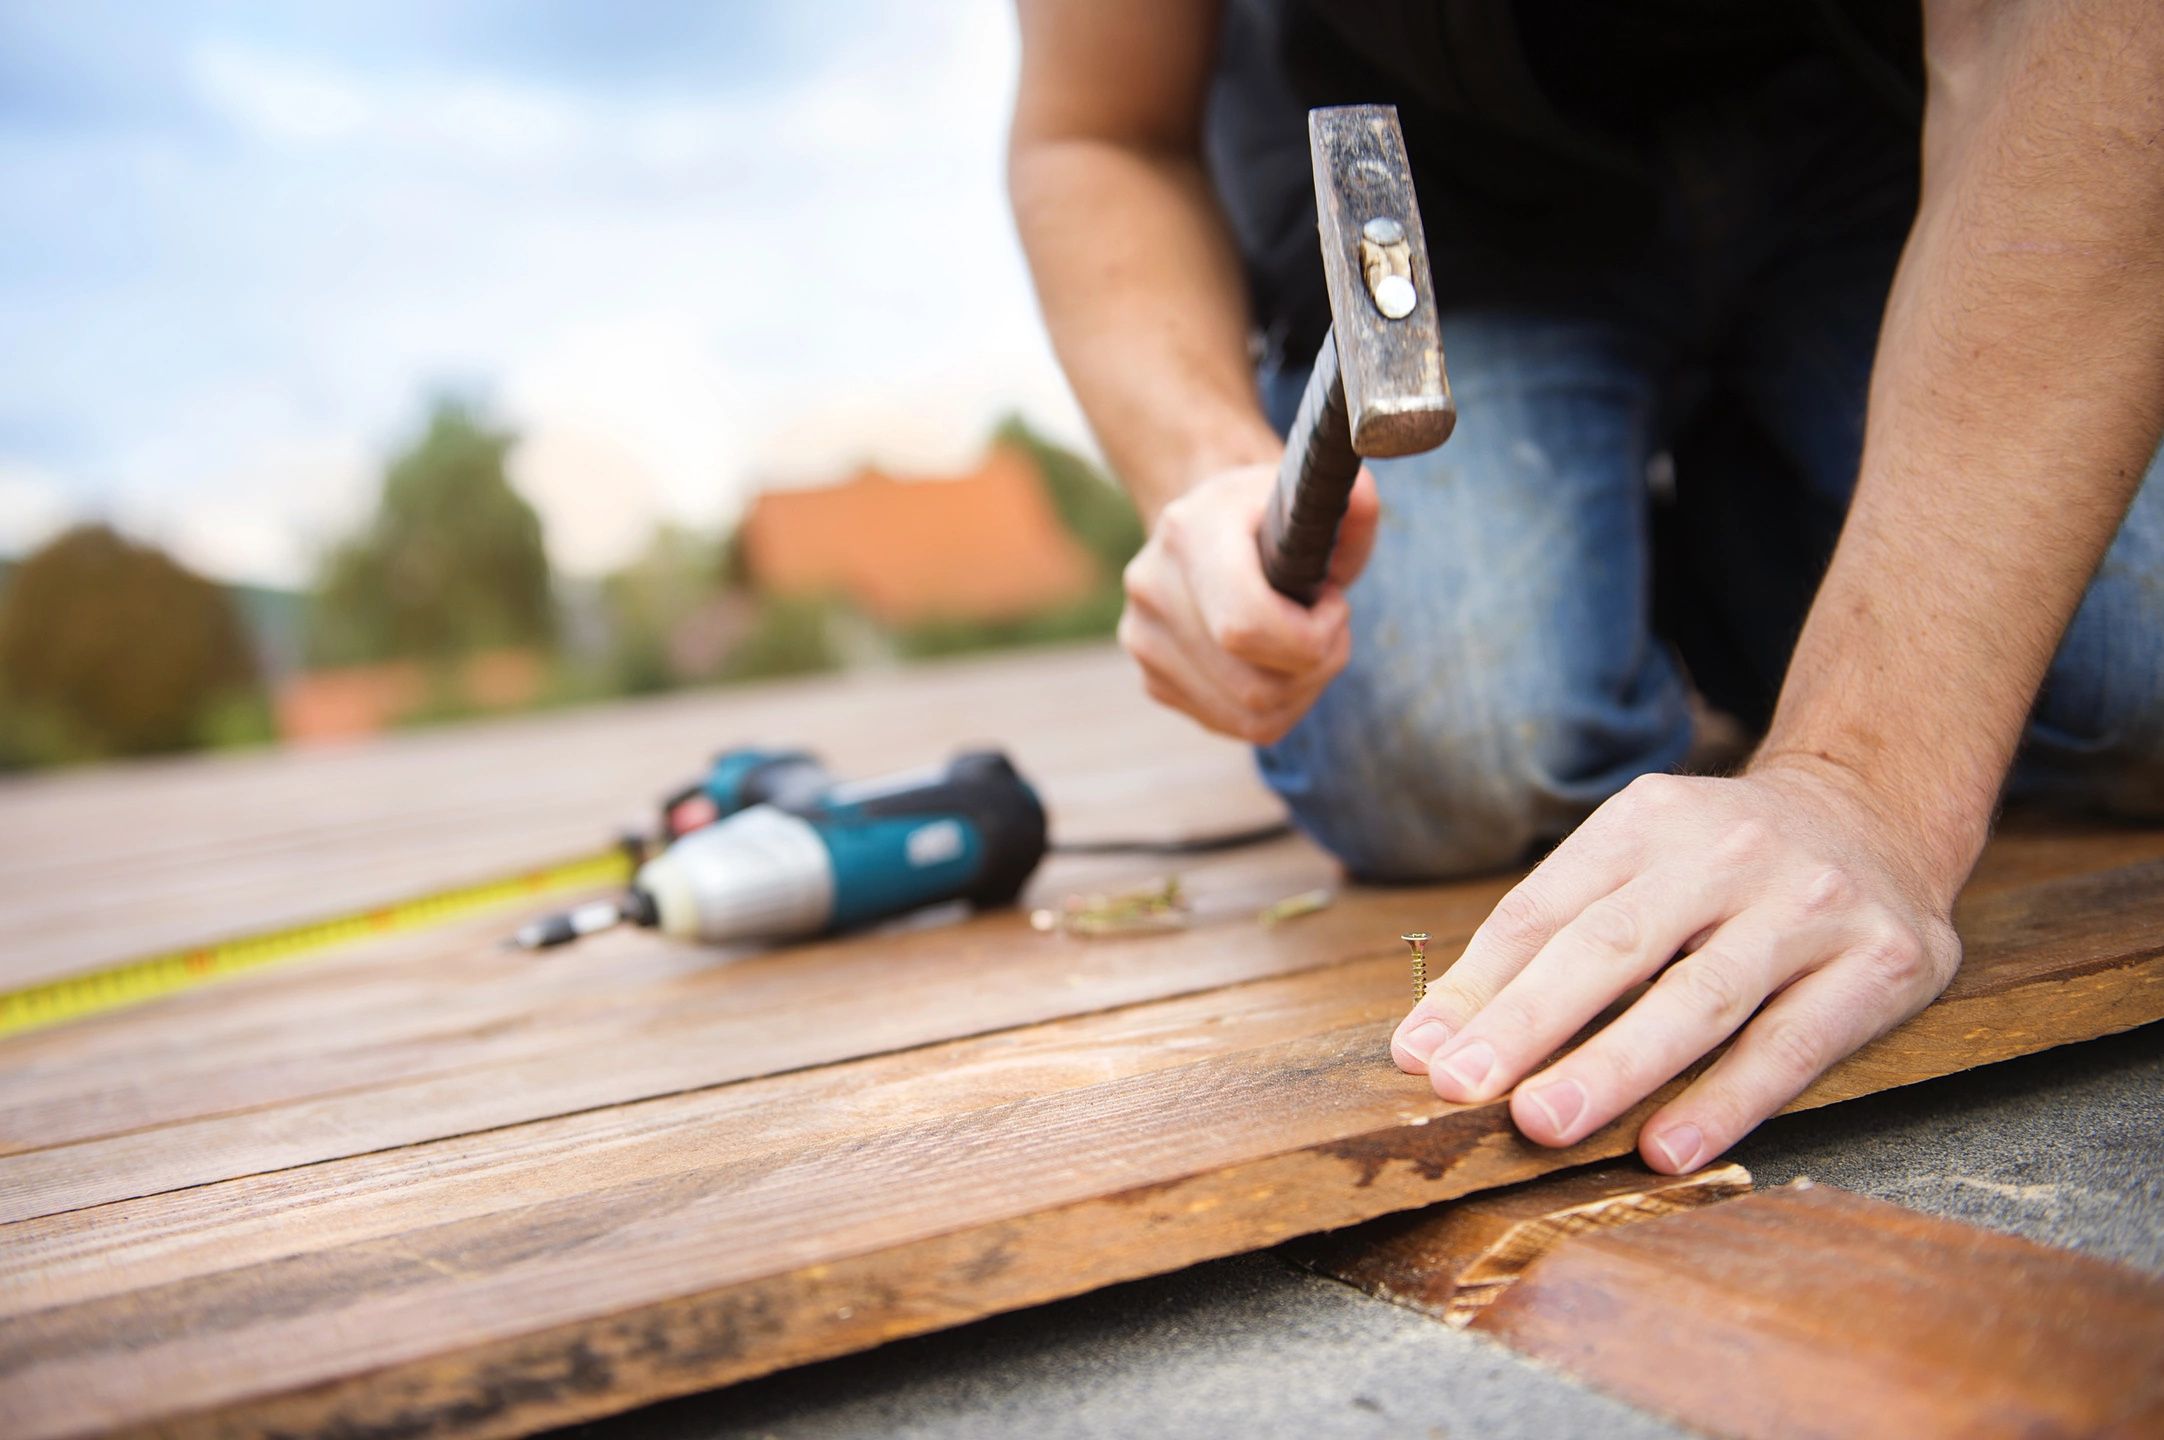
- Use Roofing Nails: Secure the edges and corners of the felt by hammering roofing nails into place. Place the nails at regular intervals, approximately 6 inches apart, to create a secure and uniform attachment.
- Apply Roofing Adhesive: For added reinforcement, apply roofing adhesive along the edges and seams of the felt. This adhesive creates a strong bond between the felt and the roof, enhancing its resistance to wind and moisture.
- Utilize a Staple Gun: In areas where roofing nails may not be suitable, such as along the ridgeline or in tight spaces, use a staple gun to secure the felt. This versatile tool provides a reliable method for securing the felt in challenging areas.
- Trim Excess Felt: Once the felt is securely attached to the roof, use a utility knife to trim any excess material along the edges. This step creates a clean and polished appearance while ensuring that the felt remains securely in place.
By diligently securing the roofing felt using these methods, you fortify your shed roof against the elements, ensuring that it remains resilient and protective for years to come. With the felt securely in place, the final touches will add the finishing flourish to your shed roofing project.
Read more: How To Roof A Flat Roof Shed
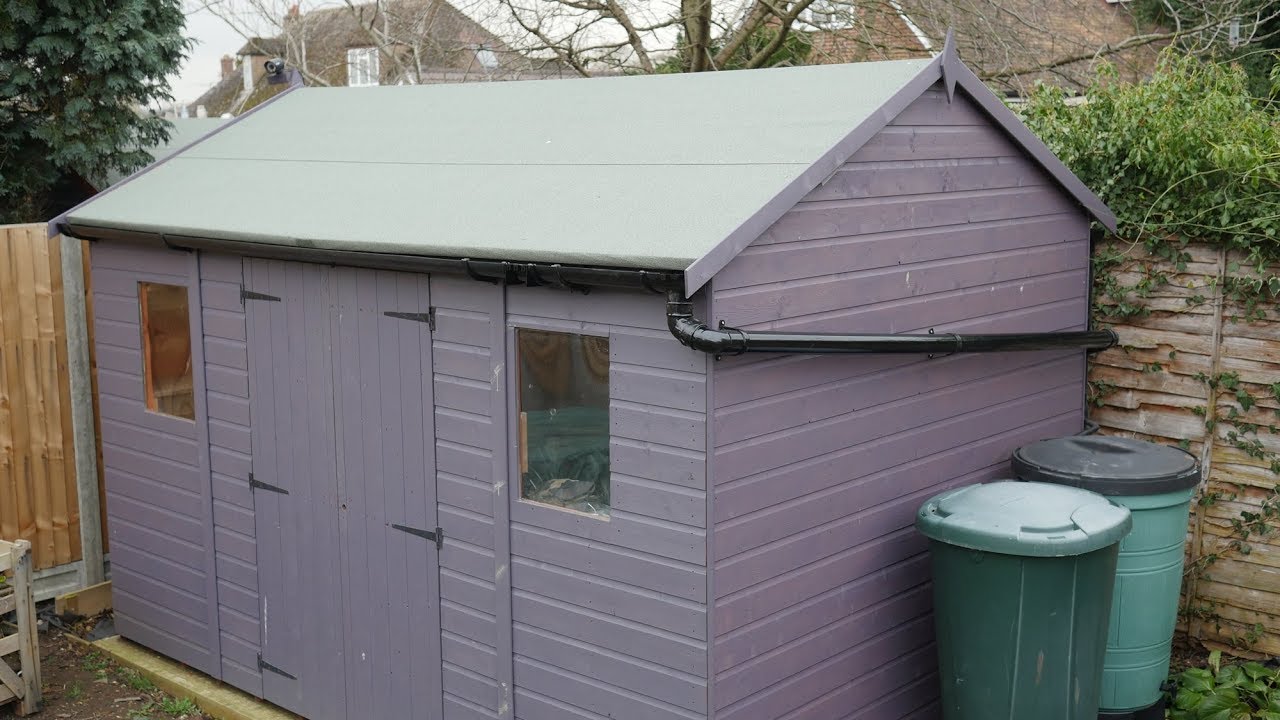
Final Touches
With the roofing felt securely in place, it’s time to add the final touches to complete the shed roofing project. These finishing touches not only enhance the functionality of the roof but also contribute to its overall aesthetic appeal. Here’s how to add the final touches to your shed roof:
- Inspect for Imperfections: Take a moment to inspect the entire roof, ensuring that the felt is smooth, secure, and free from any visible imperfections. Address any areas that may require additional attention to achieve a flawless finish.
- Check for Proper Drainage: Verify that the shed roof maintains proper drainage to prevent water accumulation. Clear any debris from gutters or drainage channels to ensure unobstructed water flow.
- Consider Roof Sealant: To further enhance the waterproofing capabilities of the shed roof, consider applying a high-quality roof sealant. This additional layer of protection can safeguard the felt and prolong the lifespan of the roof.
- Enhance Aesthetic Appeal: If desired, consider adding decorative elements or trim to the shed roof to elevate its visual appeal. This could include fascia boards, decorative edging, or paint to complement the overall design of your outdoor space.
- Celebrate Your Achievement: Step back and admire your handiwork! Take pride in the completion of your shed roofing project, knowing that you’ve enhanced the functionality and durability of your outdoor structure.
By attending to these final touches, you elevate the shed roofing project from functional necessity to a visually appealing and reliable asset for your outdoor space. With the roofing felt expertly applied and the finishing touches in place, your shed is now equipped to weather the elements with confidence and style.
Frequently Asked Questions about How To Put Felt On A Shed Roof
Was this page helpful?
At Storables.com, we guarantee accurate and reliable information. Our content, validated by Expert Board Contributors, is crafted following stringent Editorial Policies. We're committed to providing you with well-researched, expert-backed insights for all your informational needs.


0 thoughts on “How To Put Felt On A Shed Roof”