Home>Renovation & DIY>Tools & Equipment>How To Spackle Before Painting
Tools & Equipment
How To Spackle Before Painting
Published: December 19, 2023
Learn the essential tools and equipment needed for spackling before painting. Discover the best techniques and tips to achieve a flawless finish.
(Many of the links in this article redirect to a specific reviewed product. Your purchase of these products through affiliate links helps to generate commission for Storables.com, at no extra cost. Learn more)
Introduction
So, you're ready to give your walls a fresh coat of paint, but before you break out the brushes and rollers, it's important to ensure that the surface is smooth and flawless. This is where spackling comes into play. Whether you're dealing with small dents, nail holes, or other imperfections, spackling is a crucial step in achieving a professional-looking paint job. In this guide, we'll delve into the ins and outs of spackling before painting, covering everything from understanding the spackling process to the final brushstroke of paint.
Spackling is a versatile material that fills in gaps and holes in walls, creating a seamless surface for painting. It's a vital component of the pre-painting process, as it ensures that the finished result is free of blemishes and imperfections. By mastering the art of spackling, you can elevate the overall aesthetic of your walls and achieve a polished, professional appearance.
In the following sections, we'll explore the fundamentals of spackling, including how to prepare the surface, apply the spackle, sand and smooth the area, prime the surface, and, finally, apply the paint. By the time you've finished reading this guide, you'll have the knowledge and confidence to tackle your painting project with finesse.
Let's dive into the world of spackling and discover the transformative impact it can have on your painting endeavors.
Key Takeaways:
- Master the art of spackling to achieve flawless walls before painting. Understand spackling properties, prepare the surface, apply spackle, sand, prime, and paint for a professional finish.
- Spackling is the secret to flawless walls. Prepare, apply, sand, prime, and paint with care for a stunning result.
Understanding Spackling
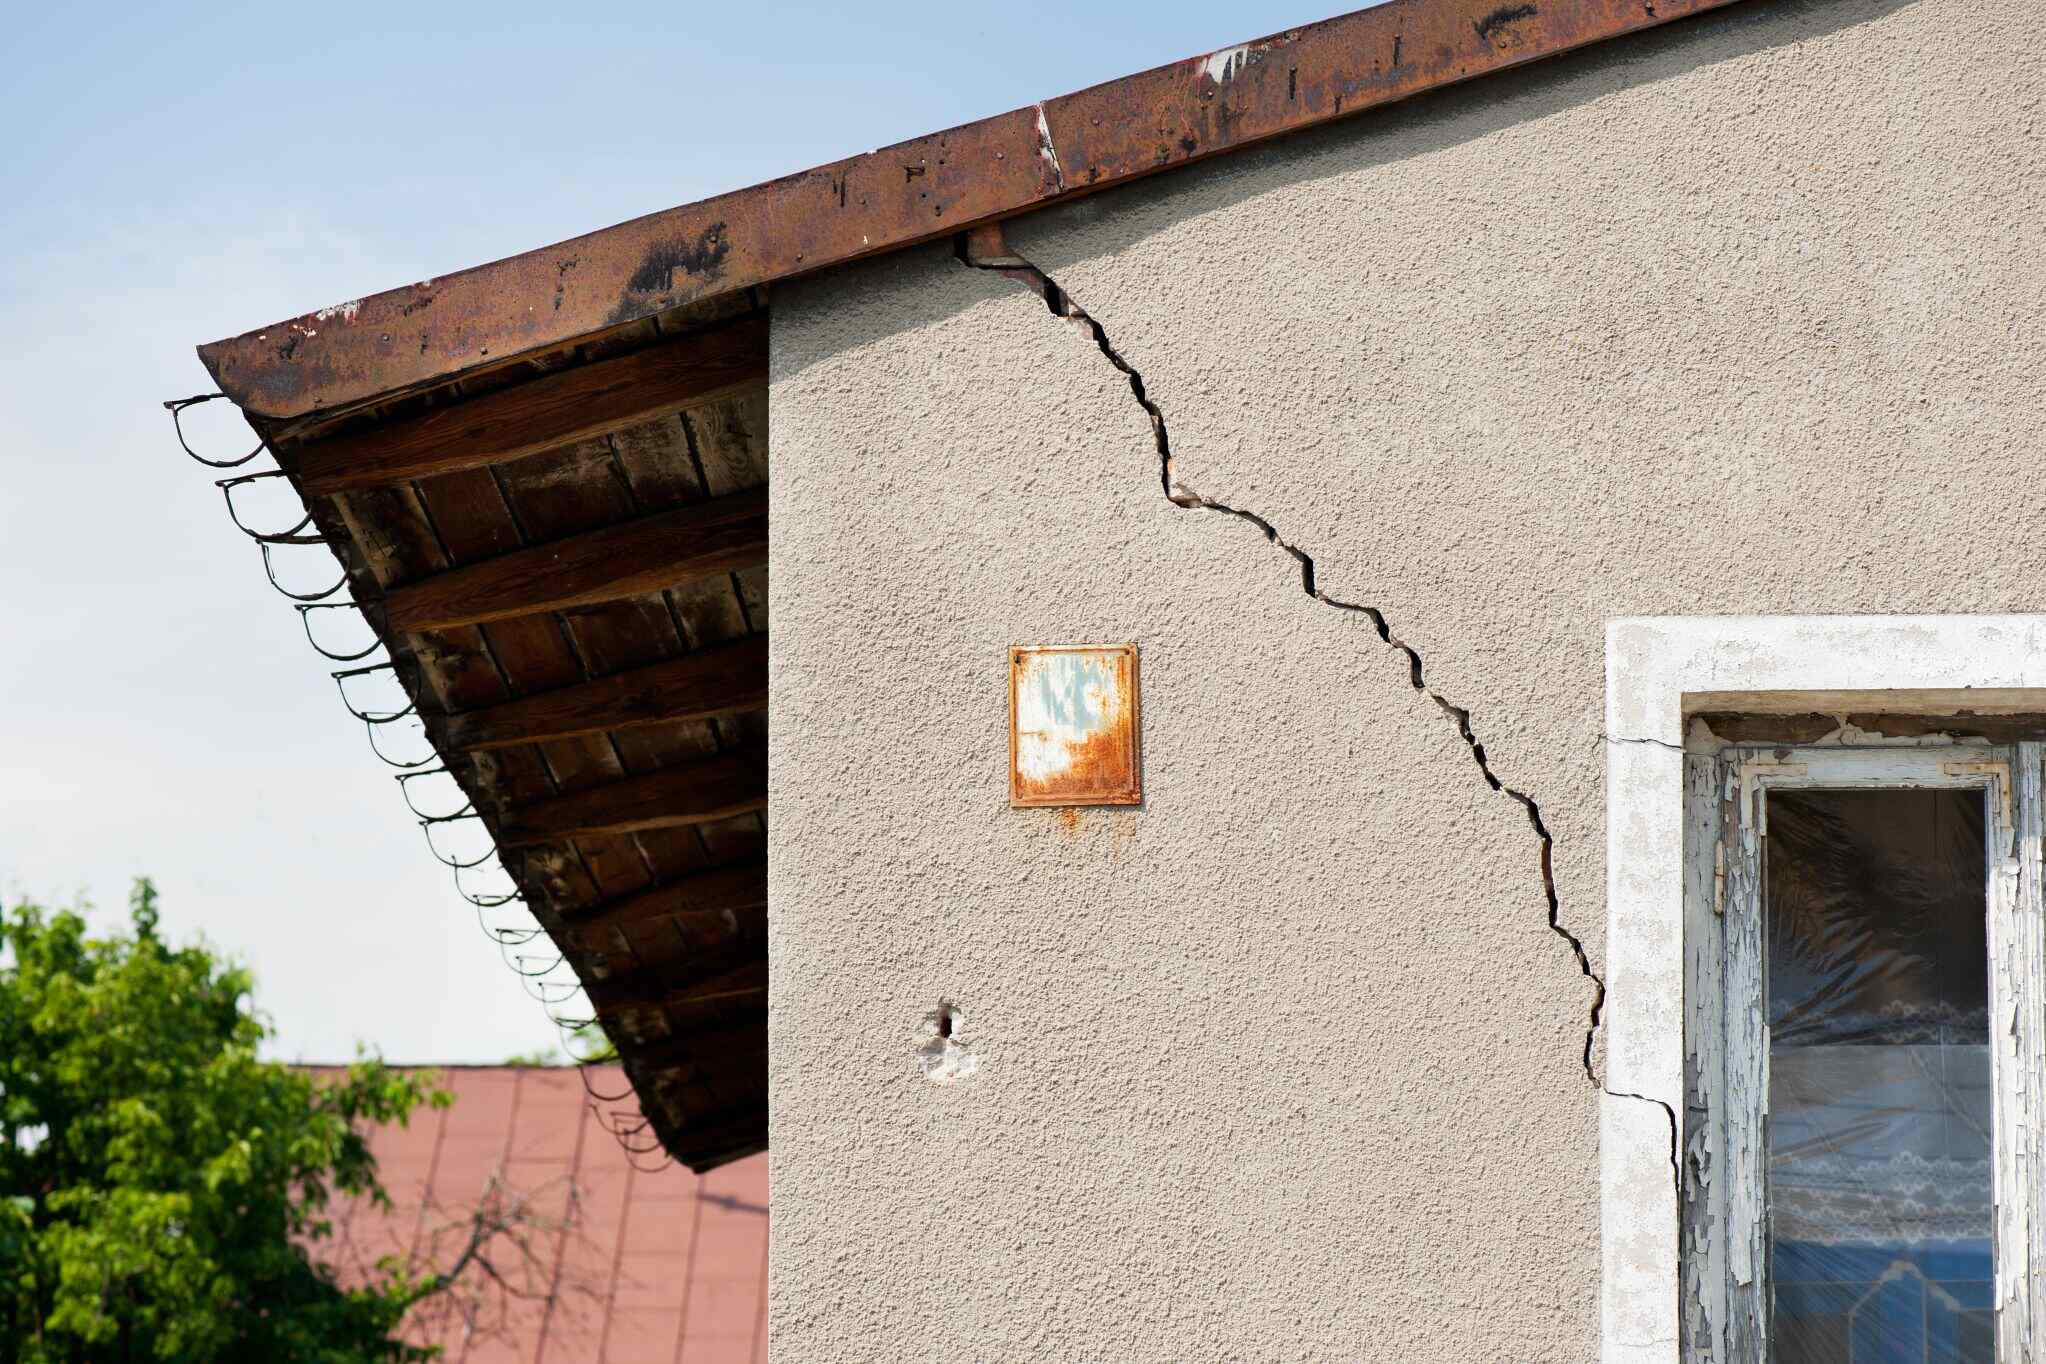
Before diving into the spackling process, it's essential to understand the nature of this versatile material. Spackling, also known as filler or compound, is a paste-like substance used to fill in small holes, cracks, and other imperfections in walls and ceilings. It is typically composed of gypsum, calcium carbonate, and talc, creating a smooth and easy-to-apply texture.
One of the primary advantages of spackling is its quick drying time, allowing for efficient progress during the pre-painting phase. Additionally, spackling comes in various forms, including lightweight and heavyweight compounds, each tailored to specific types of repairs. Lightweight spackling is ideal for smaller repairs, such as nail holes and minor cracks, while heavyweight spackling is better suited for larger imperfections and repairs.
When selecting a spackling product, it's important to consider the specific needs of your project. Some spackling compounds are designed for interior use only, while others are suitable for both interior and exterior applications. Additionally, certain formulations are engineered to resist shrinking and cracking, ensuring long-lasting durability.
Understanding the characteristics and variations of spackling products empowers you to make informed decisions when choosing the right material for your painting project. By selecting the appropriate spackling compound and familiarizing yourself with its properties, you can set the stage for a seamless and successful spackling experience.
Now that we've established a foundational understanding of spackling, let's move on to the crucial step of preparing the surface for spackling.
Preparing the Surface
Before diving into the spackling process, it’s crucial to prepare the surface to ensure optimal adhesion and a flawless finish. Start by gathering the necessary tools and materials, including a putty knife, sandpaper, a clean cloth, and, of course, the spackling compound. Additionally, remove any dust, debris, or loose particles from the area to be repaired, as these can hinder the spackling process.
Inspect the surface for any protruding nails, screws, or other hardware that may need to be addressed before spackling. Use a hammer or screwdriver to secure any loose elements and ensure that the surface is smooth and even. If there are any large holes or gaps, consider using a mesh patch or tape to reinforce the area before applying the spackling compound.
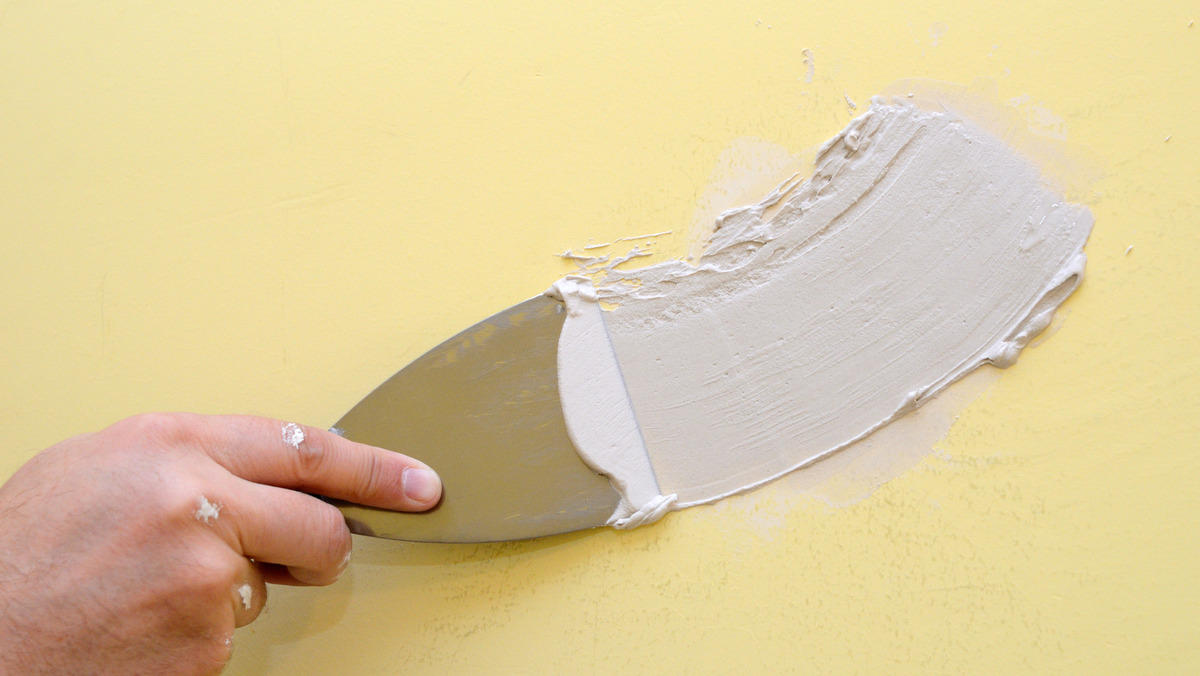
Once the surface is free of obstructions and adequately prepped, it’s time to apply the spackling compound. Using a putty knife, scoop a small amount of spackling onto the blade and apply it to the imperfection in a smooth, even motion. Be sure to fill the hole or crack completely, slightly overfilling it to allow for shrinkage as the spackling dries.
After applying the spackling, use the putty knife to remove any excess compound, ensuring that the repaired area is flush with the surrounding surface. This step is crucial for achieving a seamless finish and minimizing the amount of sanding required later on.
Once the spackling is applied and excess compound is removed, allow it to dry completely according to the manufacturer’s instructions. This typically ranges from a few hours to overnight, depending on the type and thickness of the spackling compound. Once the spackling is dry, it’s time to move on to the next phase: sanding and smoothing the repaired area.
With the surface prepared and the spackling applied, you’re well on your way to achieving a flawless foundation for your upcoming paint job. The careful preparation of the surface sets the stage for a professional and long-lasting finish, ensuring that your efforts yield stunning results.
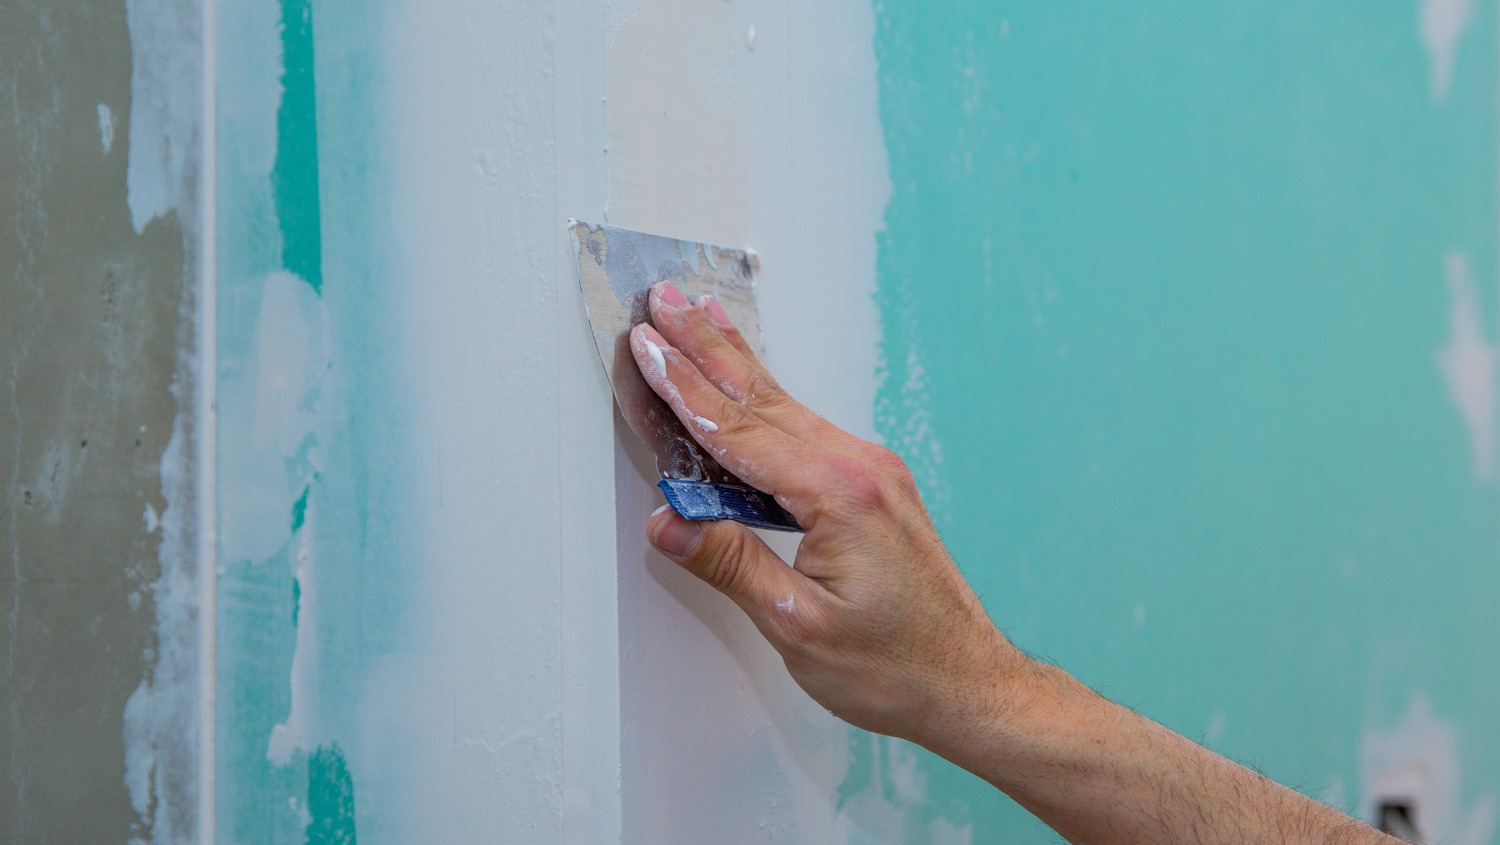
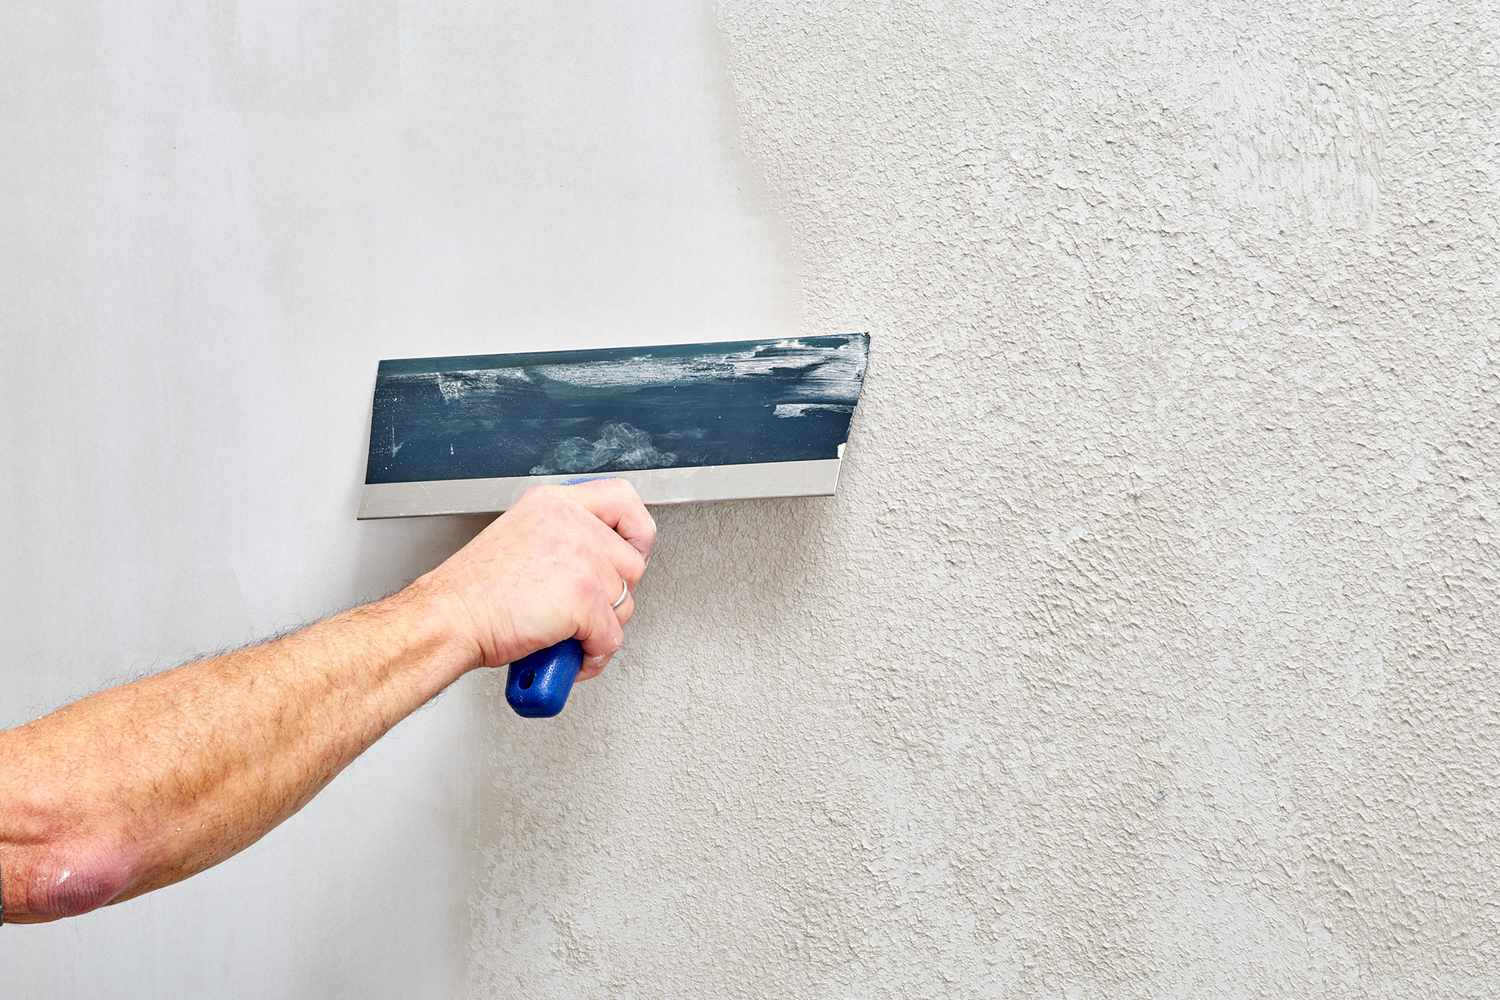
Applying the Spackle
With the surface prepared and the spackling compound at the ready, it’s time to delve into the process of applying the spackle. This step is where the magic happens, as you fill in imperfections and create a seamless canvas for your paint.
Using a putty knife, scoop a small amount of spackling compound onto the blade. If you’re working with a larger imperfection, such as a hole or gap, consider using a slightly larger amount of spackle to ensure thorough coverage. The goal is to completely fill the imperfection with spackling, leaving a slightly raised surface to account for shrinkage as the compound dries.
When applying the spackle, use smooth and even strokes to ensure uniform coverage and a seamless finish. Work the spackling compound into the imperfection, taking care to fill it completely without leaving any voids or air pockets. If you’re working with multiple imperfections, repeat the process for each area, ensuring that the spackle is applied with precision and thoroughness.
After applying the spackling compound, it’s important to remove any excess material to achieve a flush and even surface. Use the putty knife to carefully scrape away any surplus spackle, smoothing the repaired area and blending it with the surrounding surface. This meticulous step is essential for achieving a flawless foundation for your paint job.
As you work through the process of applying the spackle, take your time and pay attention to detail. Ensuring that each imperfection is thoroughly filled and the surface is smooth and even sets the stage for a professional-quality paint job. Once the spackle is applied, it’s time to allow it to dry completely before moving on to the next phase: sanding and smoothing the repaired areas.
By mastering the art of applying spackle, you’re taking a significant step toward transforming your walls and achieving a polished, flawless finish. The precision and care you put into this phase will be reflected in the final result, elevating the overall aesthetic of your space.
Before painting, make sure to spackle any holes or cracks in the wall. Use a putty knife to apply the spackle, then smooth it out. Let it dry, then sand it down before painting for a smooth finish.
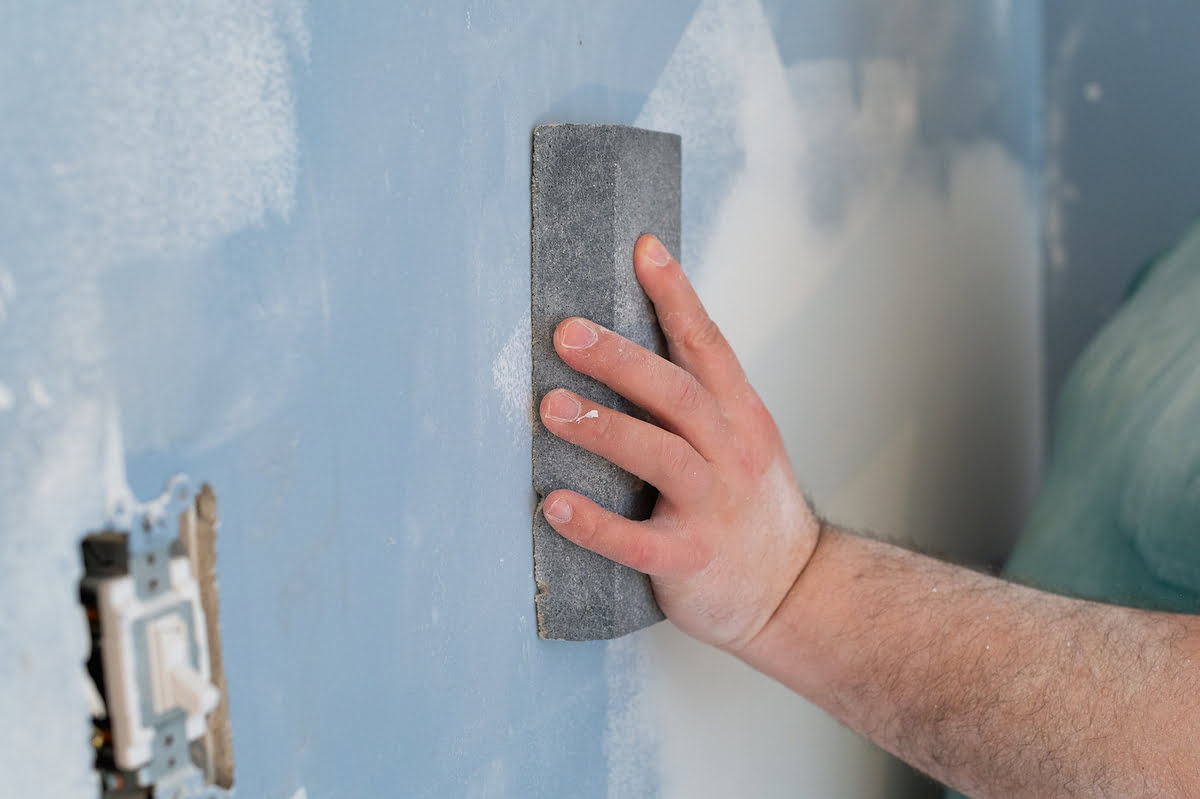
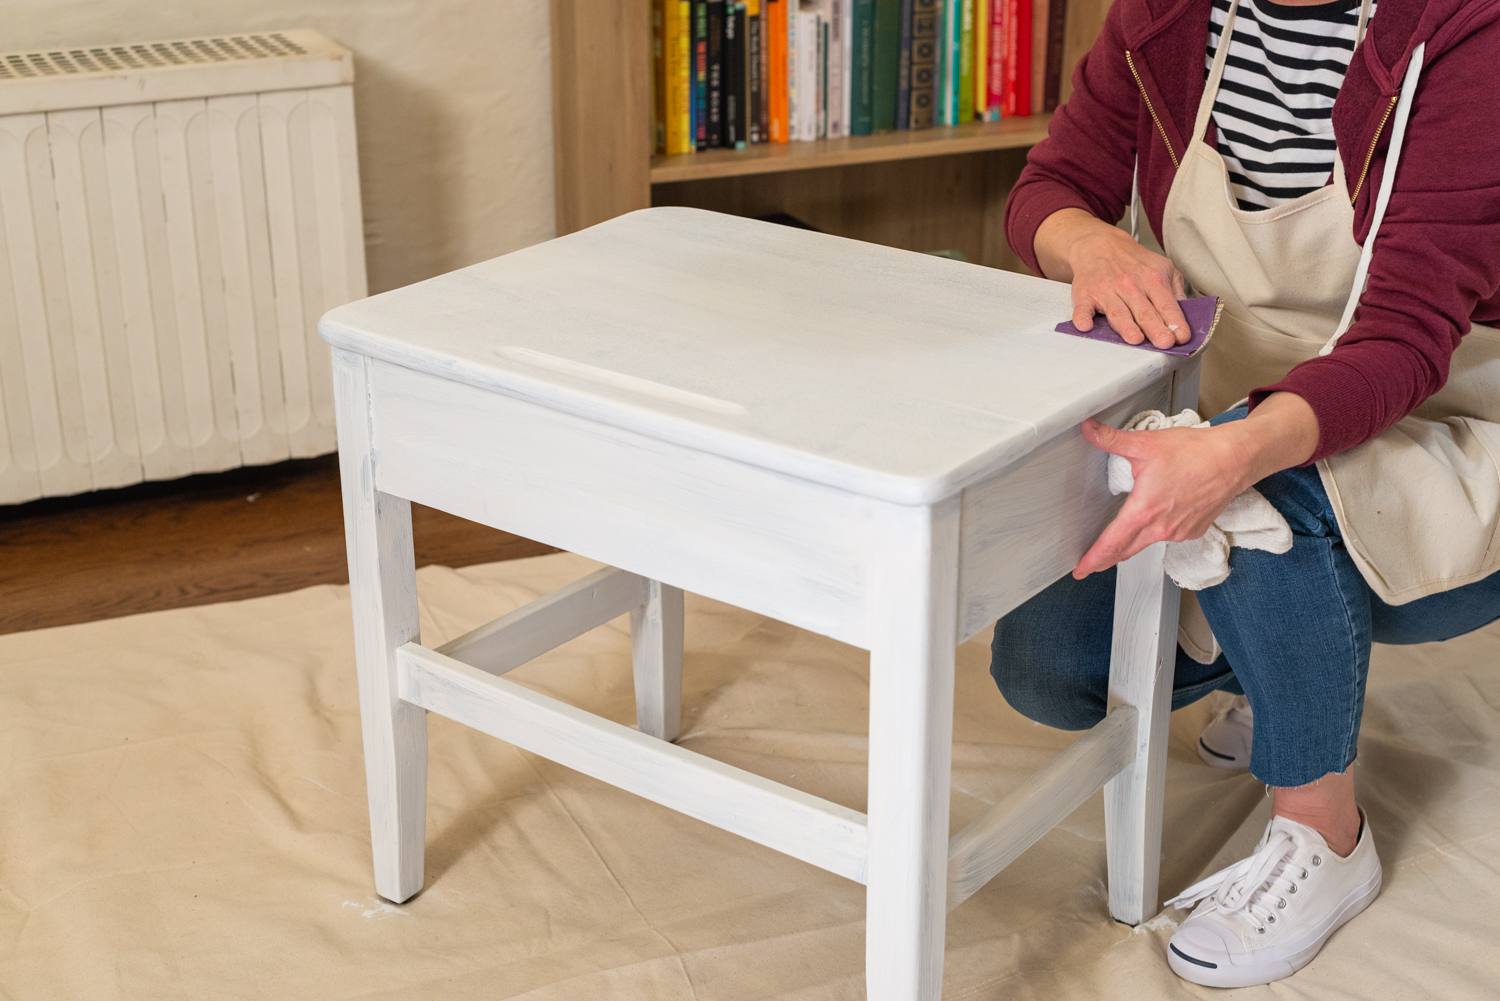
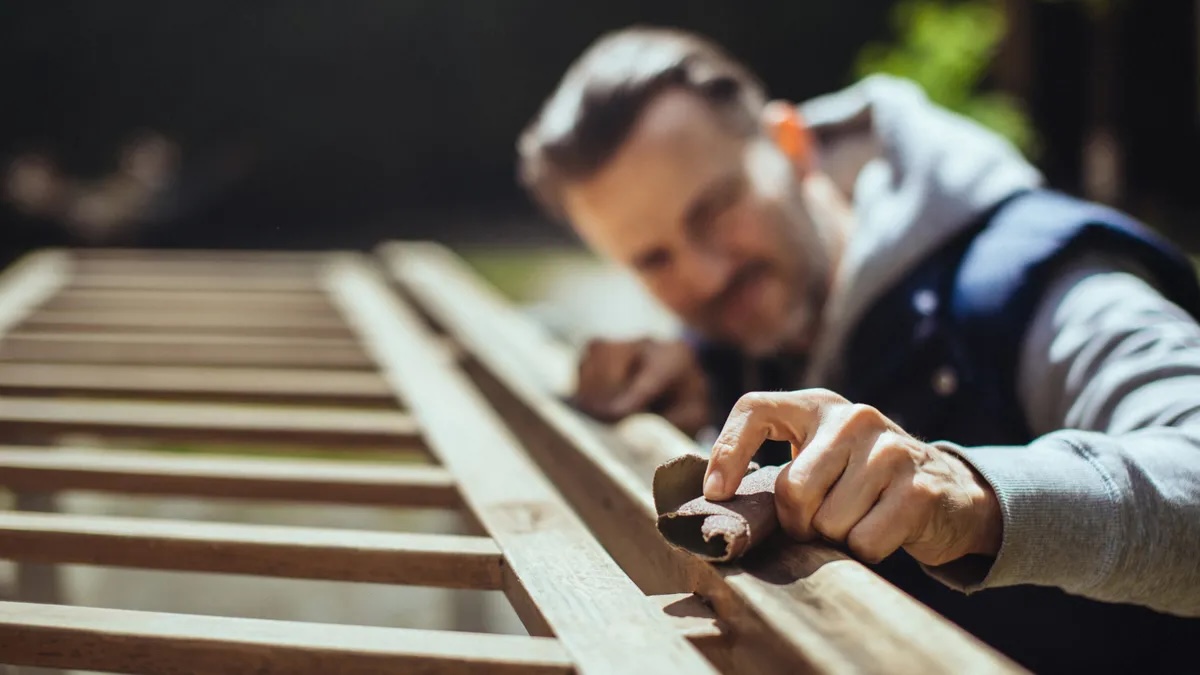
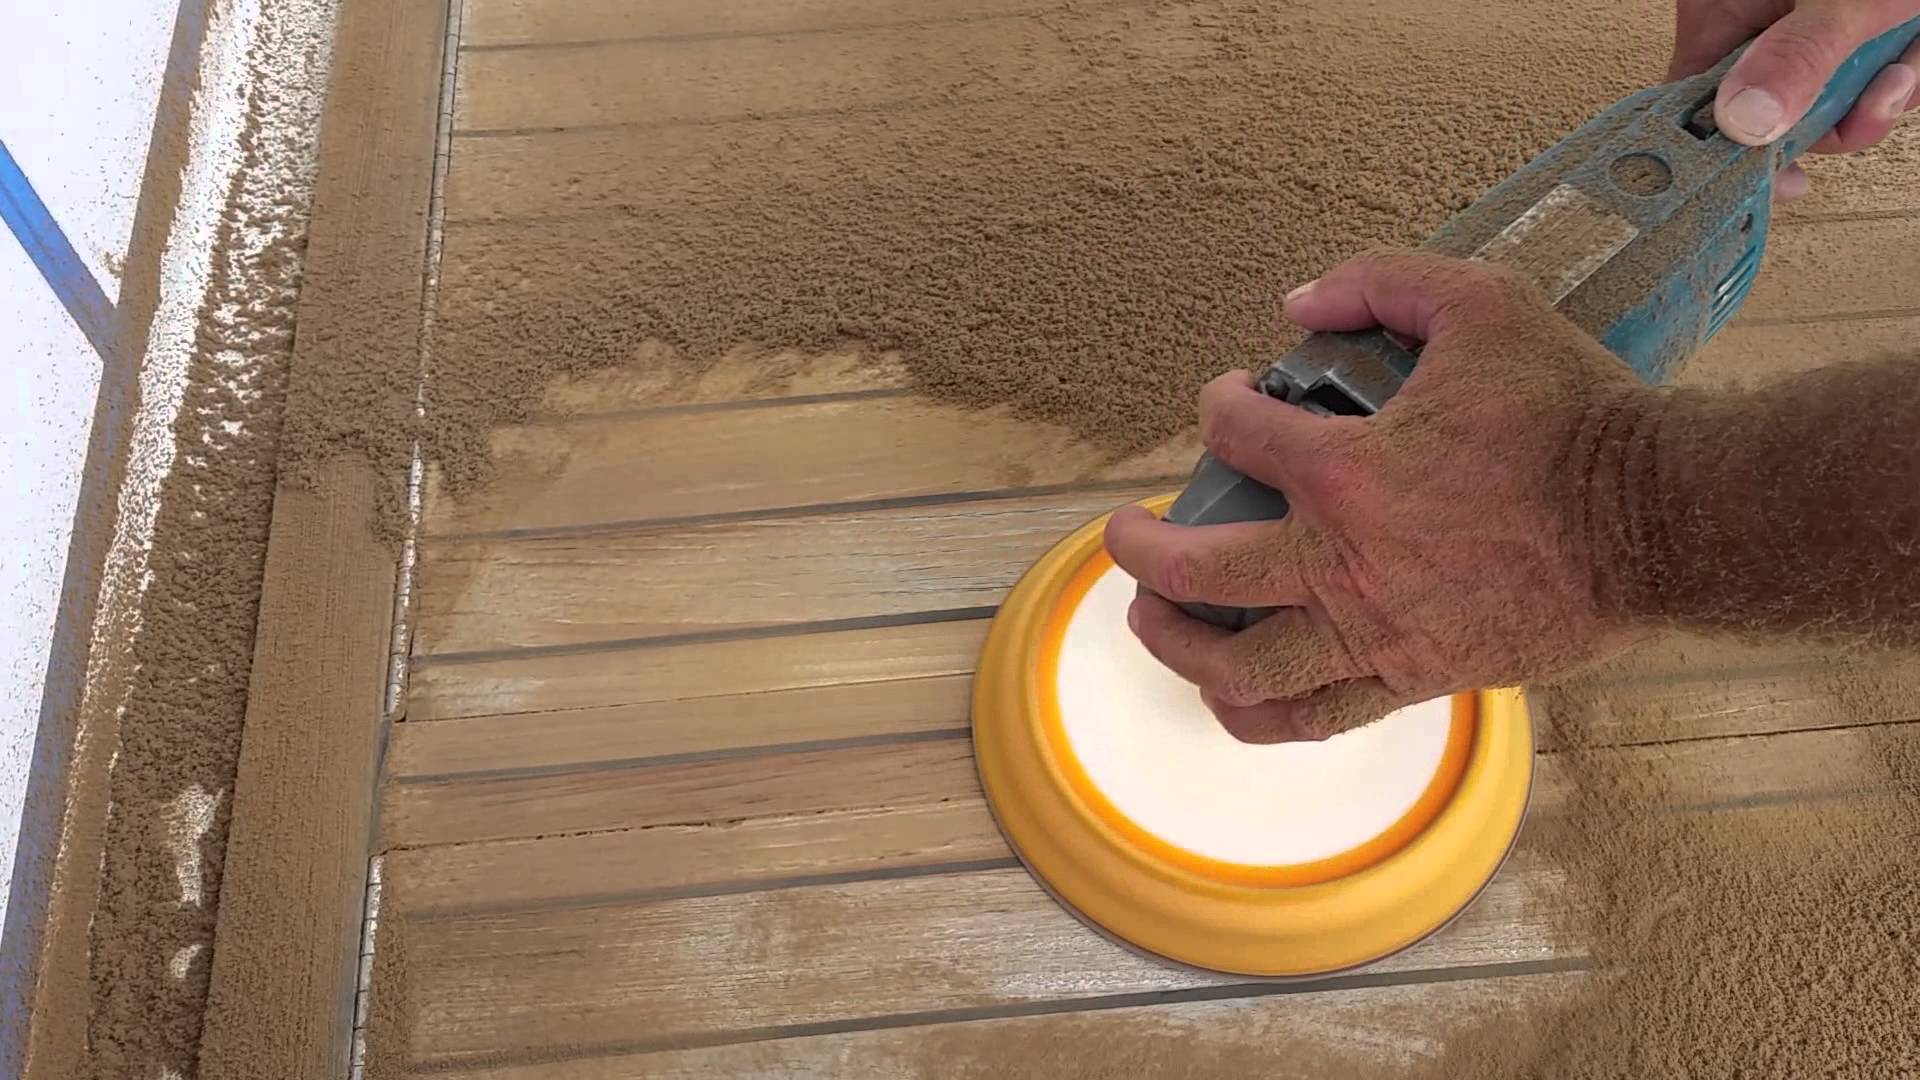
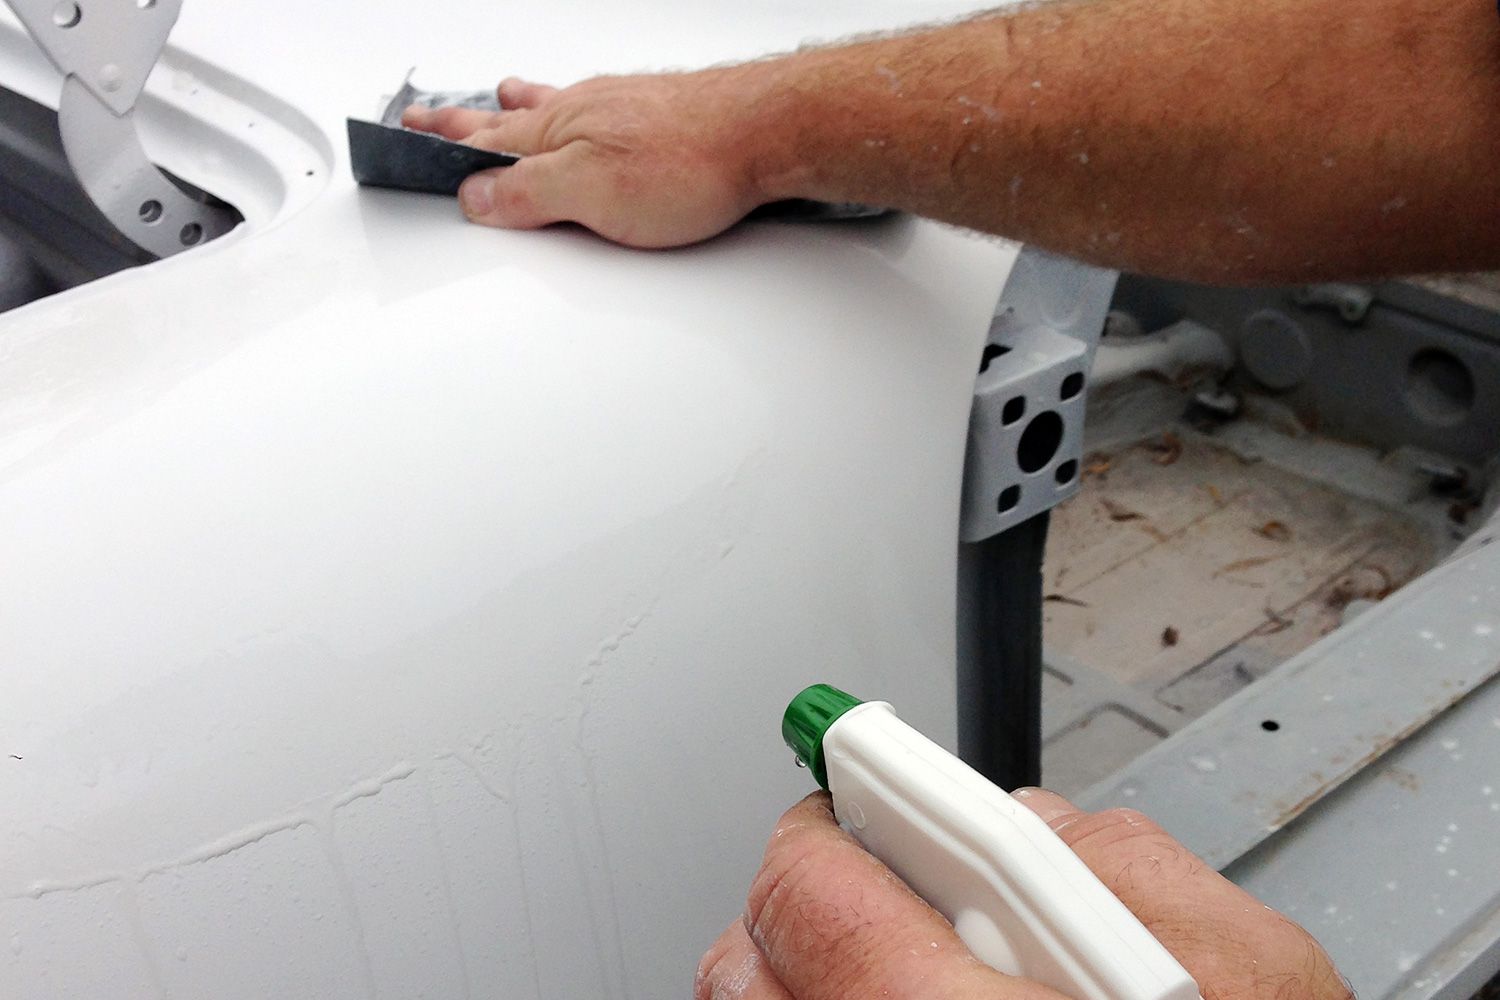
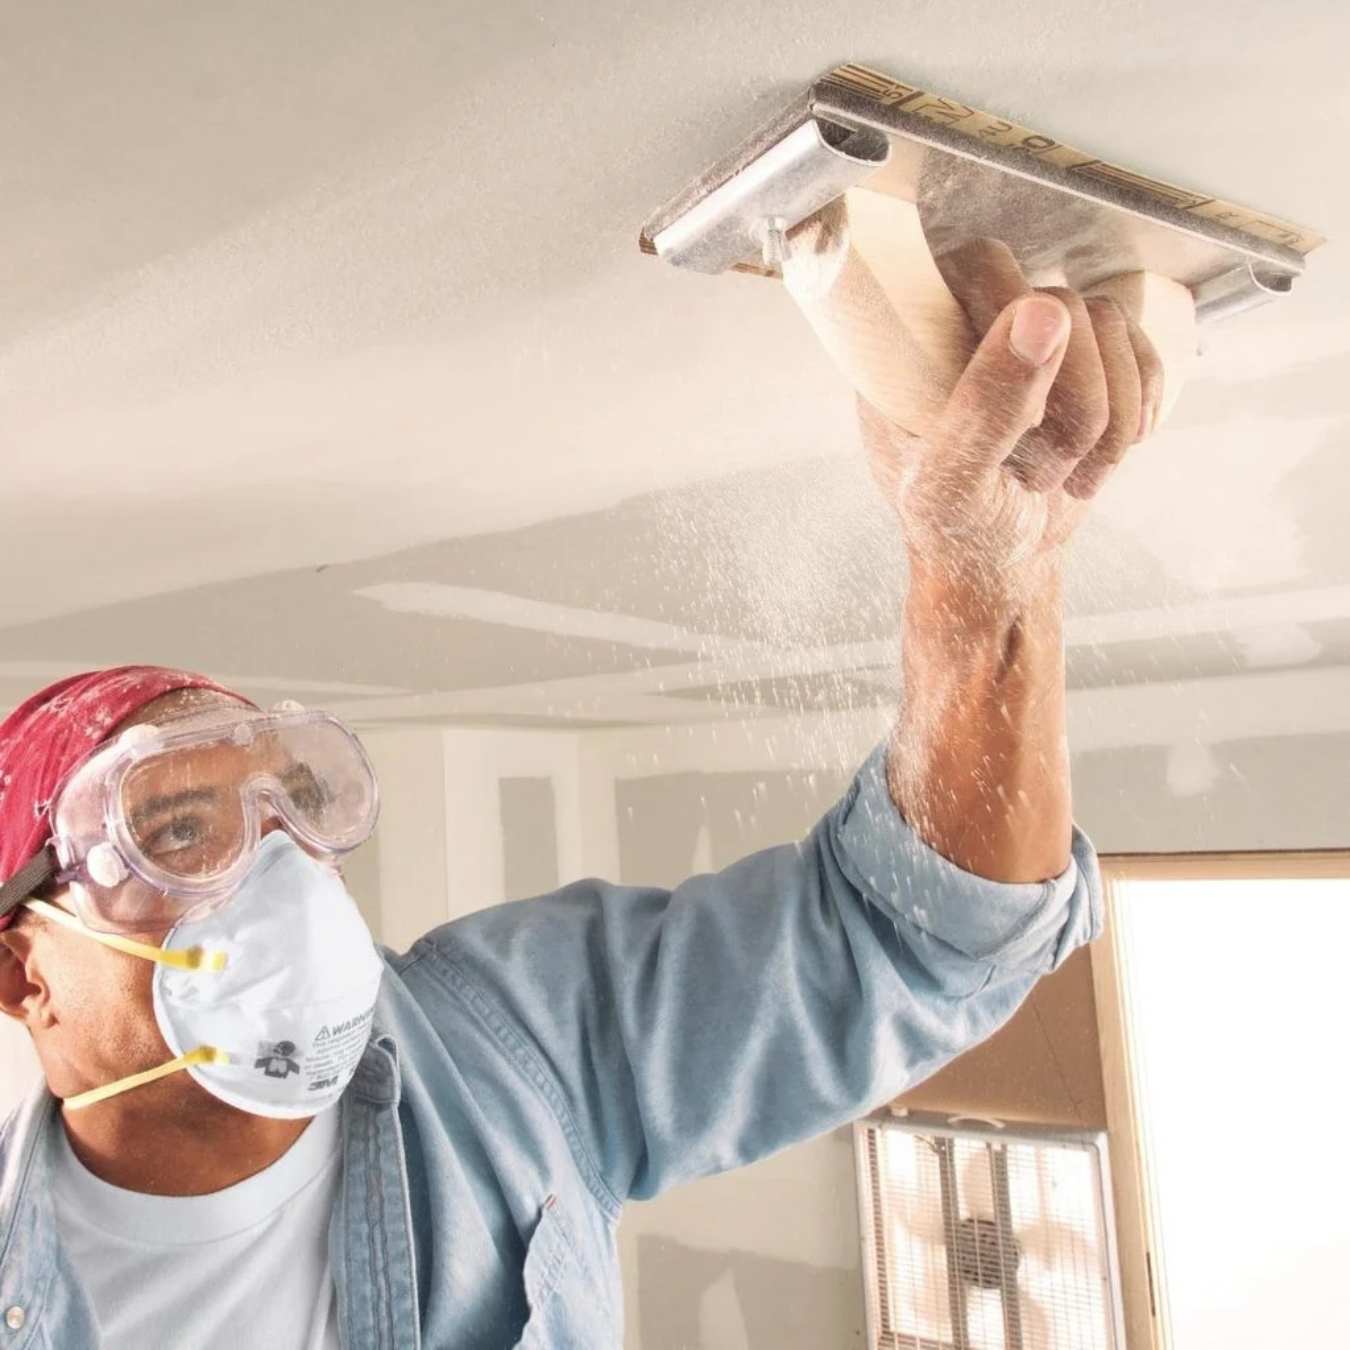
Sanding and Smoothing
Once the spackling compound has dried completely, it’s time to transition to the crucial step of sanding and smoothing the repaired areas. This phase plays a pivotal role in achieving a seamless and flawless surface, preparing it for the application of primer and paint.
Begin by inspecting the repaired areas to ensure that the spackling compound has dried thoroughly. Use your fingertips to gently press on the repaired spots, verifying that they are firm and no longer soft or pliable. Once you’ve confirmed that the spackle is dry, it’s time to gather your sandpaper and a clean cloth to commence the sanding process.
When selecting sandpaper, opt for a fine-grit variety, such as 120-grit or higher, to achieve smooth and even results. Gently sand the repaired areas in a circular or back-and-forth motion, gradually smoothing out the spackling compound until it blends seamlessly with the surrounding surface. Take care to sand lightly and evenly, avoiding excessive pressure that could damage the repaired areas or surrounding paint.
As you sand the repaired spots, periodically wipe away the dust and debris with a clean cloth to assess your progress. This allows you to monitor the smoothness of the surface and identify any remaining imperfections that may require additional attention. Continue sanding and inspecting the areas until they are uniformly smooth and level with the surrounding surface.
After completing the sanding process, take a step back and visually inspect the repaired areas to ensure that they meet your standards for a flawless finish. Run your hand over the sanded spots to confirm that they are smooth and free of any noticeable irregularities. If necessary, touch up any areas that require further attention before proceeding to the next phase: priming the surface.
By meticulously sanding and smoothing the repaired areas, you are refining the foundation for your paint job and ensuring that the surface is impeccably prepared for the next steps. This attention to detail sets the stage for a professional-quality finish, allowing your paint to adhere seamlessly and create a stunning visual impact.
Read more: How To Cover A Spackle With Paint
Priming the Surface
As you approach the final preparatory phase before painting, priming the surface is a critical step that enhances the adhesion of the paint and promotes a uniform finish. Primer serves as a foundation for the paint, creating an ideal surface for the paint to adhere to while also concealing any repairs and ensuring consistent color and sheen.
Before applying the primer, ensure that the sanded and smoothed areas are free of dust and debris. Wipe the surface with a clean, damp cloth to remove any residual particles, allowing the primer to adhere effectively and create a seamless base for the paint.
When selecting a primer, consider the specific needs of your project. If you’ve made repairs to drywall, a high-quality drywall primer is recommended to seal the repaired areas and create a uniform surface. Additionally, if you’re transitioning from a dark to a light paint color, or vice versa, a tinted primer can help enhance the coverage and uniformity of the final paint color.
Using a high-quality paintbrush or roller, apply the primer evenly to the repaired areas and surrounding surfaces. Take care to blend the primer seamlessly with the existing paint, ensuring that the transition is smooth and imperceptible. Allow the primer to dry completely according to the manufacturer’s instructions, typically ranging from 1 to 24 hours depending on the type of primer used.
After the primer has dried, visually inspect the surface to verify that it is uniformly coated and ready for the final phase: painting. Run your hand over the primed areas to confirm that they are smooth and free of any imperfections. If necessary, touch up any areas that require additional priming before proceeding to the highly anticipated stage of painting the surface.
By meticulously priming the surface, you are setting the stage for a flawless and enduring paint job. The primer not only enhances the adhesion and coverage of the paint but also conceals repairs and imperfections, ensuring a professional-quality finish that will elevate the aesthetic appeal of your space.
Painting the Surface
With the surface meticulously prepared and primed, it’s time to embark on the transformative and rewarding phase of painting. Whether you’re refreshing the existing color or embracing a new hue, painting the surface is the culmination of your efforts, bringing your vision to life and infusing the space with renewed vibrancy.
Before applying the paint, ensure that the primed surface is clean and free of any dust or debris. Use a clean, dry cloth to gently wipe the surface, preparing it for the application of paint. Additionally, gather the necessary painting supplies, including high-quality paint, brushes, rollers, and painter’s tape to protect trim and adjacent surfaces.
When selecting paint, consider the specific requirements of your project, such as the desired finish, color, and coverage. Opt for a high-quality paint that aligns with your aesthetic preferences and offers durability and longevity. If you’re transitioning to a new color, consider applying two coats of paint to achieve a consistent and rich hue.
Using a high-quality brush or roller, apply the paint evenly to the primed surface, working in smooth and deliberate strokes to ensure uniform coverage. Take care to blend the paint seamlessly with the existing surface, creating a flawless transition and a professional-quality finish. If you’re applying multiple coats of paint, allow each coat to dry completely before proceeding to the next, following the manufacturer’s recommended drying times.
As you progress through the painting process, step back periodically to assess your work and ensure that the coverage is even and the color is consistent. Pay attention to any areas that may require touch-ups or additional coats, addressing them promptly to achieve a cohesive and polished result.
Once the final coat of paint has been applied and has dried completely, remove any painter’s tape and inspect the surface to verify that it meets your standards for a flawless finish. Run your hand over the painted areas to confirm that they are smooth and free of imperfections, celebrating the culmination of your meticulous efforts.
By completing the painting phase with precision and care, you are bringing your vision to fruition and transforming the space with a fresh, vibrant aesthetic. The attention to detail and dedication you’ve invested in the painting process will be reflected in the stunning and enduring results, elevating the overall appeal of your environment.
Frequently Asked Questions about How To Spackle Before Painting
Was this page helpful?
At Storables.com, we guarantee accurate and reliable information. Our content, validated by Expert Board Contributors, is crafted following stringent Editorial Policies. We're committed to providing you with well-researched, expert-backed insights for all your informational needs.


0 thoughts on “How To Spackle Before Painting”