
Articles
How To Build Stairs Into A Hill
Modified: October 20, 2024
Learn how to build stairs into a hill with our comprehensive articles. Get step-by-step instructions and expert tips for a hassle-free project.
(Many of the links in this article redirect to a specific reviewed product. Your purchase of these products through affiliate links helps to generate commission for Storables.com, at no extra cost. Learn more)
Introduction
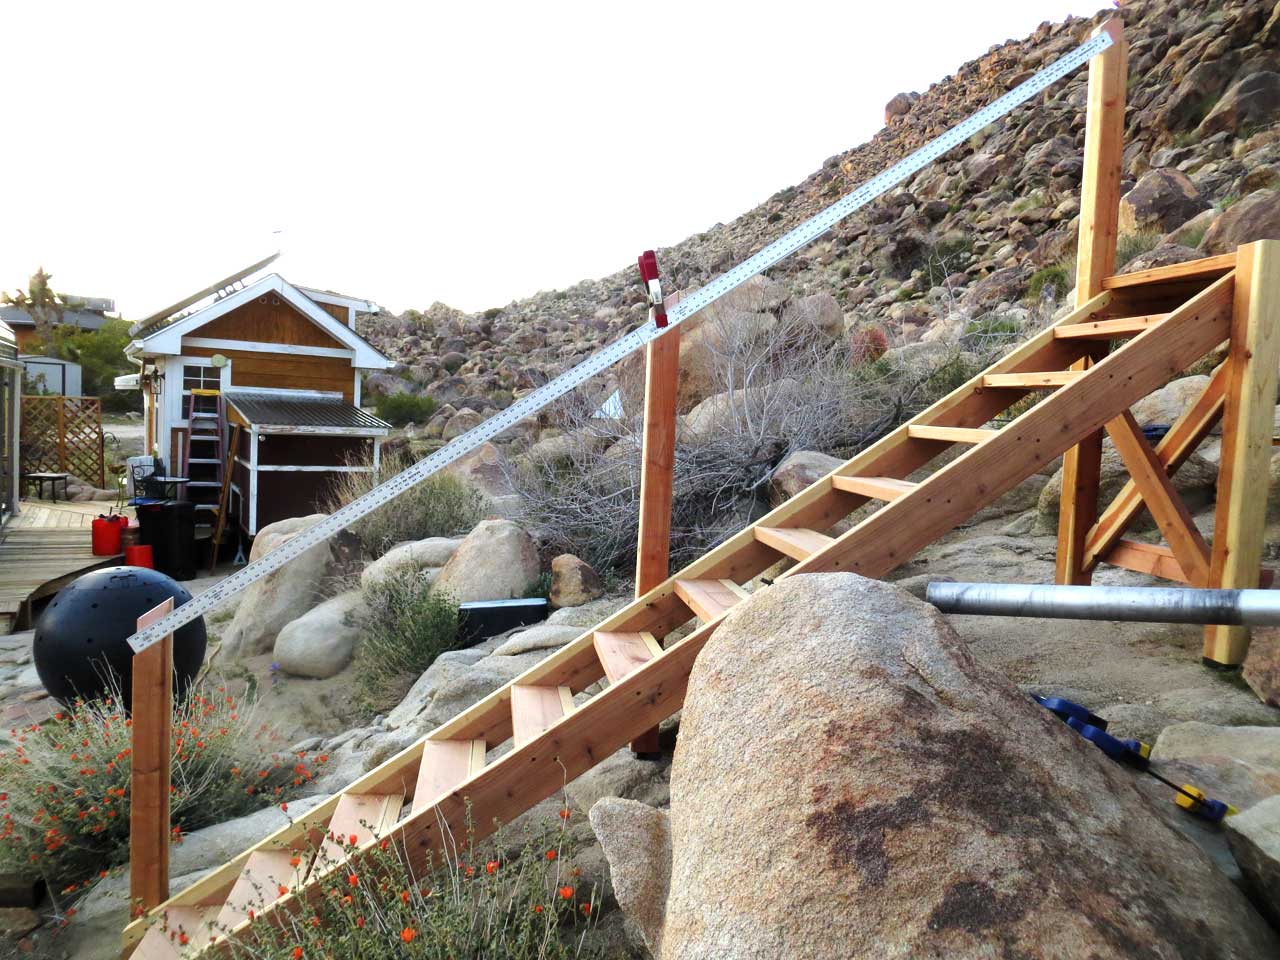
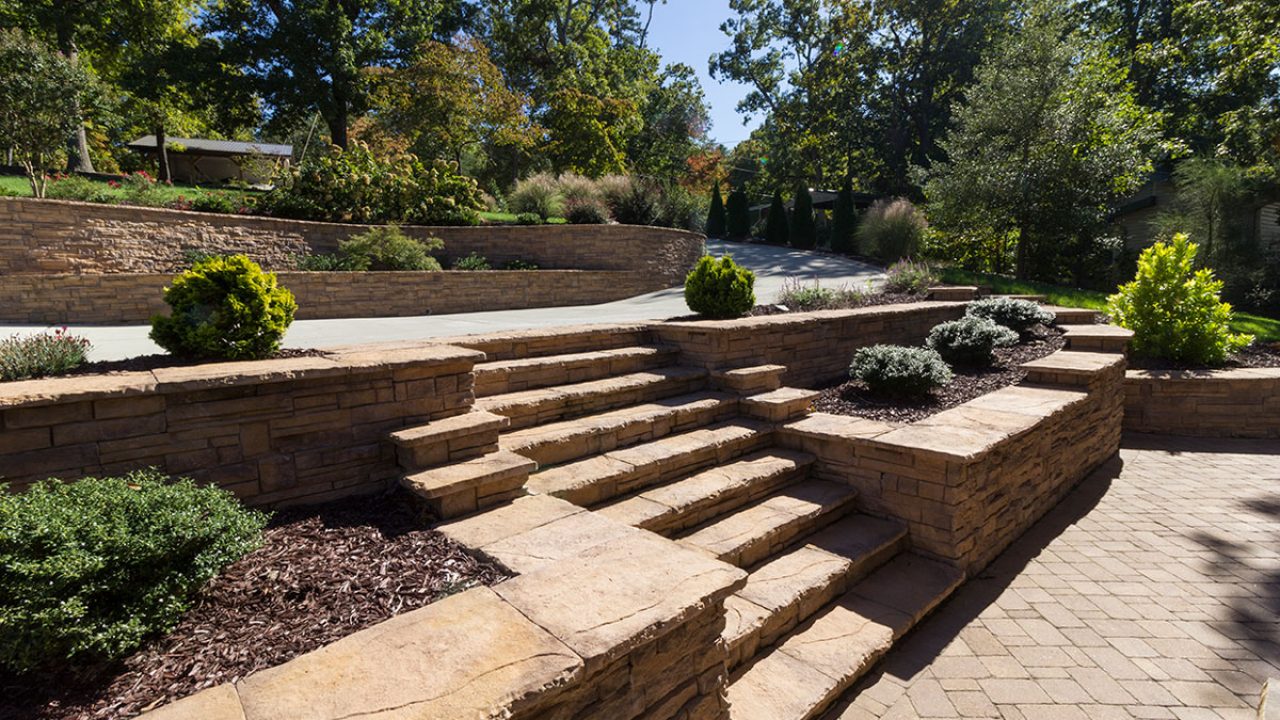
When faced with the challenge of navigating a steep hill, building stairs can provide a convenient and safe solution. Whether you want to create a path to your garden, access a stunning view, or simply make getting around on your property easier, building stairs into a hill can be a rewarding and practical project.
In this article, we will guide you through the step-by-step process of building stairs into a hill. We will cover everything from assessing the terrain to finalizing the finishing touches. So, put on your DIY hat and get ready to transform that hillside into an inviting staircase!
Key Takeaways:
- Transform a steep hill into a stunning staircase by assessing the terrain, gathering materials, and constructing a sturdy base. Add finishing touches for a functional and visually appealing outdoor feature.
- Building stairs into a hill requires precise planning, accurate measurements, and attention to detail. From excavating the hillside to attaching the stair treads, each step contributes to a durable and beautiful staircase.
Read more: How To Build Outdoor Stairs On A Hill
Step 1: Assess the terrain
The first crucial step in building stairs into a hill is to assess the terrain. Before you begin any construction, it is essential to understand the slope, soil conditions, and any potential obstacles that may affect the stability and functionality of your stairs.
Start by examining the angle and steepness of the hill. This will determine the number of steps you will need and the overall design of your staircase. Measure the vertical rise from the bottom to the top of the hill to help you calculate the optimum height for each step.
Take note of any potential drainage issues or problem areas where water tends to accumulate. Proper drainage is important to prevent erosion and ensure the long-term stability of your stairs.
Consider the type of soil on the hillside. If it is loose or sandy, you may need to reinforce the steps with retaining walls or additional support. Conversely, if the soil is compact and rocky, you may need different tools or techniques to excavate the hillside.
Additionally, look out for any trees, rocks, or other natural features that may need to be worked around or removed during the construction process. It’s important to plan around these obstacles to ensure the safety and functionality of your stairs.
Assessing the terrain thoroughly will help you make informed decisions during the planning and construction phases of your project. It will ensure that your stairs are not only aesthetically pleasing but also durable and capable of withstanding the test of time.
Step 2: Measure and plan
Once you have assessed the terrain, it’s time to take precise measurements and create a detailed plan for your stairs into the hill. Proper measurements and planning are essential to ensure that your stairs fit the slope perfectly and meet your specific needs.
Start by measuring the width and length of the area where the stairs will be located. This will give you an idea of the space you have to work with and help determine the number of steps needed.
Consider the desired width of each step. The recommended width for a step is typically around 11 to 12 inches. Calculate the number of steps required based on the height of the hill and the desired rise distance for each step.
Next, draft a plan that includes the dimensions, angles, and any additional features you want to incorporate into your stairs. This plan will serve as a blueprint to guide you through the construction process.
Take into consideration the materials you will use for the stairs, such as wood, stone, or concrete. Each material brings its own benefits and aesthetic qualities, so choose the one that best fits your desired look and budget.
Additionally, consider safety features such as handrails. Evaluate whether you need a handrail for your stairs and plan accordingly.
During the planning phase, it’s also a good idea to consult local building codes and regulations. Some areas may have specific requirements when it comes to the construction of stairs, especially if they are intended for public use.
By measuring accurately and creating a detailed plan, you can ensure that your stairs will fit harmoniously into the hill and meet all necessary safety standards.
Step 3: Gather materials and tools
Once you have a clear plan in place, it’s time to gather the materials and tools needed for building stairs into a hill. Having everything prepared beforehand will help streamline the construction process and ensure you have everything you need at hand.
The specific materials required will depend on the design and materials you have chosen for your stairs. Here are some common materials you may need:
- Wood: If you are opting for wooden stairs, you will need pressure-treated lumber for the stringers, treads, and risers. Choose a type of wood that is suitable for outdoor use and can withstand weathering.
- Stone or concrete: For a more durable and natural look, stone or concrete steps can be a great choice. Make sure to gather the necessary stones or concrete blocks based on your measurements.
- Gravel or crushed rock: These materials are often used as a base for the stairs to provide stability and drainage.
- Hardware: Depending on your design, you may need screws, nails, brackets, and other fasteners to secure the stairs and ensure their stability.
- Handrails: If you have decided to install handrails, gather the necessary materials such as wooden or metal handrail components and brackets.
In addition to the materials, gather the appropriate tools for the construction process. Here are some common tools you may need:
- Tape measure: Essential for accurate measurements.
- Level: Used to ensure that the steps are even and level.
- Saw: Depending on the materials used, you may need a circular saw or handsaw to cut the wood or stone.
- Drill: For making pilot holes and attaching the steps.
- Shovel: Needed for excavating the hillside.
- Wheelbarrow: Useful for transporting materials such as gravel or crushed rock.
- Safety equipment: Don’t forget gloves, safety glasses, and any other necessary protective gear.
Before starting the construction, ensure that you have all the required materials and tools readily available. This will help you work efficiently and minimize any potential delays or interruptions.
Step 4: Excavate the hillside
With your materials and tools in hand, it’s time to start the construction process by excavating the hillside. Excavation is a crucial step in building stairs into a hill as it creates a level surface for the stairs to be built upon.
Here’s a step-by-step guide to excavating the hillside:
- Use wooden stakes and string to mark out the boundaries of the stair area. This will help guide your excavation process and ensure that you stay within the designated space.
- Start digging the hillside with a shovel. Begin at the bottom of the hill and work your way up, gradually removing the soil and creating a level surface for the steps.
- Use a level to check the slope and make sure the excavation is even and consistent. Adjust as necessary to achieve a uniform gradient for the stairs.
- As you excavate, be mindful of any tree roots or large rocks that may obstruct the path of the stairs. Clear them out carefully to create a smooth surface.
- Remove any excess soil and debris from the excavation area. Dispose of it properly or repurpose it for other landscaping needs if possible.
- Once you have completed the excavation, use a compactor or tamper to compact the soil. This will help create a stable base for the stairs and prevent future settling.
Remember to take safety precautions during the excavation process. Be cautious of potential hazards such as unstable soil, slippery surfaces, and loose rocks.
Excavating the hillside is a critical step in the stair construction process. By creating a level and sturdy surface, you are setting the foundation for a strong and durable staircase.
Read more: How To Build Basement Stairs
Step 5: Create a sturdy base
Now that you have excavated the hillside, it’s time to create a sturdy base for your stairs. A solid foundation is essential to ensure the stability and longevity of the staircase.
Follow these steps to create a sturdy base:
- First, add a layer of landscape fabric over the excavated area. This will help prevent weed growth and soil erosion.
- Next, spread a layer of gravel or crushed rock evenly over the landscape fabric. This will serve as a base material that helps with drainage and improves stability.
- Using a rake or shovel, level the layer of gravel or crushed rock to create a smooth and even surface. Ensure that the base is compacted by tamping it down with a compactor or the back of a shovel.
- Check the levelness of the base using a level or a straight board. Adjust as necessary to ensure that the base is level across the entire stair area.
- Continue to add and compact layers of gravel or crushed rock until you achieve the desired height for your stairs. The number of layers will depend on the height of the hill and the size of each step.
- Once the base is complete, lay another layer of landscape fabric over the top to separate the base from the bedding sand that will be added in the next step. This will prevent the two materials from mixing over time.
By creating a sturdy base, you are providing a solid platform for the stair structure to rest upon. It helps distribute the weight evenly and ensures that the stairs withstand regular use and environmental factors.
Now that the base is in place, you’re ready for the next step: constructing the stair stringers.
When building stairs into a hill, make sure to properly measure the slope and calculate the number of steps needed. Use sturdy materials and consider adding a handrail for safety.
Step 6: Construct the stair stringers
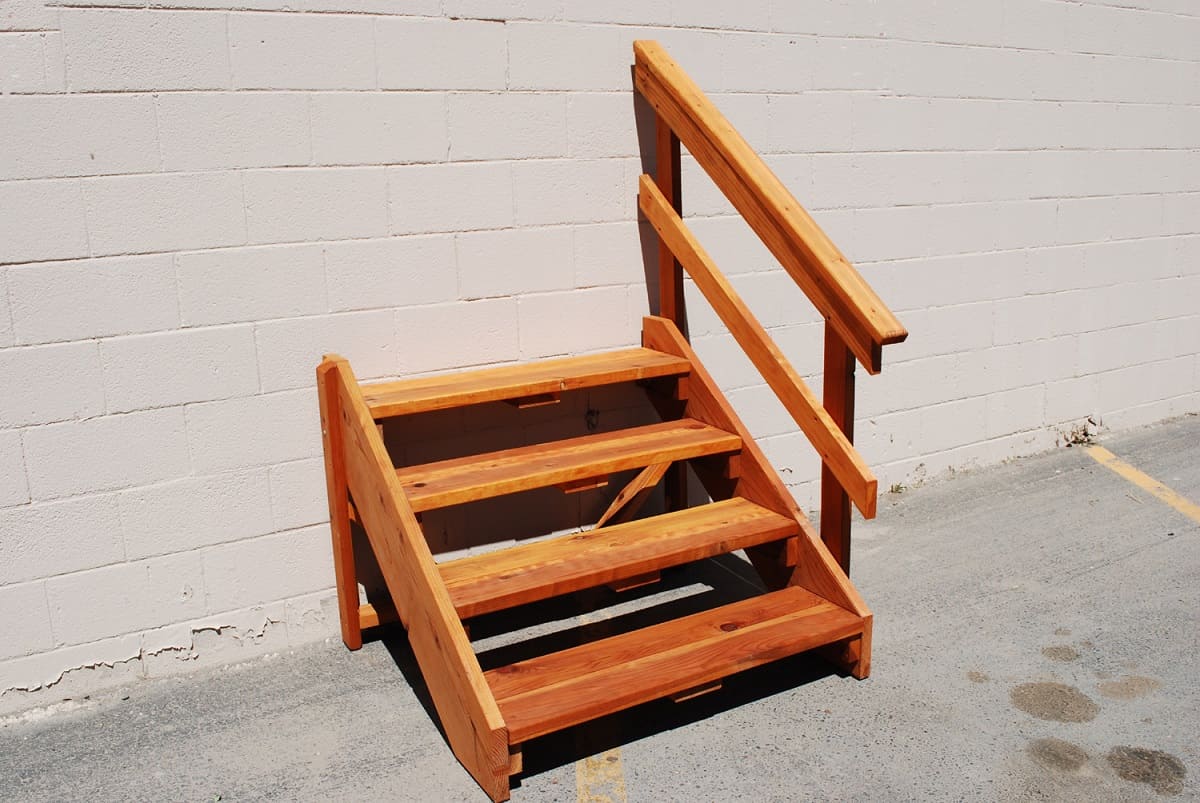
The stair stringers are the structural supports that will hold the treads and risers and give your stairs their shape and stability. Constructing the stair stringers accurately is crucial to ensure the overall integrity of the staircase.
Here’s a step-by-step guide to constructing the stair stringers:
- Measure the total rise of the stairs, which is the height from the bottom of the hill to the top. Divide this measurement by the desired height of each step to determine the number of steps needed.
- Calculate the tread depth, which is typically around 10 inches. Multiply the tread depth by the number of steps to determine the overall run, or the total horizontal length of the stairs.
- The run of the stairs will determine the length and angle of the stringers. Use a framing square to mark the angles and dimensions on your chosen wood material for the stringers.
- Make the necessary cuts on the stringers according to your measurements. Use a circular saw or handsaw to carefully cut along the marked lines.
- After cutting the stringers, double-check the measurements and angles to ensure accuracy.
- To reinforce the stringers, you can attach a piece of blocking or a diagonal brace to the back of each stringer. This will add extra stability and prevent any wobbling or sagging.
It’s important to note that the specific measurements and angles for constructing the stair stringers may vary depending on the design of your stairs and local building codes. Be sure to consult the appropriate resources and guidelines to ensure compliance with safety standards.
Constructing the stair stringers requires precision and attention to detail. Once completed, they will serve as the backbone of your staircase, supporting the weight of each step and ensuring a secure and reliable structure.
Step 7: Install the stair stringers
Now that you have constructed the stair stringers, it’s time to install them in their designated positions. Proper installation is crucial to ensure the stability and functionality of your stairs.
Follow these steps to install the stair stringers:
- Position the first stringer in place by aligning it with the edge of the base. Use a level to check for plumb and adjust as necessary. Secure the stringer to the base using wood screws or brackets.
- Place a level on top of the stringer to ensure it is level horizontally. Adjust the base or add shims if needed to achieve a level stringer.
- Repeat the process for the remaining stringers, spacing them evenly along the base. Make sure they are aligned properly and level both vertically and horizontally.
- Once all the stringers are in place, double-check their alignment and stability. Make any necessary adjustments before moving on to the next step.
- Attach the stringers to the base and each other using additional screws, brackets, or metal connectors. This will provide added strength and prevent any movement or wobbling.
- Test the stability of the stringers by applying pressure and ensuring they can support the weight effectively. Make any final adjustments if needed.
It’s important to note that the specific installation process may vary depending on the type of stringers you have constructed and the materials used. Always refer to the manufacturer’s instructions or consult with a professional if needed.
Installing the stair stringers is a critical step that sets the foundation for the rest of the stair construction. When done correctly, it ensures that your stairs are secure, level, and able to support the weight of each step and the people using them.
Step 8: Attach the stair treads
With the stair stringers securely in place, it’s time to attach the stair treads. The treads are the horizontal steps that you will walk on, so it’s important to ensure they are properly attached for safety and stability.
Follow these steps to attach the stair treads:
- Measure the desired width and depth for each stair tread. The width typically ranges from 11 to 12 inches, while the depth is typically around 10 inches. Make sure to measure and mark these dimensions on each stringer.
- Apply a bead of construction adhesive along the top of each stringer, where the stair tread will be placed. This will help secure the treads and prevent squeaking or movement.
- Place the first tread on the bottom step, aligning it with the marks on the stringers. Press it firmly into the adhesive to ensure a strong bond.
- Use a level to check that the tread is level horizontally. Adjust if necessary by adding shims or sanding down the tread.
- Secure the first tread by drilling pilot holes through the tread and into the stringers. Then, drive screws through the pilot holes to firmly attach the tread to the stringers.
- Repeat the process for each additional stair tread, ensuring they are evenly spaced and aligned according to your design.
- After all the treads are attached, give them a final check for stability. Make any necessary adjustments or tighten the screws if needed.
It’s important to use high-quality materials for the stair treads to ensure durability and safety. If you are using wood, consider using pressure-treated lumber or a hardwood that is suitable for outdoor use.
Properly attaching the stair treads is essential to create a solid and secure walking surface. Take your time to ensure they are properly aligned and firmly attached for a sturdy and reliable staircase.
Read more: How To Build Cement Stairs
Step 9: Add finishing touches
With the stair treads securely in place, it’s time to add the finishing touches to your stairs into a hill. These final details will enhance the aesthetics and functionality of your staircase, making it a truly polished and welcoming feature.
Here are some finishing touches to consider:
- Sand and finish: If you are using wooden treads, sand them down to remove any rough edges or imperfections. Apply a protective finish, such as polyurethane or paint, to ensure longevity and enhance the appearance of the wood.
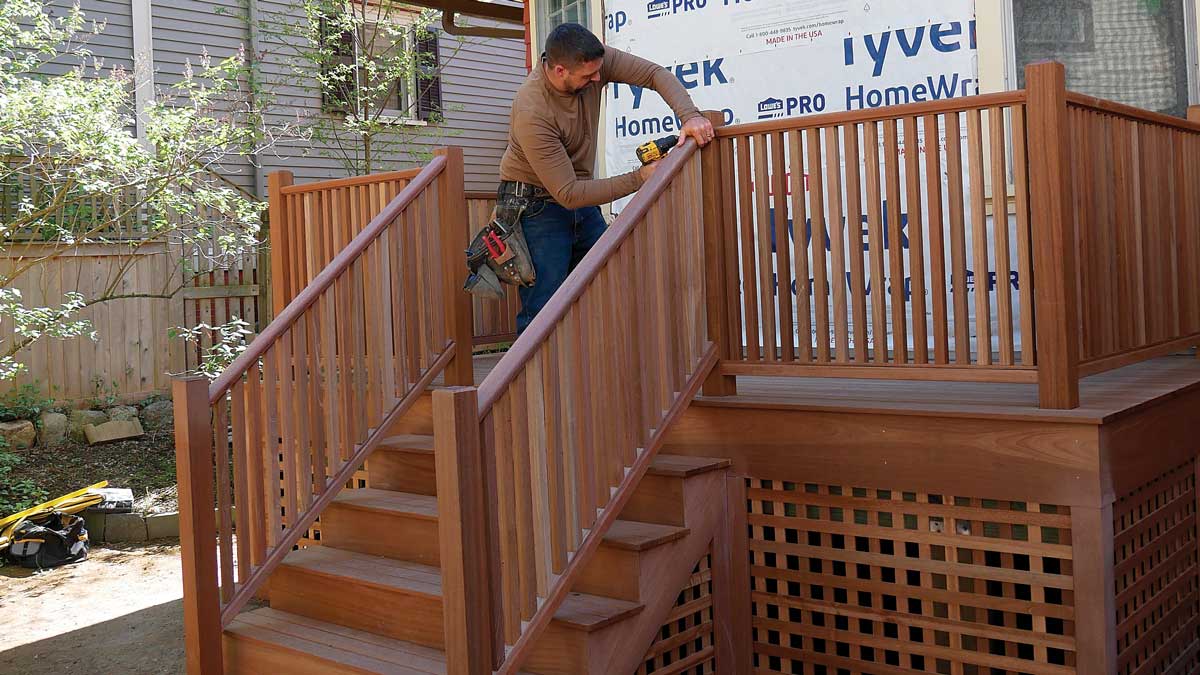
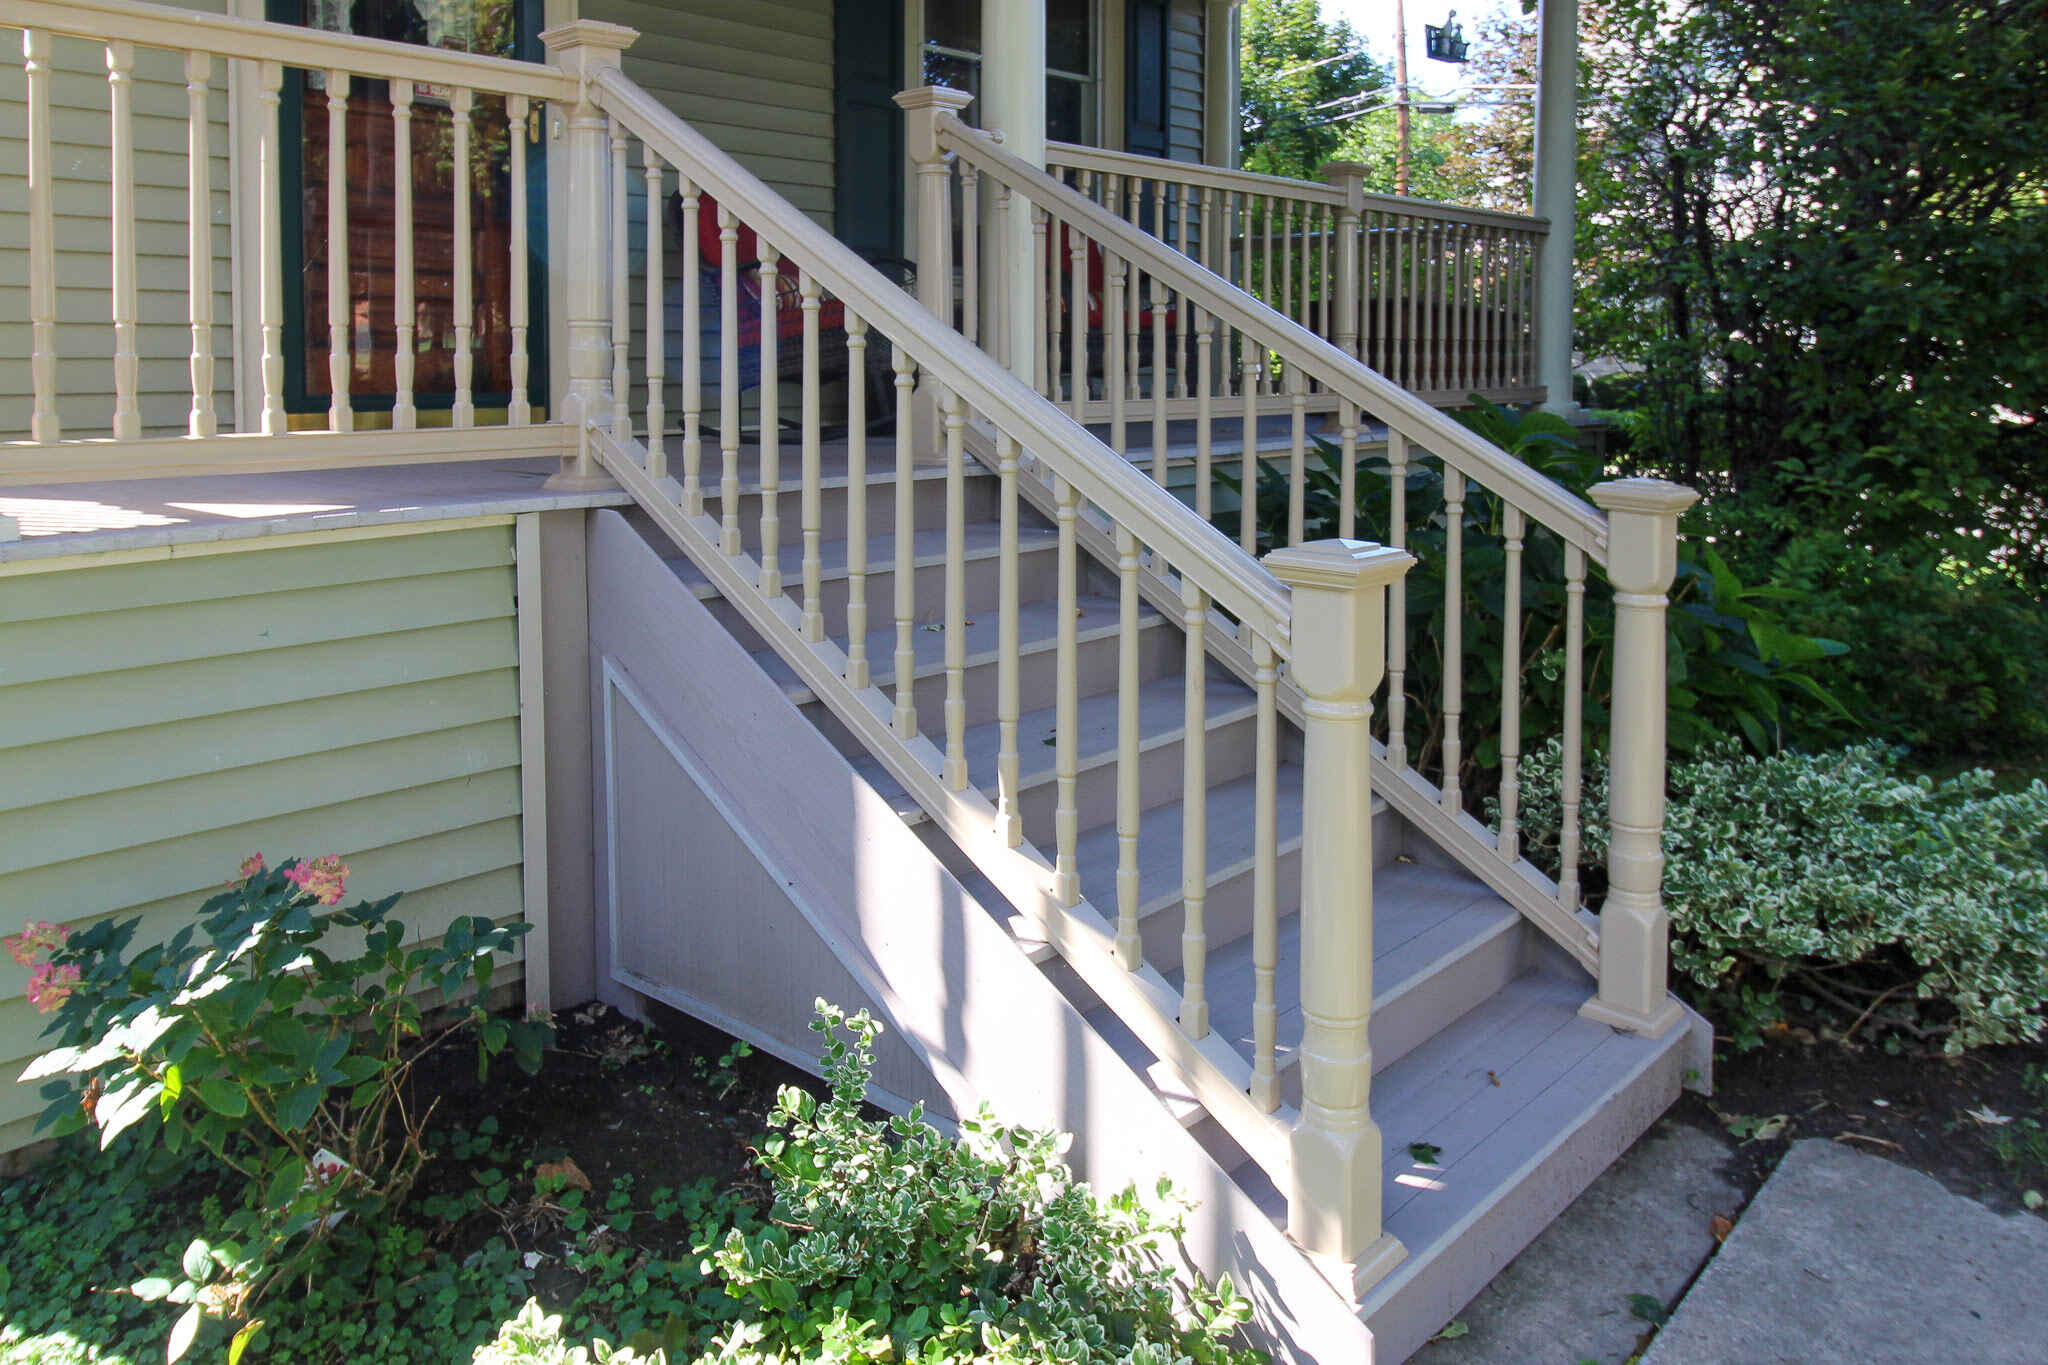
- Add handrails: If desired, install handrails for added safety and convenience. Depending on your design, you can use wooden or metal handrail components. Make sure the handrails are securely attached to the stair stringers.
- Consider lighting: Install outdoor lighting along the stairs to improve visibility at night and create a welcoming ambiance. Choose weather-resistant lighting fixtures and consider options such as solar-powered or low-voltage lights.
- Landscape around the stairs: Enhance the surrounding area by adding landscaping elements such as plants, flowers, or decorative stones. This will complement the stairs and create a cohesive and attractive outdoor space.
- Ensure proper drainage: Check that the stairs have proper drainage to prevent water pooling on the treads or eroding the hillside. Consider incorporating drainage channels or gravel-filled gaps between the treads.
- Add non-slip materials: To improve traction and prevent slipping, consider adding non-slip materials to the stair treads. Options include adhesive non-slip tape, rubber stair treads, or textured paint designed for outdoor surfaces.
- Maintain and inspect: Regularly inspect the stairs for any signs of wear, damage, or loose components. Make any necessary repairs promptly to ensure the long-term safety and functionality of your stairs.
By adding these finishing touches, you can transform your stairs into a hill into a beautiful and fully functional feature in your outdoor space. Take the time to carefully consider these details and make adjustments as needed to create a staircase that ticks all the boxes.
Conclusion
Building stairs into a hill can be a challenging yet rewarding project that enhances both the functionality and aesthetics of your outdoor space. By following the step-by-step process outlined in this article, you can confidently tackle this endeavor and create a stunning staircase that seamlessly blends with the natural terrain.
Through careful assessment of the terrain, precise measurements, and thorough planning, you can ensure the stairs fit harmoniously into the hill and meet your specific needs. By gathering the right materials and tools, excavating the hillside, creating a sturdy base, constructing the stair stringers, and attaching the stair treads, you will lay the groundwork for a strong and reliable staircase.
Don’t forget the importance of adding finishing touches to truly complete the project. Sand and finish the treads, install handrails for safety, consider landscape design elements, ensure proper drainage, and think about non-slip materials to make the stairs functional, attractive, and safe for regular use.
Remember to adhere to local building codes and regulations, and consult with professionals or experts if needed. Safety should always be a top priority throughout the construction process.
So, take on the challenge and embark on the journey of building stairs into a hill. The end result will be a beautiful and functional addition to your landscape that will provide easy access, enhance the overall aesthetics, and add value to your property.
Now that you've mastered building stairs into a hill, why not enhance your outdoor space further? If you're keen on landscaping, our guide on garden fence ideas offers creative and practical solutions to spruce up your garden's perimeter. From rustic wooden fences to modern metal designs, find the perfect style to complement your landscape and increase your privacy.
Frequently Asked Questions about How To Build Stairs Into A Hill
Was this page helpful?
At Storables.com, we guarantee accurate and reliable information. Our content, validated by Expert Board Contributors, is crafted following stringent Editorial Policies. We're committed to providing you with well-researched, expert-backed insights for all your informational needs.




0 thoughts on “How To Build Stairs Into A Hill”