Articles
How To Build A Fence For A Vegetable Garden
Modified: January 15, 2024
Discover informative articles on how to build a fence for your vegetable garden, ensuring protection and maximizing productivity. Unleash your gardening potential!
(Many of the links in this article redirect to a specific reviewed product. Your purchase of these products through affiliate links helps to generate commission for Storables.com, at no extra cost. Learn more)
Introduction
Building a fence for your vegetable garden is a crucial step in protecting your plants from unwanted visitors and ensuring their healthy growth. Whether you’re dealing with curious animals, pesky pests, or simply want to define the boundaries of your garden, a well-constructed fence can be a game-changer. In this article, we will guide you through the process of building a fence for your vegetable garden, providing you with the knowledge and steps needed to complete the project successfully.
Before diving into the details of construction, it’s important to understand the benefits of having a fence for your vegetable garden. Firstly, a fence acts as a physical barrier, keeping out animals such as rabbits, deer, and stray pets that may be tempted to feast on your precious plants. Additionally, a fence can deter smaller pests like squirrels and birds, reducing the risk of damage to your crops. Secondly, a fence provides privacy and defines the boundaries of your garden, giving it a neat and organized appearance. Finally, a well-built fence can add aesthetic value to your garden, enhancing its overall appeal.
Now that you understand the importance of a vegetable garden fence, let’s dive into the step-by-step process of building one. From planning and gathering materials to installing the fence posts and adding the finishing touches, we will cover every aspect to ensure you have the knowledge and confidence to tackle this project.
Key Takeaways:
- Building a fence for your vegetable garden involves careful planning, precise measurements, and the selection of suitable materials. The process, from digging post holes to adding finishing touches, ensures a sturdy and visually appealing structure.
- A well-constructed vegetable garden fence not only protects plants from animals and pests but also adds aesthetic value and defines the garden space. Regular maintenance is key to ensuring its longevity and functionality.
Step 1: Planning the Fence
The first step in building a fence for your vegetable garden is careful planning. This involves considering several factors to ensure the fence meets your specific needs. Here are some key points to consider during the planning phase:
- Determine the purpose: Start by identifying the primary purpose of your fence. Is it mainly to keep out animals, protect your plants from wind or provide privacy? Understanding the purpose will help you determine the height, type, and materials needed for the fence.
- Measure your garden: Take precise measurements of your garden area to determine the length and quantity of materials needed. This will help you estimate the cost of the project and ensure that you purchase the right amount of materials.
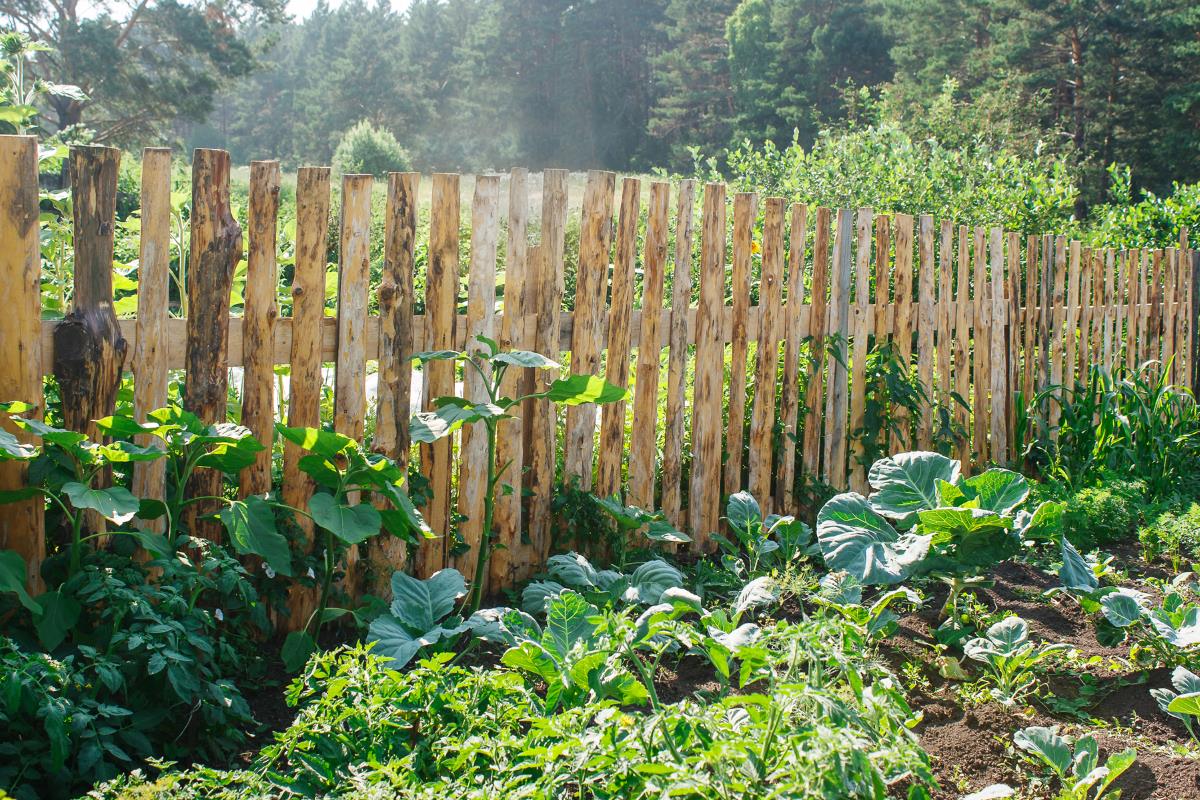
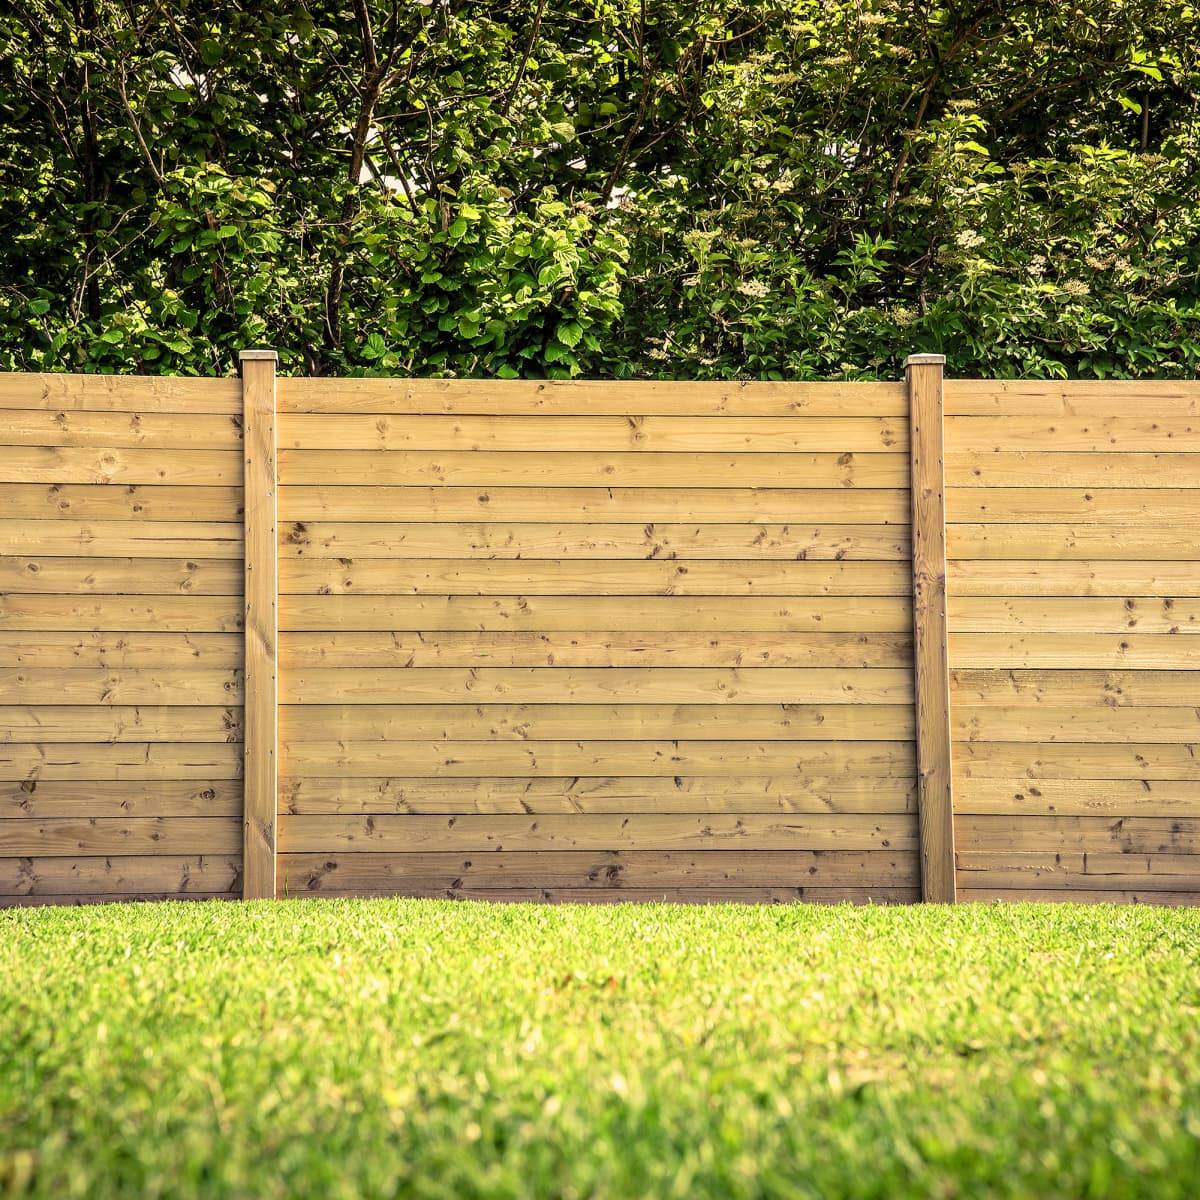
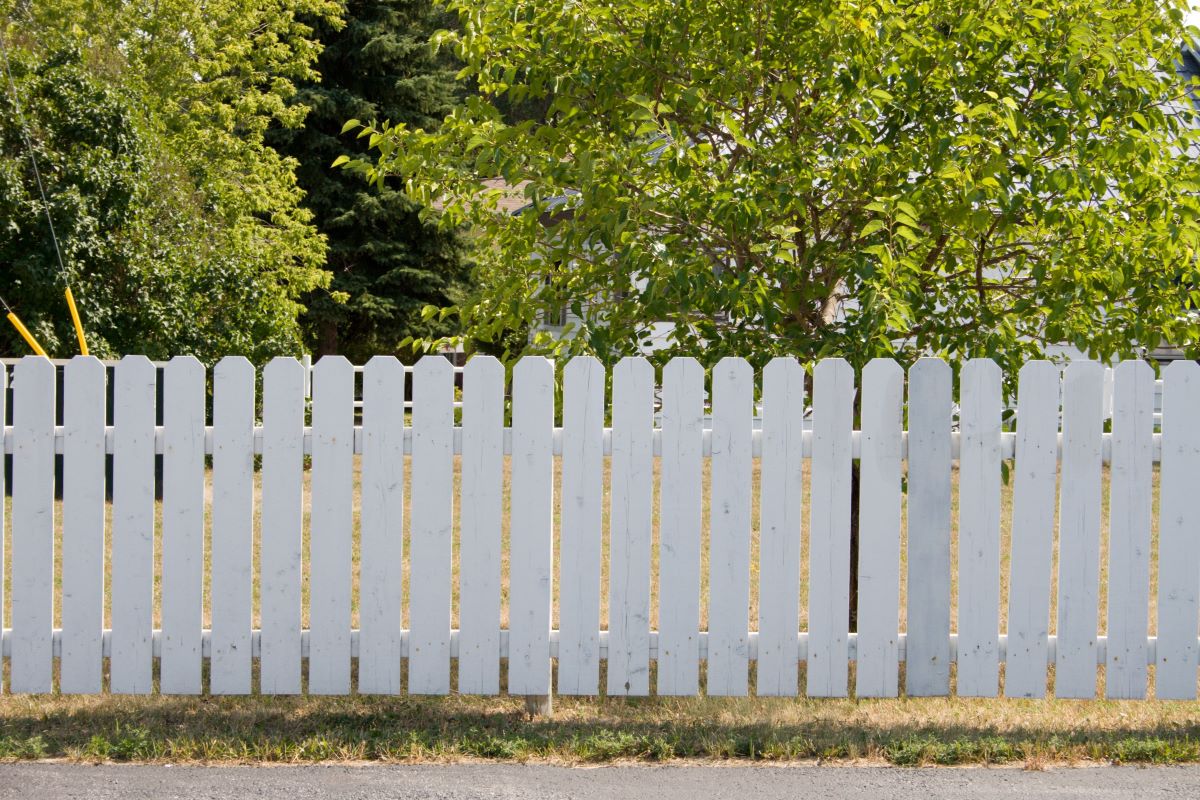
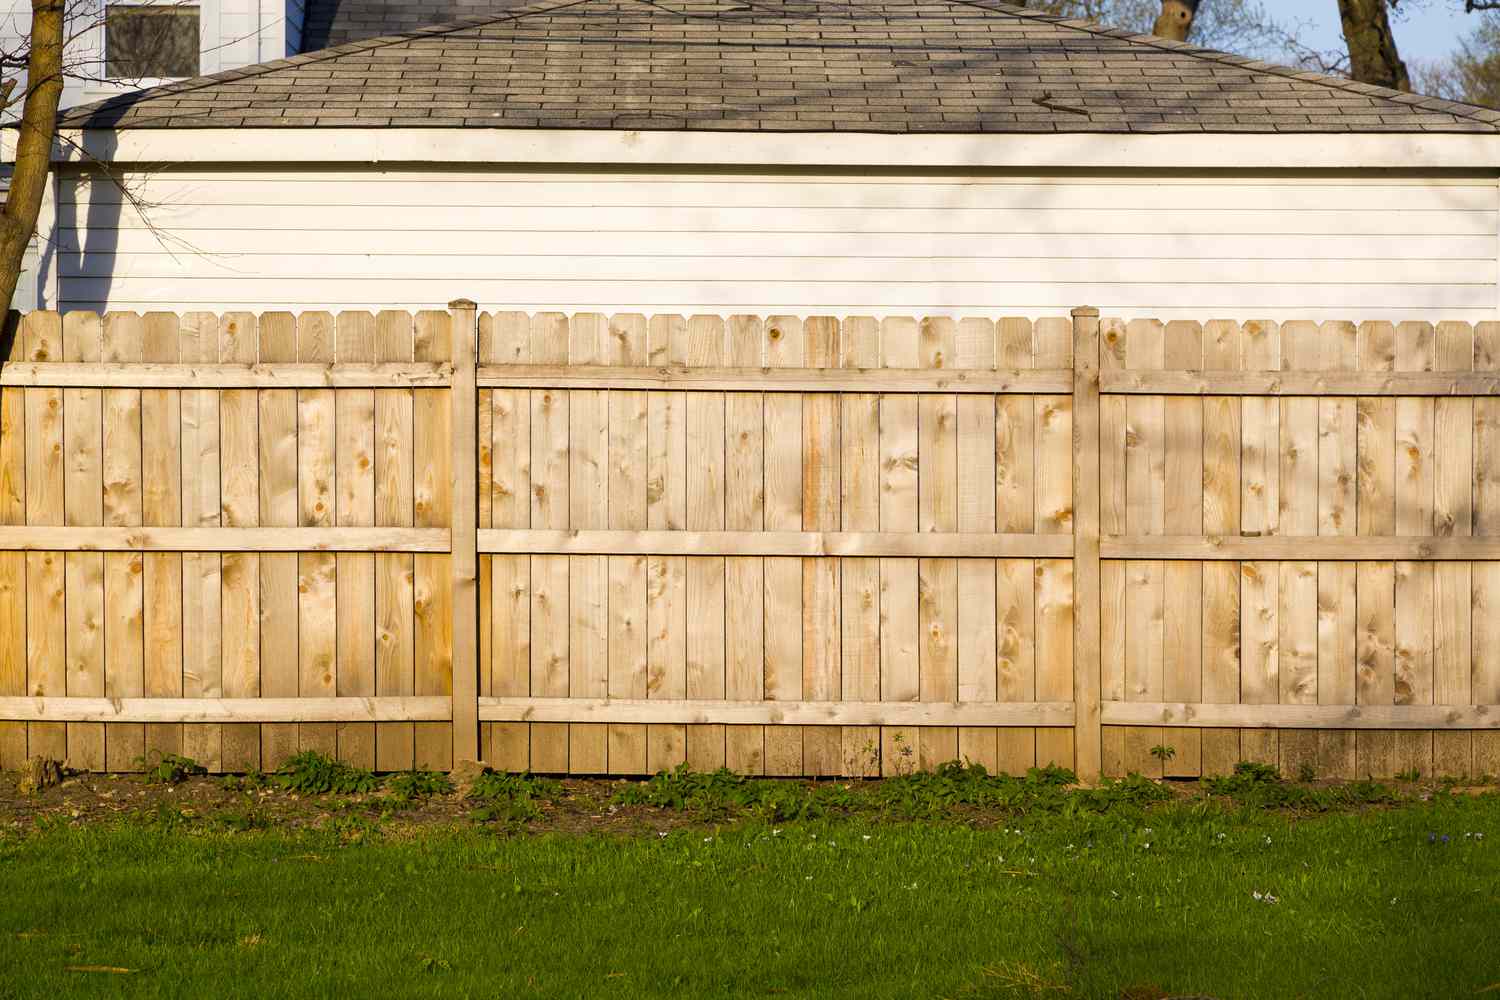
- Choose the fence style: Consider the aesthetic appeal of the fence and its compatibility with the overall design of your garden. Common fence styles for vegetable gardens include picket fences, wire mesh fences, and wooden fences. Choose a style that suits your taste and enhances the visual appeal of your garden.
- Decide on the fence height: Determine the appropriate height for your fence based on its primary purpose. For protection against animals, a fence height of at least 2 to 3 feet is recommended. However, if you are dealing with larger animals like deer, a taller fence may be necessary.
- Consider gate placement: Decide on the location of the gate in your fence. This will depend on the layout of your garden and ease of access. Ensure that the gate is wide enough to accommodate entry and exit while carrying gardening tools or wheelbarrows.
- Check local regulations: Before starting the construction process, consult the local building codes and regulations. Some areas might have specific guidelines on fence height, setback requirements, and permits that you need to adhere to. It is essential to comply with these regulations to avoid any legal issues.
Once you have carefully planned your vegetable garden fence, you will have a clear vision of what you need and how to proceed. Planning is a crucial step that sets the foundation for the rest of the construction process. Take your time in this phase to ensure that your fence fulfills its intended purpose and enhances the overall functionality and aesthetics of your vegetable garden.
Step 2: Gather Materials
After planning your vegetable garden fence, the next step is to gather all the necessary materials. Having everything on hand before you start the construction process will save you time and ensure a smoother workflow. Here are the essential materials you will need:
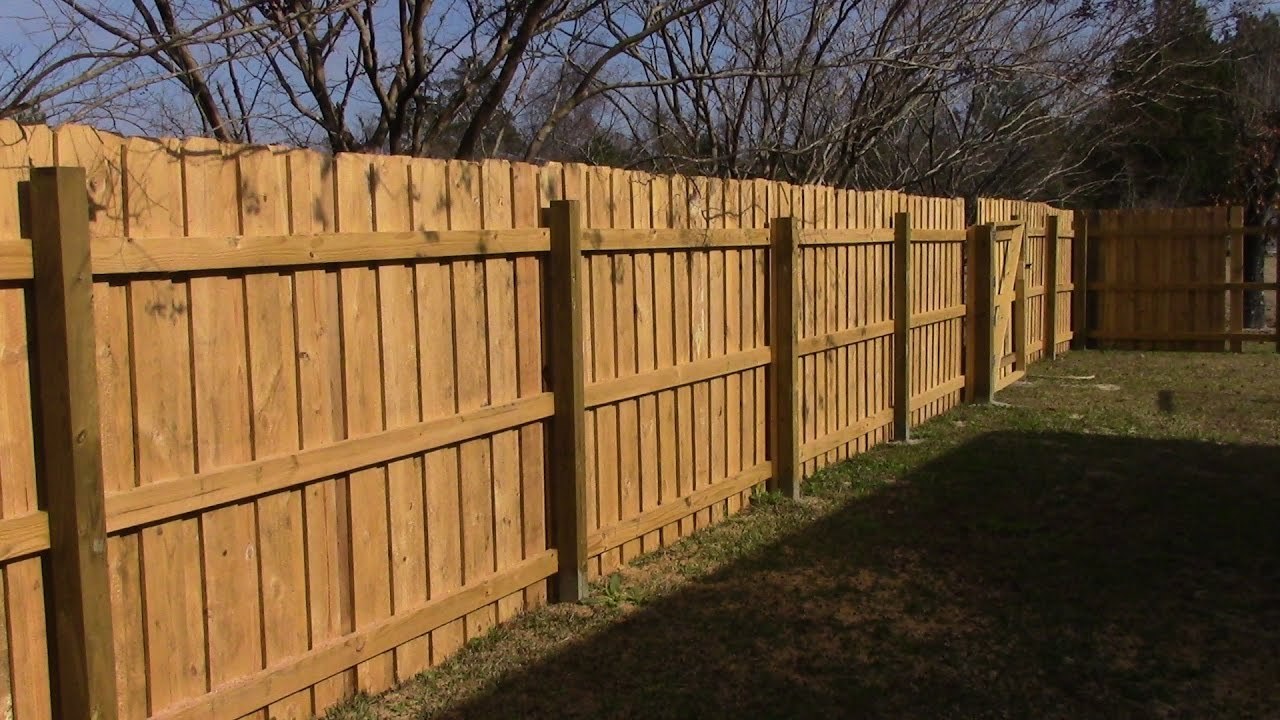
- Fence posts: These are the vertical supports that anchor the fence. Depending on your preference, you can choose from wooden or metal fence posts. Make sure they are sturdy and durable enough to withstand the elements.
- Rails: Rails are horizontal supports that connect the fence posts. They provide stability and structural integrity to the fence. Opt for weather-resistant materials such as treated wood or metal.
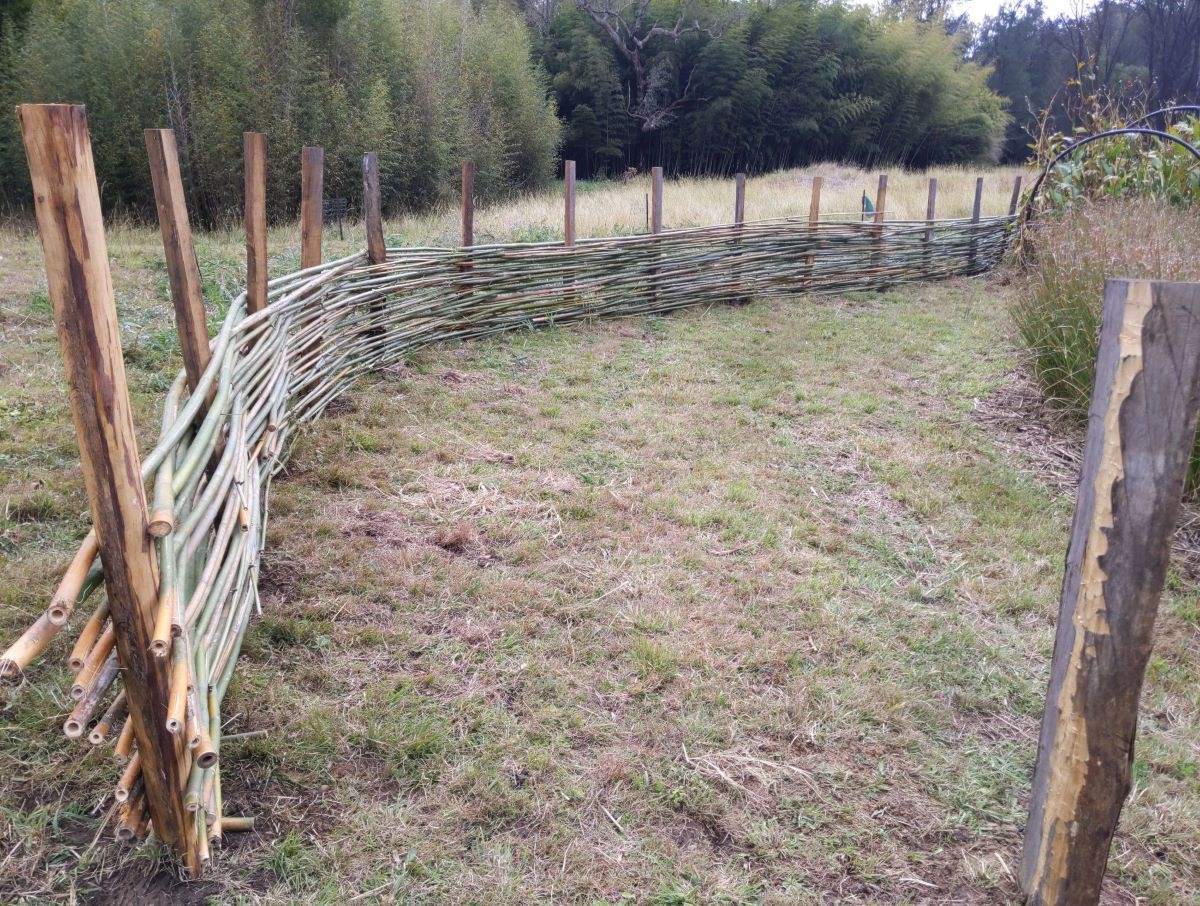
- Wire mesh or pickets: Wire mesh is a popular choice for vegetable garden fences as it keeps small animals out while allowing air circulation. Pickets, on the other hand, offer a more decorative option. Consider the level of protection and aesthetics you desire for your garden before deciding on the material.
- Gate and hinges: If you plan on having a gate in your fence, make sure to gather the gate and hinges. Choose a gate size and style that complements your fence, ensuring smooth functionality.
- Fasteners: Depending on the type of materials you choose, you will need appropriate fasteners such as screws, nails, or brackets. These will be used to secure the fence posts, rails, and wire mesh or pickets.
- Tools: Gather a set of essential tools including a measuring tape, level, post hole digger, shovel, saw, and drill. These tools will come in handy during the construction process.
- Protective gear: Don’t forget to prioritize safety by having protective gear such as gloves, safety glasses, and a dust mask. These will help protect you from potential injuries and hazards during construction.
Take your time to source high-quality materials that suit your budget and preferences. Visit a local home improvement store or garden center to gather everything you need. If you are unsure about the specific materials required for your project, don’t hesitate to seek guidance from the experts at the store.
By gathering all the necessary materials beforehand, you can ensure a more efficient and organized construction process. Having everything in place will save you from making multiple trips to the store and allow you to focus on the task at hand—building a sturdy and functional fence for your vegetable garden.
Step 3: Measure and Mark the Garden Area
Once you have gathered all the materials for your vegetable garden fence, it’s time to measure and mark the area where the fence will be installed. This step is crucial in ensuring accurate placement of the fence and proper alignment of the posts. Follow these steps to measure and mark the garden area:
- Measure the perimeter: Use a measuring tape to determine the length of each side of your garden area. Add up the measurements to calculate the total perimeter. This will help you determine the amount of fencing material needed.
- Place stakes: Start by placing stakes at the corners of your garden area. Use a hammer to drive the stakes into the ground. Ensure that they are firmly planted and level to provide accurate reference points.
- Run string lines: Attach a string line to each stake and stretch it taut along the perimeter of the garden area. This will create a guideline for the fence installation.
- Mark post locations: Using a tape measure, mark the planned locations for the fence posts along the string lines. Make sure to space them evenly, usually between 6 to 8 feet apart. This spacing will provide the necessary structural support for the fence.
- Double-check measurements: Go around the perimeter and double-check the measurements to ensure accuracy. Adjust the string lines and stakes as necessary.
- Mark gate location: If you plan to install a gate, mark its location within the fence perimeter. Measure carefully to ensure that the gate is wide enough for easy access.
By measuring and marking the garden area accurately, you can ensure that the fence is installed in the right position without any deviations. This step is crucial for maintaining the structural integrity of the fence and ensuring a visually appealing result.
Remember to check local regulations and building codes regarding fence placement and setbacks. Some areas may have specific requirements that need to be followed. It’s best to comply with these regulations and obtain any necessary permits before proceeding with the installation.
Once the garden area is measured and marked, you are ready to move on to the next step in the fence-building process—digging the fence post holes.
Step 4: Digging Fence Post Holes
With the garden area measured and marked, it’s time to dig the fence post holes. This step is essential for securely anchoring the fence posts and providing stability to the entire structure. Follow these steps to properly dig the fence post holes:
- Prepare the tools: Gather a post hole digger, shovel, and a wheelbarrow or bucket for removing the soil. Make sure the tools are in good condition and suitable for the task.
- Start at corner and gate posts: Begin digging the holes for the corner posts and gate posts. These need to be deeper and wider than the intermediate posts to provide additional support.
- Dig the holes: Use the post hole digger to dig a hole that is approximately one-third the height of the post and about three times the diameter of the post. For example, if using a 6-foot tall post, the hole should be around 2 feet deep and 9 inches in diameter.
- Remove soil: As you dig, place the loose soil in the wheelbarrow or bucket for easy removal. Be sure to dig down evenly and compact the soil at the bottom of the hole to provide a solid base for the post.
- Repeat for intermediate posts: After completing the corner and gate post holes, move on to digging holes for the intermediate posts. These can be dug at slightly shallower depths since they do not require as much stability.
- Measure hole depth: Use a measuring tape or a level to ensure that each hole has the correct depth. Consistency in hole depth is crucial for proper alignment and overall fence stability.
When digging the fence post holes, it’s important to consider the type of soil in your garden. If the soil is hard or rocky, you may need additional tools such as a digging bar or a powered auger to make the process easier.
Take your time while digging the post holes and ensure they are deep enough and aligned accurately. This will provide a solid foundation for the fence posts, ensuring the overall stability and longevity of your vegetable garden fence.
Once all the post holes are dug, you are ready to move on to the next step—installing the fence posts.
Step 5: Installing Fence Posts
With the fence post holes dug, it’s time to move on to installing the fence posts. Proper installation of the posts is crucial for the stability and durability of your vegetable garden fence. Follow these steps to ensure a successful installation:
- Prepare the posts: Before installing the posts, ensure that they are clean, free from any debris, and properly treated if required. This will help prevent rotting and ensure their longevity.
- Place the posts in the holes: Carefully place each post in its designated hole. Make sure they are centered and aligned with the string lines marking the fence perimeter.
- Check for plumb and level: As you place the posts, use a level to ensure they are straight vertically and horizontally. Adjust as necessary until the posts are perfectly plumb and level.
- Fill the holes: Once the posts are properly aligned, begin filling the holes with soil. Compact the soil firmly around the posts using your foot or a tamper. Add the soil in layers to ensure proper compaction and stability.
- Secure the posts: To provide extra stability, consider bracing the posts temporarily while the soil settles. This can be done by attaching stakes or boards to the posts and driving them into the ground.
- Check alignment: Double-check the alignment of the posts using a level and string lines. Make any necessary adjustments before proceeding to the next step.
When installing the fence posts, it’s essential to choose the right type of posts that are suitable for your specific requirements. Wooden posts are a popular choice for vegetable garden fences due to their versatility, appearance, and ease of installation. However, if you are looking for a more durable option, consider using metal posts.
Properly installed fence posts provide the foundation for a sturdy and reliable fence. Take your time during this step to ensure that the posts are aligned correctly and securely anchored in the ground. This will ensure the integrity and longevity of your vegetable garden fence.
Once the posts are installed, you’re ready to move on to the next step—attaching the rails to the fence posts.
When building a fence for a vegetable garden, make sure to use materials that are resistant to rot and pests, such as cedar or pressure-treated wood. This will ensure the longevity of your fence and protect your garden.
Step 6: Attaching Rails to Fence Posts
With the fence posts securely installed, the next step in building your vegetable garden fence is attaching the rails. The rails provide horizontal support and help connect the fence posts, adding strength and stability to the overall structure. Follow these steps to properly attach the rails to the fence posts:
- Measure and cut the rails: Start by measuring the distance between two adjacent posts where the rails will be attached. Cut the rails to the appropriate length using a saw, ensuring a precise fit.
- Position the bottom rail: Begin by attaching the bottom rail. Place it horizontally at the base of the fence posts, aligning it with the string lines or the desired height.
- Secure the rail: Using screws or nails, secure the bottom rail to the fence posts. Make sure to countersink the fasteners to prevent them from sticking out and potentially causing injuries.
- Repeat for additional rails: If you have planned for multiple rails, position and secure them one by one, working your way up the fence posts. Ensure that each rail is level and properly aligned.
- Check alignment and stability: After attaching each rail, use a level to check for proper alignment. Make any necessary adjustments to ensure that the rails are straight and level across the entire fence length.
When attaching the rails, it’s important to consider the durability and weather-resistance of the chosen material. Treated wood or metal rails are common choices for vegetable garden fences, as they are sturdy and able to withstand outdoor conditions.
Ensure that the rails are attached securely to the fence posts, providing a solid framework for the wire mesh or pickets that will be added later. Taking the time to properly align and attach the rails will guarantee a sturdy and reliable vegetable garden fence.
Once the rails are securely in place, you’re now ready to move on to the next step—adding the wire mesh or pickets to complete the look and functionality of your fence.
Step 7: Adding Wire Mesh or Pickets
With the rails securely attached, it’s time to add the wire mesh or pickets to your vegetable garden fence. This step will provide the necessary protection for your plants and define the boundaries of your garden. Follow these steps to properly add the wire mesh or pickets to your fence:
- Measure and cut the wire mesh or pickets: First, measure the length needed for the wire mesh or pickets to fit between the fence posts. Use a saw or wire cutters to cut the material accordingly.
- Start from one end: Begin at one end of the fence and attach the wire mesh or pickets to the bottom rail. Use staples, nails, or screws to secure the material in place. Place fasteners at regular intervals to ensure stability.
- Continue attaching: Move along the fence, attaching the wire mesh or pickets to each rail. Ensure that the material is pulled tightly and properly aligned for a clean and professional appearance.
- Trim any excess: Trim any excess wire mesh or pickets that extend beyond the top rail, using wire cutters or a saw. This will help maintain a uniform and tidy appearance for your fence.
- Secure the top rail: If using wire mesh, secure the top rail by attaching it to the fence posts. This will provide additional support and prevent the material from sagging over time.
- Inspect for gaps or loose sections: Lastly, inspect the fence for any gaps or loose sections in the wire mesh or pickets. Make any necessary adjustments or repairs to ensure that your fence provides a complete barrier for your vegetable garden.
The choice between wire mesh or pickets depends on your specific needs and aesthetic preferences. Wire mesh is a practical option as it keeps pests out while allowing air circulation, while pickets offer a more decorative look. Consider the level of protection and visual appeal you desire for your vegetable garden.
When attaching the wire mesh or pickets, ensure that they are properly secured to the rails and provide a consistent barrier across the entire fence. Taking the time to properly install the wire mesh or pickets will ensure the effectiveness and functionality of your vegetable garden fence.
Once the wire mesh or pickets are in place, you’ve completed a significant portion of your fence construction. The next step will focus on securing the fence for added stability.
Step 8: Securing the Fence
Securing your vegetable garden fence is essential for ensuring its stability and longevity. A securely fastened fence will withstand the elements and potential pressure from animals, preventing it from collapsing or becoming compromised. Follow these steps to properly secure your fence:
- Check the fasteners: Inspect all the fasteners used in the construction of your fence, including screws, nails, or staples. Ensure they are tight and properly secured. Replace any damaged or loose fasteners.
- Tighten the rails: Check the rails to make sure they are firmly attached to the fence posts. If any rails feel loose, tighten the fasteners to secure them in place.
- Inspect the wire mesh or pickets: Examine the wire mesh or pickets to ensure they are securely attached to the rails. Check for any loose sections or gaps. If necessary, reinforce the attachment points with additional fasteners.
- Stake the bottom of the fence: For added stability, consider staking the bottom of the fence. Use stakes or U-shaped metal wire anchors driven into the ground at regular intervals. Attach the bottom rail or wire mesh to the stakes to prevent the fence from shifting or being pushed upwards.
- Install diagonal bracing: If you have a taller fence or are located in an area prone to high winds, installing diagonal braces between the fence posts can help increase stability. Use sturdy posts or boards to create an “X” shape between the corners and gateposts.
- Consider reinforcing gateposts: Gateposts are subjected to additional stress due to their frequent use. Reinforce them by adding extra screws or nails to secure the gate hinges and latch. This will help prevent sagging and ensure smooth operation.
Regularly inspecting and maintaining your fence’s security will help prolong its lifespan and ensure its effectiveness. Check for any signs of damage, wear, or loose components, and address them promptly. By securing your vegetable garden fence, you can have peace of mind knowing that it will withstand the test of time and provide the necessary protection for your plants.
With the fence securely in place, the next step is to install a gate for easy access to your vegetable garden. This will be covered in the next step of the construction process.
Read more: How To Build Cattle Fence
Step 9: Gate Installation
Installing a gate in your vegetable garden fence is essential for convenient access to your garden area. A well-installed gate will allow you to enter and exit easily, while still maintaining the security of your fence. Follow these steps to properly install a gate:
- Select the gate: Choose a gate that matches the style and dimensions of your fence. Consider the material, size, and functionality that best suits your needs.
- Measure and mark the gate opening: Measure the width of the desired gate opening between the fence posts. Mark the measurements on the top and bottom rails to indicate where the gate will be installed.
- Position the gate: Have a helper hold the gate in position within the marked gate opening. Ensure that it is level and centered with the fence posts.
- Secure the hinges: Attach the gate hinges to the gate and then to the fence post on one side of the gate opening. Use screws or nails appropriate for your fence material and ensure the hinges are securely fastened.
- Install the latch: Attach the latch to the gate and the adjacent fence post on the opposite side of the gate opening. Test the latch to ensure it functions properly, securely keeping the gate closed when desired.
- Check functionality: Open and close the gate to check its alignment and functionality. Adjust the hinges or latch if necessary to ensure smooth operation.
- Consider extra support: For larger or heavier gates, it may be necessary to install an additional support system, such as a gate wheel or a diagonal brace, to prevent sagging and ensure stability.
Installing a gate provides the final touch to your vegetable garden fence, allowing easy access to tend to your plants and harvest your crops. Consider the security and functionality of the gate, ensuring it aligns with your specific needs.
Remember to check local regulations and building codes that may apply to gate installation, particularly in terms of gate height, width, and general guidelines. Compliance with these regulations will help avoid any potential issues in the future.
With the gate successfully installed, you have completed a significant milestone in building your vegetable garden fence. The next step will focus on adding the finishing touches to your fence.
Step 10: Finishing Touches
With your vegetable garden fence almost complete, it’s time to add the finishing touches that will enhance its appearance and functionality. These final touches will help create a polished and well-rounded fence. Follow these steps to give your fence the finishing touches:
- Trim excess wire mesh or pickets: Use wire cutters or a saw to trim any excess wire mesh or pickets that extend beyond the top rail. This will provide a clean and tidy appearance for your fence.
- Apply stain or paint (optional): If desired, you can apply a protective stain or paint to the fence. Choose a color that complements your garden and adds to its visual appeal. Be sure to use a product that is safe for use near edible plants if you have a vegetable garden.
- Add decorative elements: Consider adding decorative elements to personalize your fence. This could include hanging planters, decorative metalwork, or even a trellis for vining plants. These elements will enhance the overall aesthetics of your vegetable garden fence.
- Install lighting: For added functionality and ambiance, install outdoor lighting along your fence. This will provide visibility during the evening hours and create an inviting atmosphere in your garden.
- Include signage: Add signage to indicate the presence of your vegetable garden or to label specific plants and sections. This can be useful for visitors or to showcase your gardening efforts.
- Regular maintenance: Establish a regular maintenance routine for your fence. This includes inspecting for any damage, repairing any loose components, and maintaining the cleanliness of the fence. Regular maintenance will ensure the longevity and effectiveness of your vegetable garden fence.
By paying attention to these finishing touches, you can create a visually appealing and functional fence for your vegetable garden. These small details will help customize your fence and make it a beautiful and welcoming addition to your garden space.
Remember to have fun with the finishing touches and let your creativity shine. The goal is to create a fence that not only protects your plants but also adds charm and beauty to your vegetable garden.
Congratulations! With the finishing touches complete, you have successfully built a fence for your vegetable garden. Your fence will now provide protection, privacy, and a defining structure for your garden, allowing you to enjoy the fruits of your labor.
Keep in mind that the maintenance of your fence is an ongoing process. Regularly inspect and address any issues to ensure its optimum performance over time. Now you can sit back, relax, and enjoy the rewards of a well-protected and thriving vegetable garden!
Conclusion
Building a fence for your vegetable garden is a rewarding and practical project that adds value to your gardening efforts. Not only does it provide protection for your plants against animals and pests, but it also defines the boundaries of your garden space. Throughout this comprehensive guide, we have walked you through each step of the process, from planning and gathering materials to installing the fence posts and adding the finishing touches.
By carefully planning the fence, measuring and marking the garden area, and gathering the necessary materials, you have laid a solid foundation for a successful project. Digging the fence post holes and installing the fence posts ensures stability and durability, while attaching the rails and adding wire mesh or pickets further fortifies the structure.
Securing the fence with proper fasteners, installing a gate for easy access, and adding finishing touches such as trimming excess wire mesh or pickets and applying stain or paint contribute to a polished and attractive fence. Optional elements like decorative elements, lighting, and signage allow you to infuse personal style and creativity into the design.
Remember, maintaining your vegetable garden fence is important to ensure its longevity and effectiveness. Regular inspections and repairs, as well as general upkeep, will contribute to its continued functionality and appearance.
With your completed vegetable garden fence, you can now enjoy the peace of mind knowing that your plants are protected and your garden space is defined. It serves as a visual statement of your dedication to gardening and provides a beautiful backdrop for your vegetable-growing endeavors. Embrace the joy of tending to your garden and relish the satisfaction of a job well done!
Frequently Asked Questions about How To Build A Fence For A Vegetable Garden
Was this page helpful?
At Storables.com, we guarantee accurate and reliable information. Our content, validated by Expert Board Contributors, is crafted following stringent Editorial Policies. We're committed to providing you with well-researched, expert-backed insights for all your informational needs.


0 thoughts on “How To Build A Fence For A Vegetable Garden”